
TX-SR403 specifications
The Onkyo TX-SR403 is a versatile and feature-rich audio receiver that caters to both home theater enthusiasts and casual listeners alike. Introduced as part of Onkyo's lineup, this model aims to deliver high-quality sound reproduction, making it an excellent choice for anyone looking to enhance their audio experience.One of the standout features of the TX-SR403 is its multi-channel audio capabilities. This receiver supports up to 6.1 channels, allowing for an immersive surround sound experience that draws listeners into their favorite movies, music, and video games. The power output is rated at 100 watts per channel, which is more than sufficient to fill a medium-sized room with dynamic and clear sound. It supports various audio formats, including Dolby Digital and DTS, ensuring compatibility with a wide range of media.
The TX-SR403 also excels in connectivity options. It is equipped with multiple HDMI inputs, along with component and composite video inputs, making it easy to connect to various devices such as Blu-ray players, gaming consoles, and streaming devices. This versatility ensures that users can easily integrate their existing home entertainment systems, allowing for seamless audio and video interaction.
In addition to its audio prowess, the TX-SR403 incorporates advanced technologies designed to enhance the listening experience. The receiver features Onkyo's proprietary Wide Range Amplification Technology (WRAT), which increases the dynamic range and improves tonal accuracy across various frequencies. This technology helps eliminate distortion, even at high volume levels, offering a cleaner and more enjoyable listening experience.
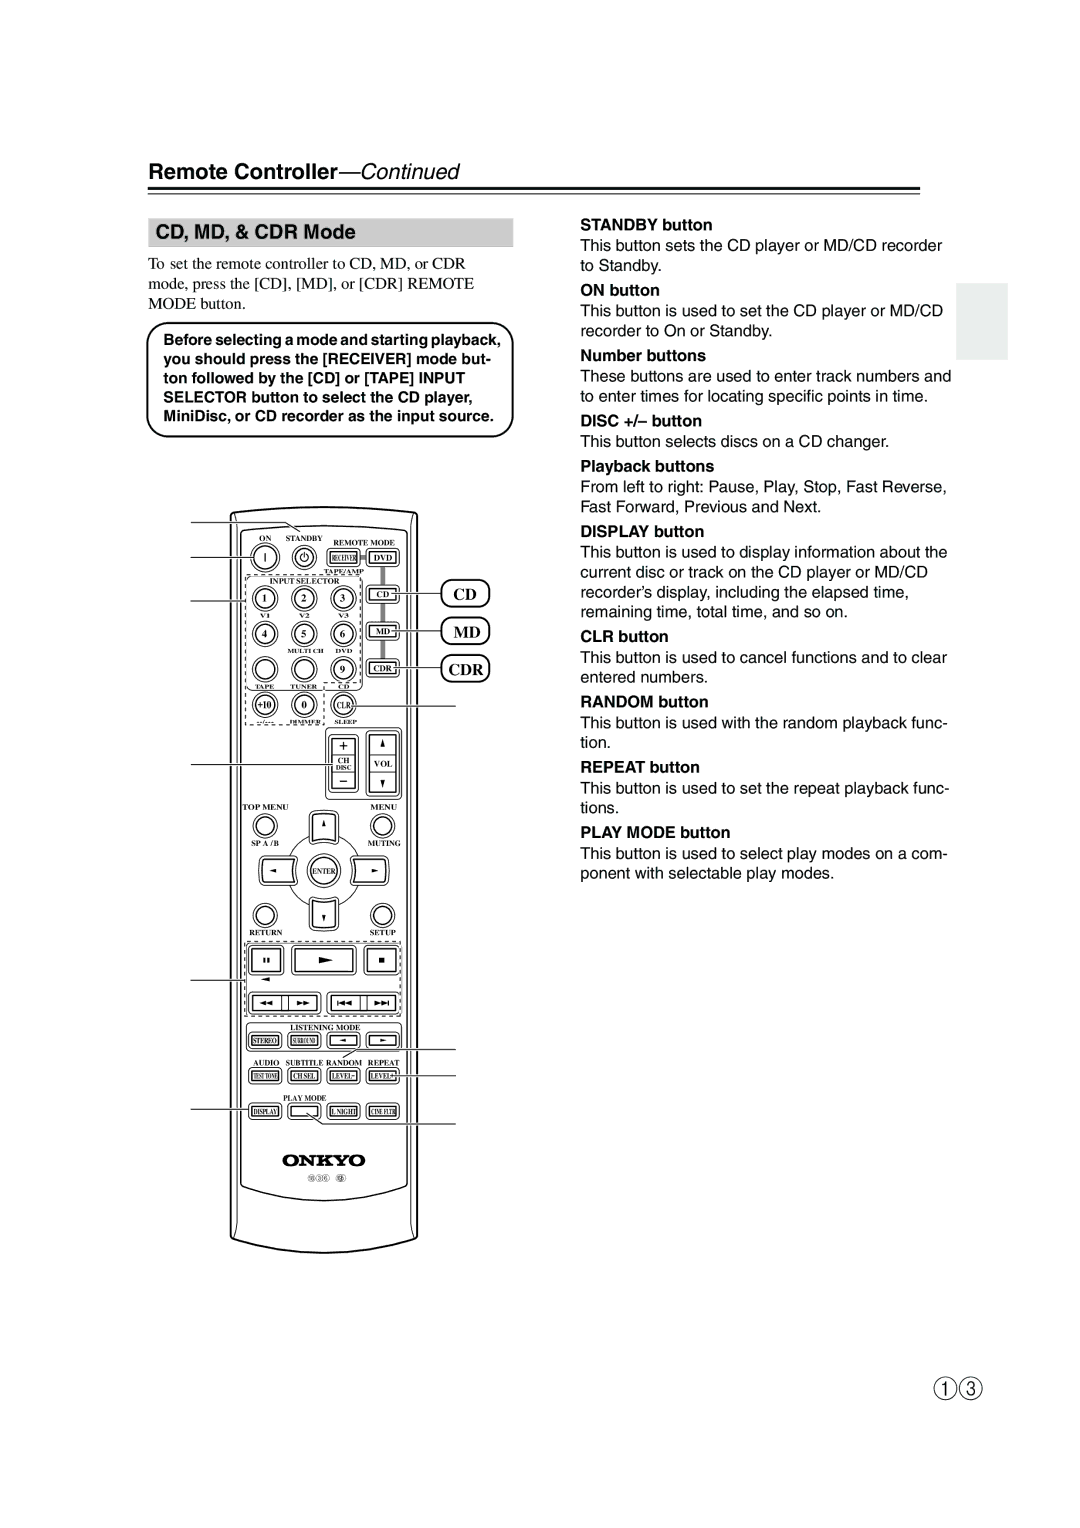
The user interface on the TX-SR403 is straightforward, featuring an easy-to-read display and intuitive control options. The remote control is user-friendly, enabling users to switch between different inputs, adjust settings, and create custom sound profiles with ease. The receiver also includes built-in FM/AM tuners for those who enjoy listening to radio broadcasts.
Overall, the Onkyo TX-SR403 stands out as a robust audio receiver that combines quality, functionality, and ease of use. Whether you are looking to set up a comprehensive home theater or simply want to improve your music listening experience, the TX-SR403 is a commendable choice that delivers excellent performance and versatility for all your audio needs.