VCR SETUP
SETTING THE 3 CH. 4 SWITCH
If you connected the VCR’s OUT TO TV termi- nal to a TV or another VCR, set the VCR’s 3 CH. 4 switch (on the back of the VCR) to 3 or 4, whichever is not an active channel in your area.
When VCR appears on the display, the VCR sends the signal from the video source con- nected to its IN FROM ANT or AUDIO 1/VIDEO 1 IN or AV2 VIDEO/AUDIO IN terminals to the TV on the channel you selected.
Note: The 3 CH. 4 switch has no effect on the TV when the VCR is off or if you connected a TV with separate audio/video input jacks to the VCR’s AUDIO/VIDEO OUT jacks.
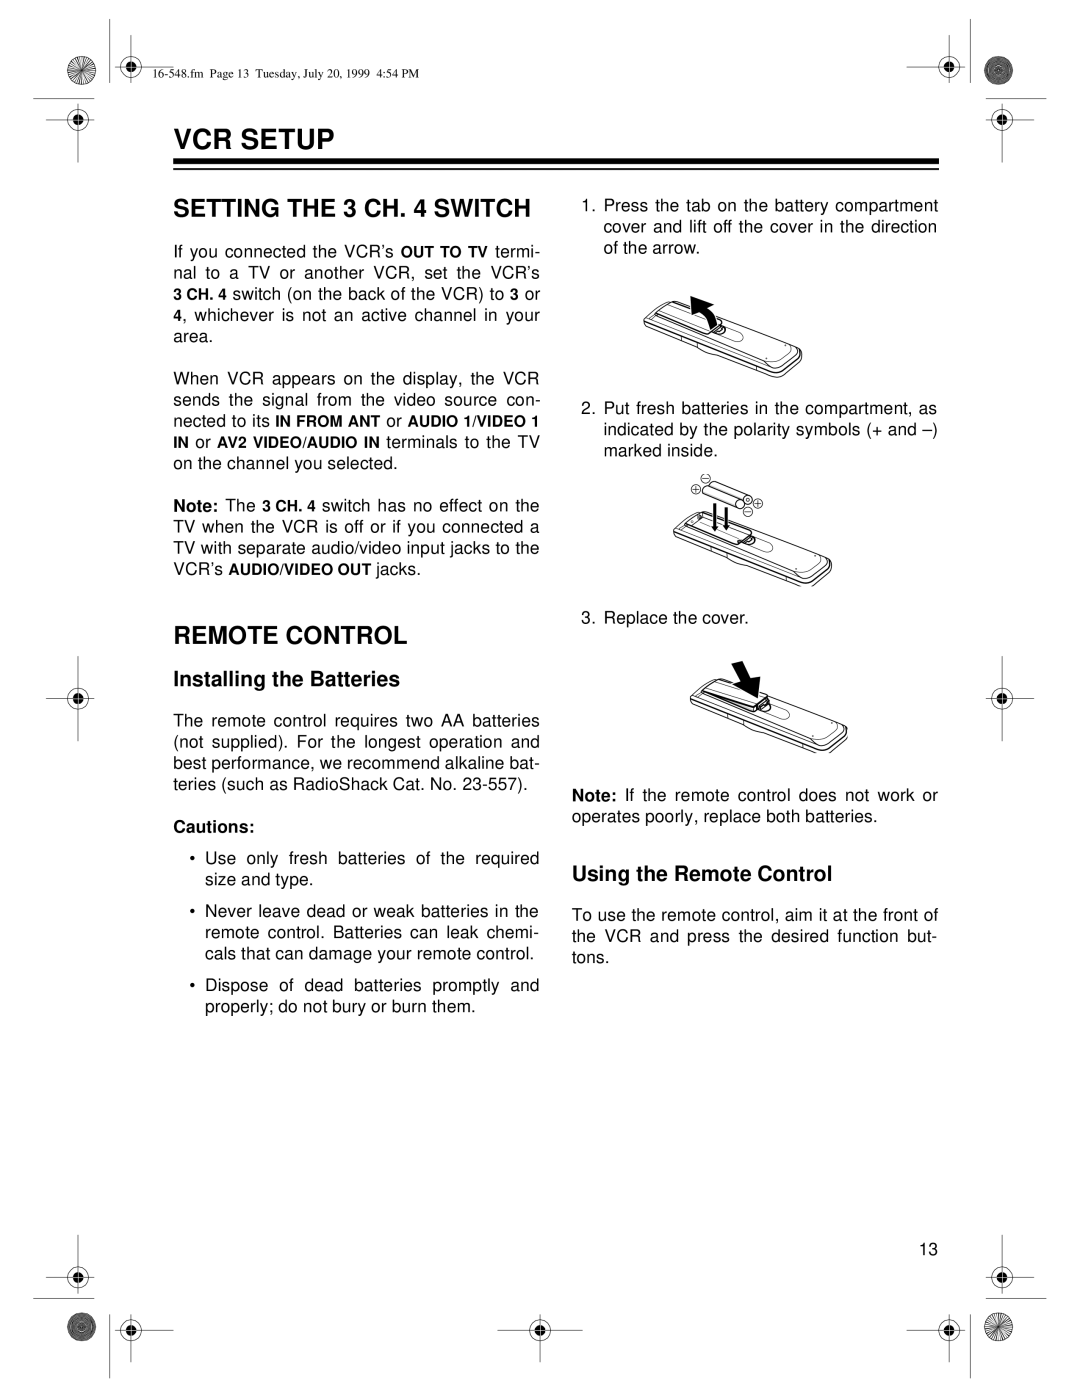
1.Press the tab on the battery compartment cover and lift off the cover in the direction of the arrow.
2.Put fresh batteries in the compartment, as indicated by the polarity symbols (+ and
REMOTE CONTROL
Installing the Batteries
The remote control requires two AA batteries (not supplied). For the longest operation and best performance, we recommend alkaline bat- teries (such as RadioShack Cat. No.
Cautions:
•Use only fresh batteries of the required size and type.
•Never leave dead or weak batteries in the remote control. Batteries can leak chemi- cals that can damage your remote control.
•Dispose of dead batteries promptly and properly; do not bury or burn them.
3. Replace the cover.
Note: If the remote control does not work or operates poorly, replace both batteries.
Using the Remote Control
To use the remote control, aim it at the front of the VCR and press the desired function but- tons.
13
