Optoma Technology PK201BUNDLE manual Charging the Battery Connect Input Source Video

Models: PK201BUNDLE PK201

1 7
Download 7 pages 34.31 Kb
Page 4
Image 4

CHARGING THE BATTERY

CONNECT INPUT SOURCE - (VIDEO IN)

1

2

3

4

1.Remove protection cap and insert the plug. (1~2)

2.Connect the charger. (3~4)

3.During charging the LED indicator

lights red. (5)

Projector will not charge while operating.

4.The LED Charge Indicator will go off when battery is fully charged. This process may take up to 2.5 hours

<Note>

1.For more LED indicator, see page 7.

2.After the projector is turned off, the battery may not start charging right away

due to over temperature protection.

1

2

or

1

2

1.Connect the AV input source. (1~2)

2.After powering on projector, press "Auto Search Source Button" to

change sources.

3.Connect external speakers to the

audio out connector of the projector. (3)

<Note>

1.All other brand and product names are trademarks or registered trademarks of their respective companies.

2.The connecting cable of video output device is not supplied, please contact their service center.

3.iPod nano/iPod touch/iPhone/iPod classic (version 5 and above)

4.Designed for iPod/iPhone/Mobile phone/ PMP with TV out functions. Using with device with audio signal voltage > 0.3Vrms

is not recommended.

5

<Optional>


The PK201 can also be charged via USB to

DC cable (

6 )

or

1

2

or

3

CONNECT INPUT SOURCE - (VGA/USB/HDMI/COMPONENT IN)

CONNECT INPUT SOURCE DATA TRANSFER

1

2

or

1

2

or

1.Connect the VGA/Component source device with the Universal I/O connector. (1~2)

2.After powering on projector, press "Auto Search Source Button"

to change sources.

Insert universal connector with arrow mark facing up.

<Note>

1.USB device: Support USB Flash Drive

up to 5V/150mA, but does not support USB Hard Disk Drive

2.Female USB cable, Component cable,

and HDMI cable are optional accessories.

1

2

1.Connect laptop or PC for data transfer to the Projector internal memory or additional MicroSD memory using the supplied Male USB Cable. When connected, switch the Projector on.

<Note> The laptop/PC can only detect the input source when the Projector is switched on. The projection will stop when this connection is made.

1

2

or

1

2

4

1. Connect the HDMI source device

INSERT MICROSD CARD

to the mini HDMI connector.


2.After powering on projector, press "Auto Search Source Button"

to change sources.

1. Connect the USB flash drive to the micro USB port using the female USB cable.

2.Select USB Flash Drive from the Main Menu.

1.Insert a MicroSD card into the slot with the gold contacts facing down.

Page 4
Image 4
Optoma Technology PK201BUNDLE manual Charging the Battery Connect Input Source Video, To the mini Hdmi connector

PK201BUNDLE, PK201 specifications

The Optoma Technology PK201 is a compact and portable projector that caters to a variety of presentation needs, making it an excellent choice for professionals and casual users alike. This mini projector is designed to deliver high-quality projections in a surprisingly small package, enabling users to effectively showcase their content on the go.

One of the standout features of the PK201 is its native resolution of 854 x 480 pixels, which, while modest, is complemented by its ability to support higher resolutions up to 1080p. This makes it suitable for displaying a range of multimedia content, from presentations and spreadsheets to videos and images. It employs DLP technology, which ensures sharp images and vibrant colors, making it ideal for everything from business meetings to movie nights.

The PK201 is remarkably lightweight, weighing in at just over a pound, which enhances its portability. It includes an integrated rechargeable battery that offers up to 2 hours of continuous use, allowing users to present without being tethered to a power source, an essential feature for travelers and on-the-go professionals. The microSD card slot is particularly useful, allowing for easy access to files directly from the card, eliminating the need for additional devices.

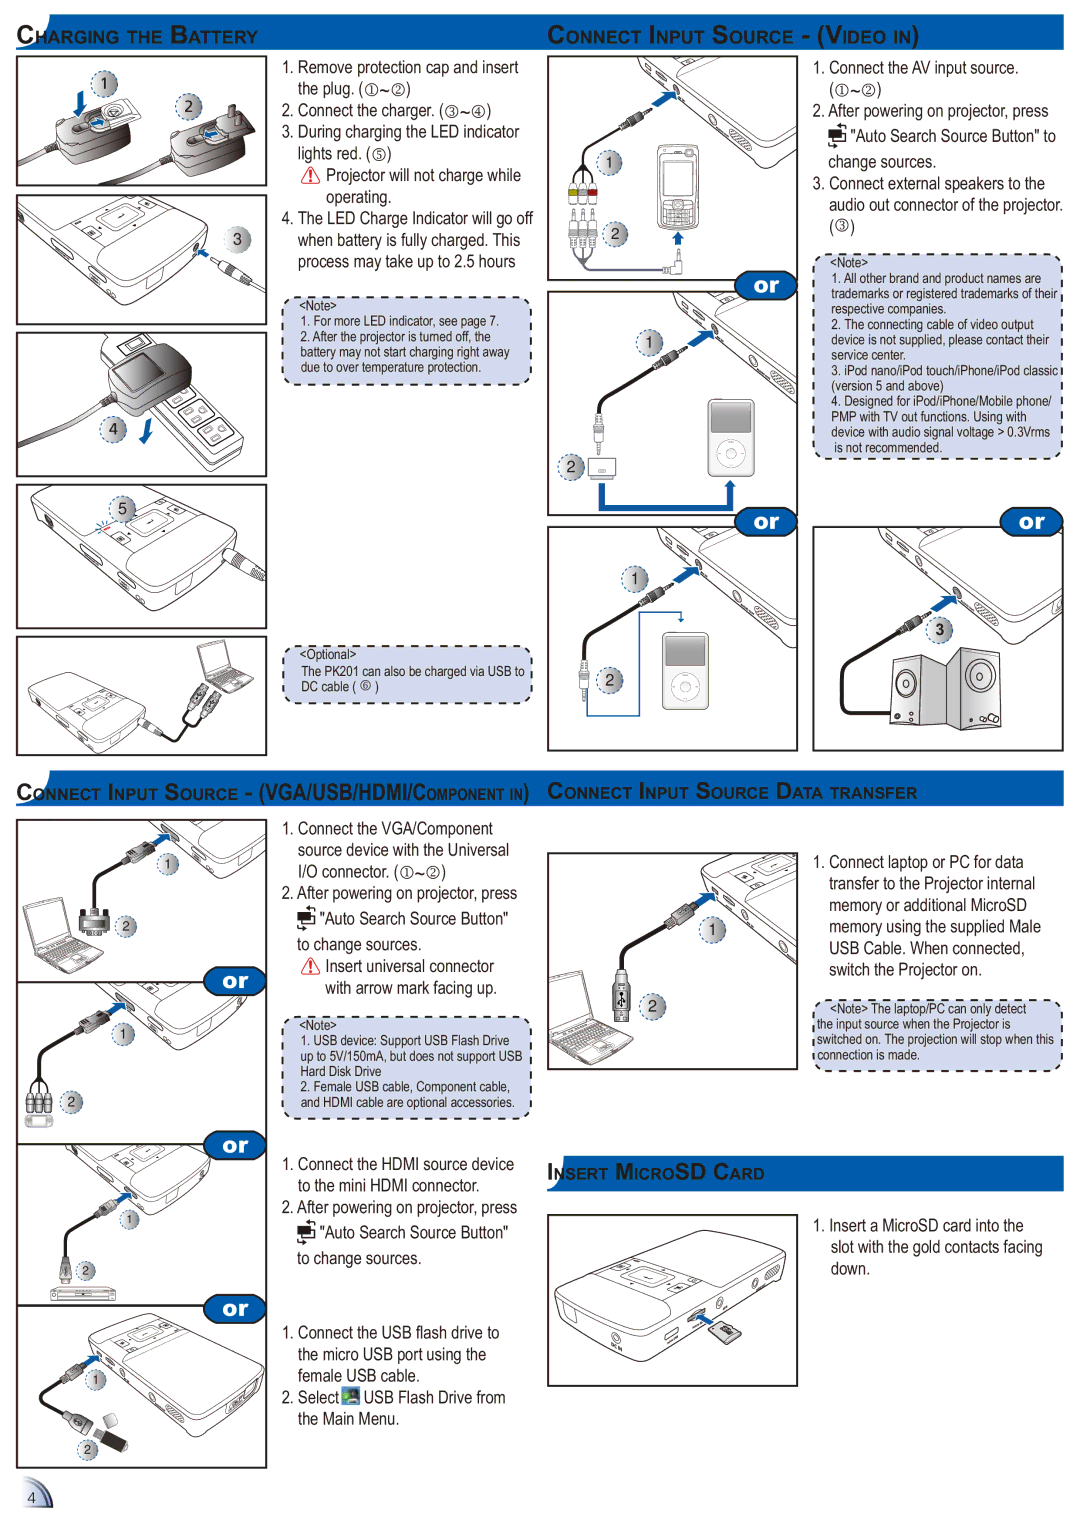
Connectivity options are ample with the Optoma PK201. It features an HDMI input, which is becoming the standard for many devices today, and a mini USB interface for additional connectivity options. The ability to connect to smartphones and tablets via adapters enhances its functionality, making it a versatile tool for modern presentations.

In terms of audio, the PK201 incorporates a built-in speaker, providing decent sound quality for small meetings and casual viewing. Additionally, for more significant audio needs, users can opt to connect external speakers.

The projector's lamp life is rated at an impressive 20,000 hours, ensuring long-term usability and minimizing the need for frequent replacements. The PK201 is ENERGY STAR certified, aligning with environmentally friendly practices.

Overall, the Optoma Technology PK201 is an exceptional choice for anyone in need of a portable, efficient, and high-quality projector that does not compromise on performance despite its diminutive size. Whether for business presentations, educational purposes, or home entertainment, the PK201 stands out as a reliable solution in the realm of portable projection technology.