613GC OPERATOR’S MANUAL
MAINTENANCE
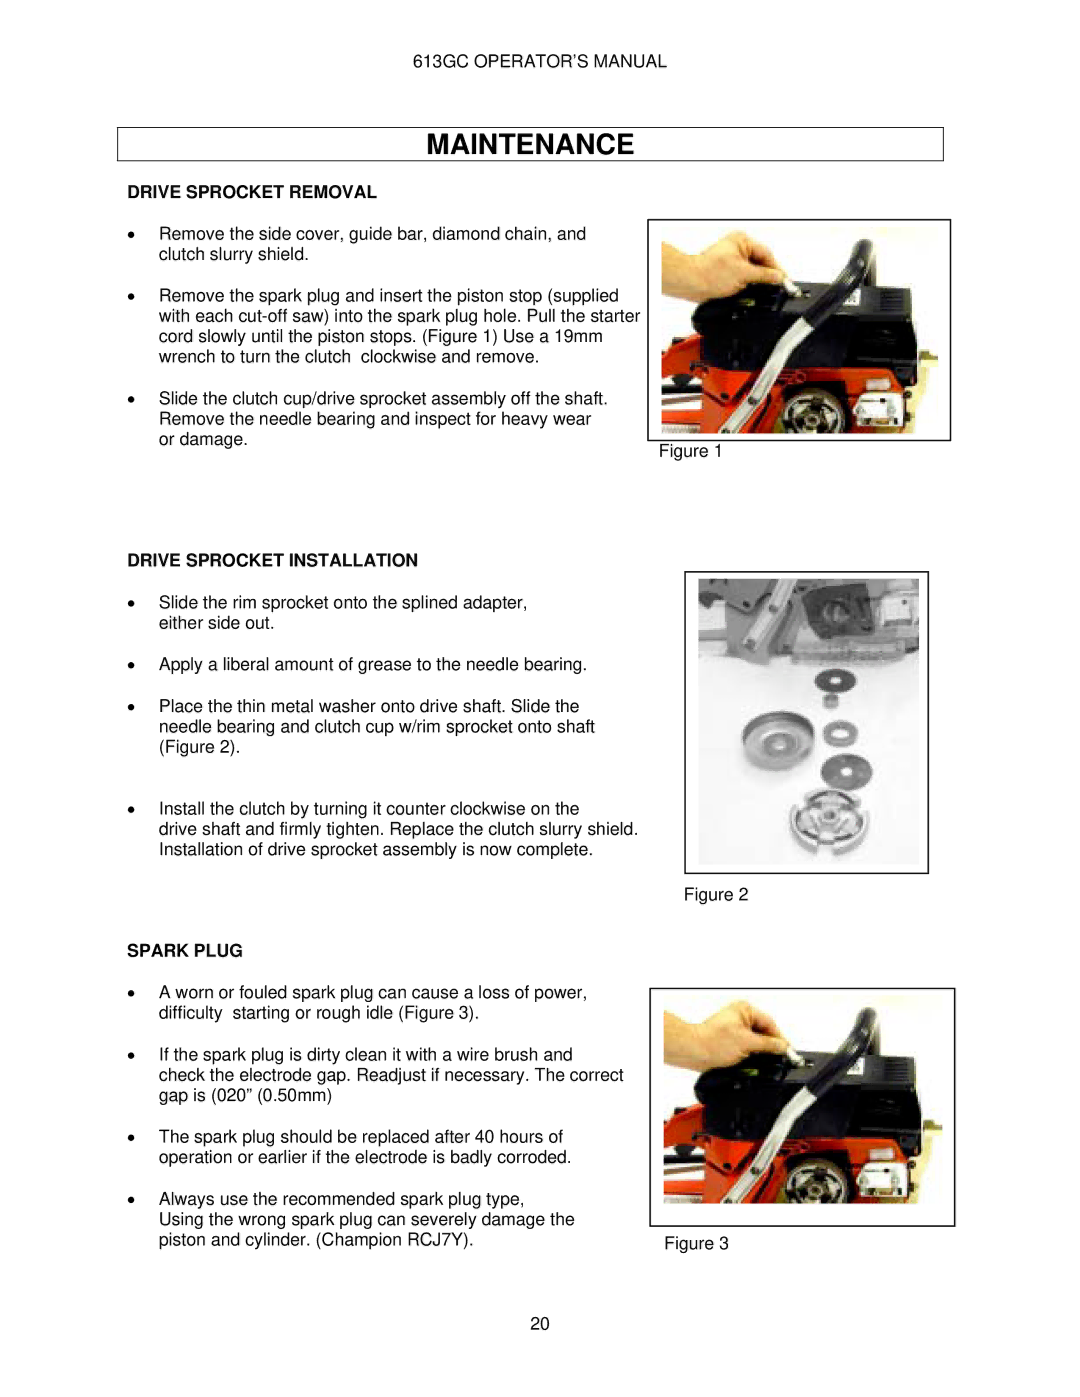
DRIVE SPROCKET REMOVAL
•Remove the side cover, guide bar, diamond chain, and clutch slurry shield.
•Remove the spark plug and insert the piston stop (supplied with each
•Slide the clutch cup/drive sprocket assembly off the shaft. Remove the needle bearing and inspect for heavy wear
or damage. | Figure 1 |
|
DRIVE SPROCKET INSTALLATION
•Slide the rim sprocket onto the splined adapter, either side out.
•Apply a liberal amount of grease to the needle bearing.
•Place the thin metal washer onto drive shaft. Slide the needle bearing and clutch cup w/rim sprocket onto shaft (Figure 2).
•Install the clutch by turning it counter clockwise on the
drive shaft and firmly tighten. Replace the clutch slurry shield. Installation of drive sprocket assembly is now complete.
SPARK PLUG
•A worn or fouled spark plug can cause a loss of power, difficulty starting or rough idle (Figure 3).
•If the spark plug is dirty clean it with a wire brush and check the electrode gap. Readjust if necessary. The correct gap is (020” (0.50mm)
•The spark plug should be replaced after 40 hours of operation or earlier if the electrode is badly corroded.
•Always use the recommended spark plug type, Using the wrong spark plug can severely damage the piston and cylinder. (Champion RCJ7Y).
Figure 2
Figure 3
20