EN
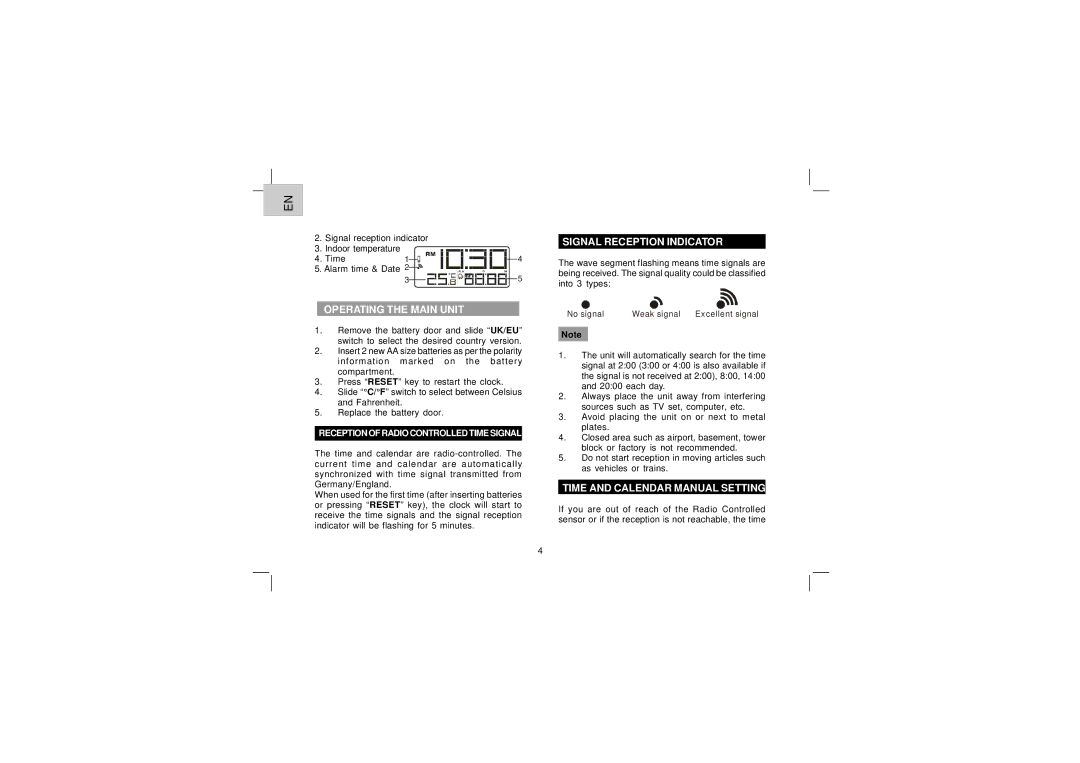
2.Signal reception indicator
3.Indoor temperature
4. Time | 1 |
|
|
|
|
| 4 |
|
|
| |||||
5. Alarm time & Date 2 |
|
|
|
| 5 | ||
|
|
|
| ||||
| 3 |
|
|
|
| ||
|
|
|
|
|
| ||
OPERATING THE MAIN UNIT
1.Remove the battery door and slide “UK/EU” switch to select the desired country version.
2.Insert 2 new AA size batteries as per the polarity information marked on the battery compartment.
3.Press “RESET” key to restart the clock.
4.Slide “°C/°F” switch to select between Celsius and Fahrenheit.
5.Replace the battery door.
RECEPTION OF RADIO CONTROLLED TIME SIGNAL
The time and calendar are
When used for the first time (after inserting batteries or pressing “RESET” key), the clock will start to receive the time signals and the signal reception indicator will be flashing for 5 minutes.
SIGNAL RECEPTION INDICATOR
The wave segment flashing means time signals are being received. The signal quality could be classified into 3 types:
No signal | Weak signal Excellent signal |
Note
1.The unit will automatically search for the time signal at 2:00 (3:00 or 4:00 is also available if the signal is not received at 2:00), 8:00, 14:00 and 20:00 each day.
2.Always place the unit away from interfering sources such as TV set, computer, etc.
3.Avoid placing the unit on or next to metal plates.
4.Closed area such as airport, basement, tower block or factory is not recommended.
5.Do not start reception in moving articles such as vehicles or trains.
TIME AND CALENDAR MANUAL SETTING
If you are out of reach of the Radio Controlled sensor or if the reception is not reachable, the time
4
