and calendar can be set manually. As soon as the signal of sensor is received again, the clock will automatically synchronize with the exact time and calendar.
1.In normal time mode, press “SET CLOCK” key once to enter the time setting mode.
2.Press “+” or
3.Press “SET CLOCK” to confirm. The setting order is:
4.Press “SET CLOCK” key to save and exit the setting mode.
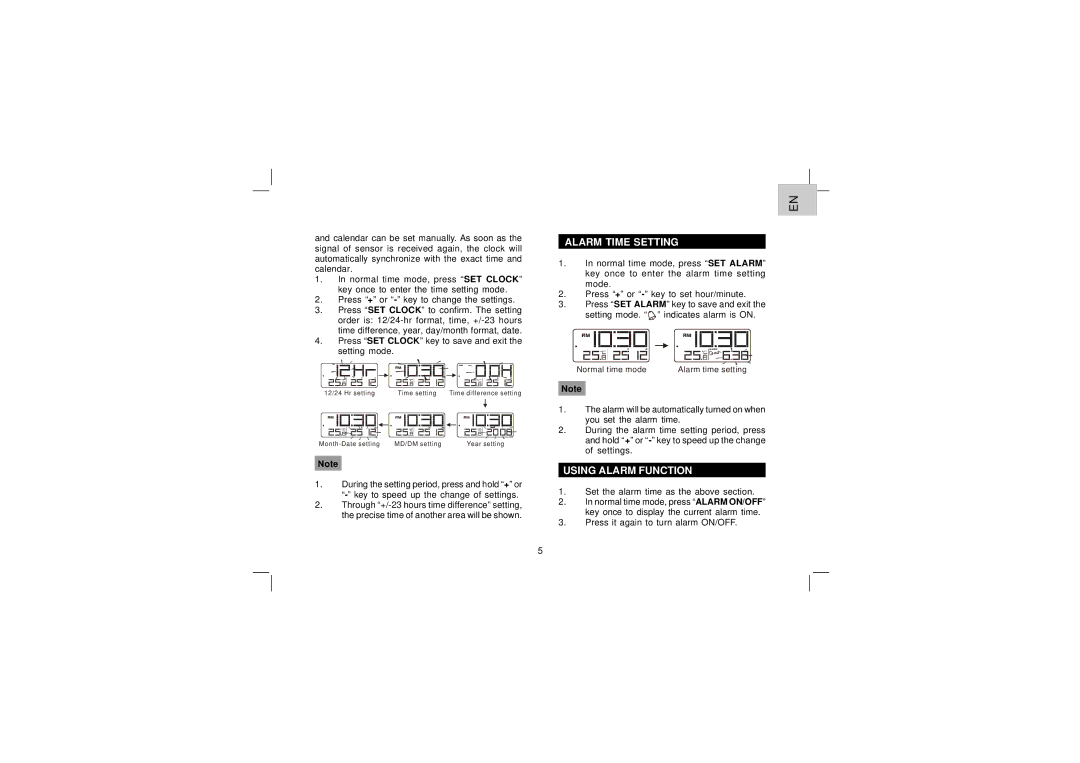
12/24 Hr setting | Time setting | Time difference setting |
MD/DM setting | Year setting |
Note
1.During the setting period, press and hold “+” or
2.Through
EN
ALARM TIME SETTING
1.In normal time mode, press “SET ALARM” key once to enter the alarm time setting mode.
2.Press “+” or
3.Press “SET ALARM” key to save and exit the setting mode. “ ![]() ” indicates alarm is ON.
” indicates alarm is ON.
Normal time mode | Alarm time setting |
Note
1.The alarm will be automatically turned on when you set the alarm time.
2.During the alarm time setting period, press and hold “+” or
USING ALARM FUNCTION
1.Set the alarm time as the above section.
2.In normal time mode, press “ALARM ON/OFF” key once to display the current alarm time.
3.Press it again to turn alarm ON/OFF.
5