Section 2. Assembly – Connecting the Optical Tube to the Dobsonian Base
The following text and images should be substituted for step 3 of this section and Figure 26 in the original instruction manual (see pp. 14 and 15).
Find the
a.b.
Figure 26. Install the black plastic sleeve on the right-side tensioning knob (a), then insert the sleeved shaft into the hole (b) and thread it into the telescope side bearing until just barely tight.
Corrections to the SkyQuest XX12i IntelliScope Instruction Manual (IN 339, Rev A)
Page | Section | Item |
3 | Introduction | Second sentence should read: |
|
| It’s a |
|
| telescope, offering jumbo 12" optics |
|
| made from |
|
| glass, a stylish base, and a sturdy |
|
| truss tube design that easily |
|
| disassembles into compact, portable |
|
| components. |
26 | Specifications | Primary mirror specification should |
|
| read: 305mm diameter reflective |
surface,
Mirror coatings specification should read:
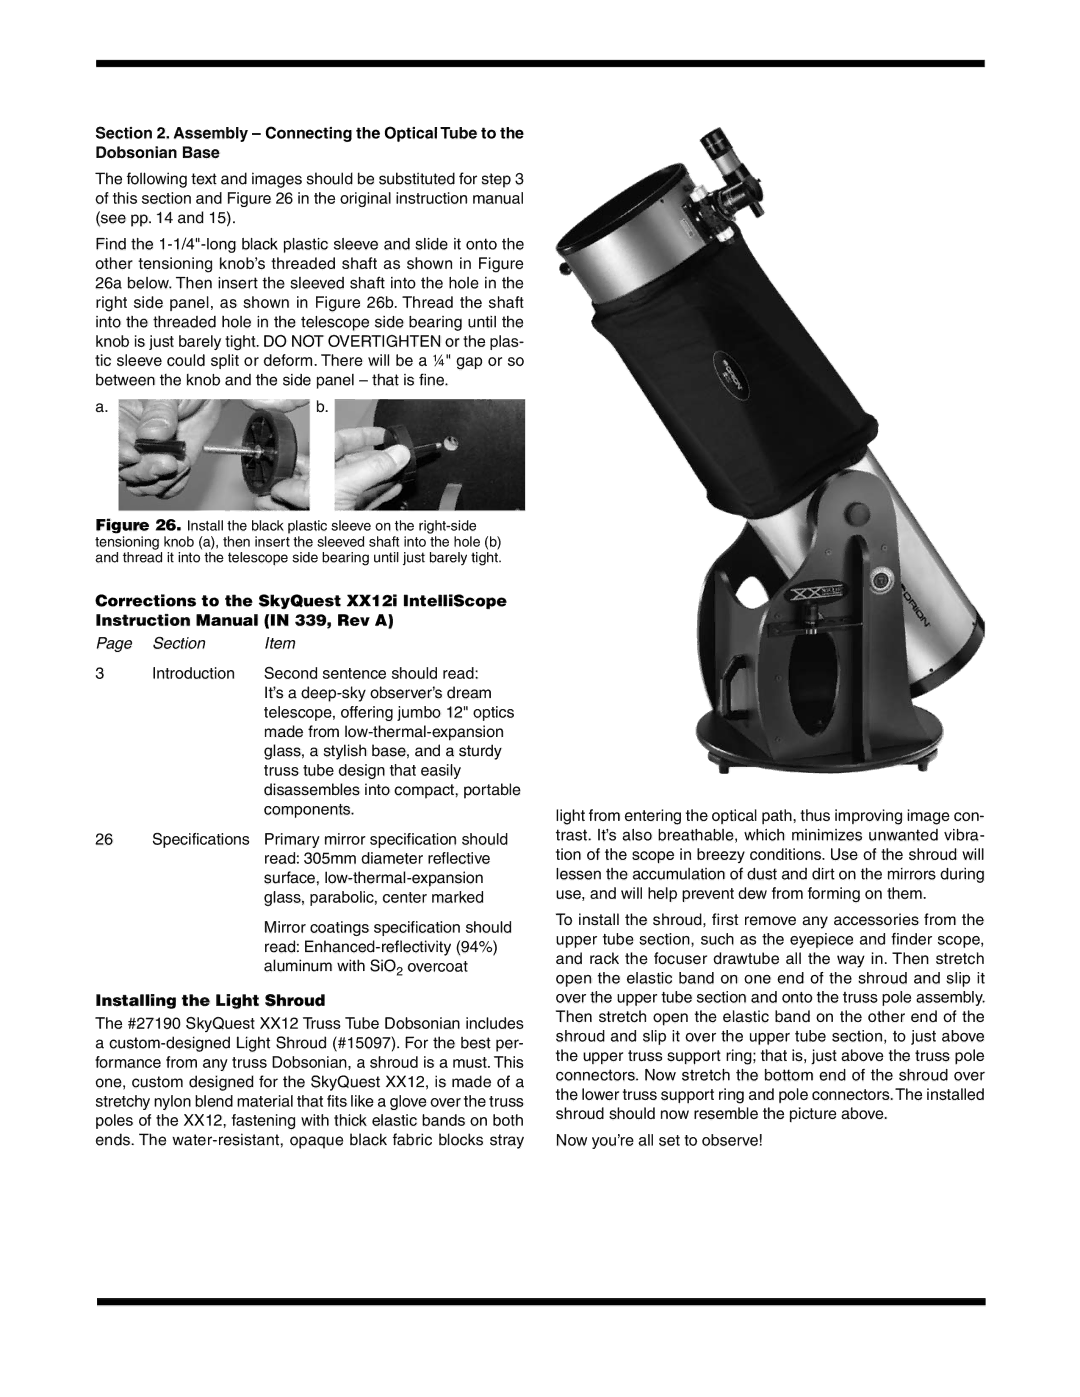
Installing the Light Shroud
The #27190 SkyQuest XX12 Truss Tube Dobsonian includes
a
light from entering the optical path, thus improving image con- trast. It’s also breathable, which minimizes unwanted vibra- tion of the scope in breezy conditions. Use of the shroud will lessen the accumulation of dust and dirt on the mirrors during use, and will help prevent dew from forming on them.
To install the shroud, first remove any accessories from the upper tube section, such as the eyepiece and finder scope, and rack the focuser drawtube all the way in. Then stretch open the elastic band on one end of the shroud and slip it over the upper tube section and onto the truss pole assembly. Then stretch open the elastic band on the other end of the shroud and slip it over the upper tube section, to just above the upper truss support ring; that is, just above the truss pole connectors. Now stretch the bottom end of the shroud over the lower truss support ring and pole connectors. The installed shroud should now resemble the picture above.
Now you’re all set to observe!