Manuals
/
Outdoor Gourmet
/
Outdoor Cooking
/
Gas Grill
Outdoor Gourmet
CG3023E
instruction manual
Tools Required
Models:
CG3023E
1
5
39
39
Download
39 pages
50.01 Kb
1
2
3
4
5
6
7
8
FAQ
Parts list
Assembly Instructions
Cleaning Your Grill
Safety Precautions
Safety
Page 5
Image 5
Tools Required
1
2
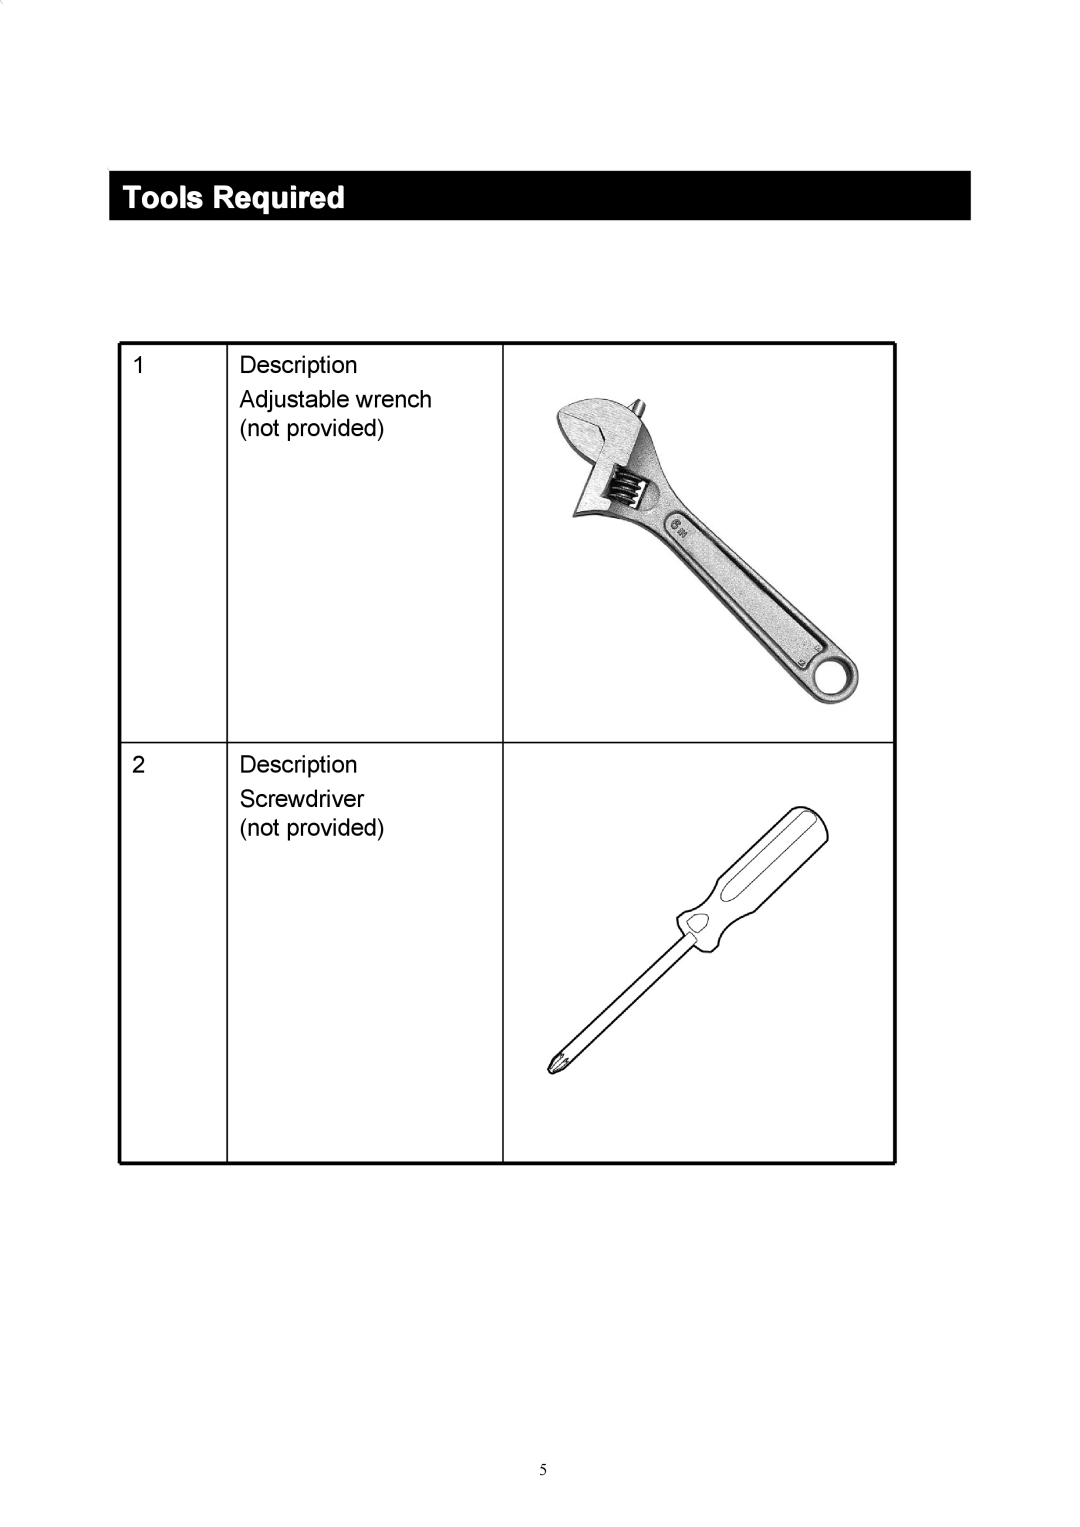
Description
Adjustable wrench (not provided)
Description
Screwdriver (not provided)
5
Page 4
Page 6
Page 5
Image 5
Page 4
Page 6
Contents
Assembly Instructions
For Your Safety
Safety Precautions
Table of Contents
Tools Required
Parts List
Page
Hardware
Assembly Instructions
Assembly Instructions
Do not Install Cylinder AT this Time
Assembly Instructions
Assembly Instructions
Assembly Instructions
Assembly Instructions
Attach 2-BOLTS M6x12 B into the body of firebox
Assembly Instructions
Assembly Instructions
Assembly Instructions
Assembly Instructions
Assembly Instructions
Put 6-cooking grid8 into the grill body. As showen below
Final Assembly
Operation
GAS Grill
LP Cylinder Leak Test
LP Cylinder Filling and Exchange
To Connect the Cylinder to the Regulator and Hose
Transportation and Storage
Leak Testing the REGULATOR, VALVES, HOSES, and Connections
Lighting
For Your Safety
Lighting the Side Burner with the Match Lighting Stick
Lighting the Main Burners Using Electronic Ignition
Lighting the Side Burner with Electronic Ignition
Turning OFF Your Grill
Cleaning Your Grill
Electronic Ignition Maintenance
Cleaning the Burners
Burner Flames
Always
Grilling Tips and Tricks
Direct VS. Indirect Cooking
Side Burner
Burner will not Light
Food Safety
Irregular Flame or Yellow Flame
Sudden Drop in GAS Pressure or Flames Blow OUT
Fire Behind Control Panel
Excessive FLARE-UPS
Charcoal Section and Smoker
Adding Charcoal/Wood During Cooking
AFTER-USE Safety
Frequently Asked Questions
Top
Page
Image
Contents