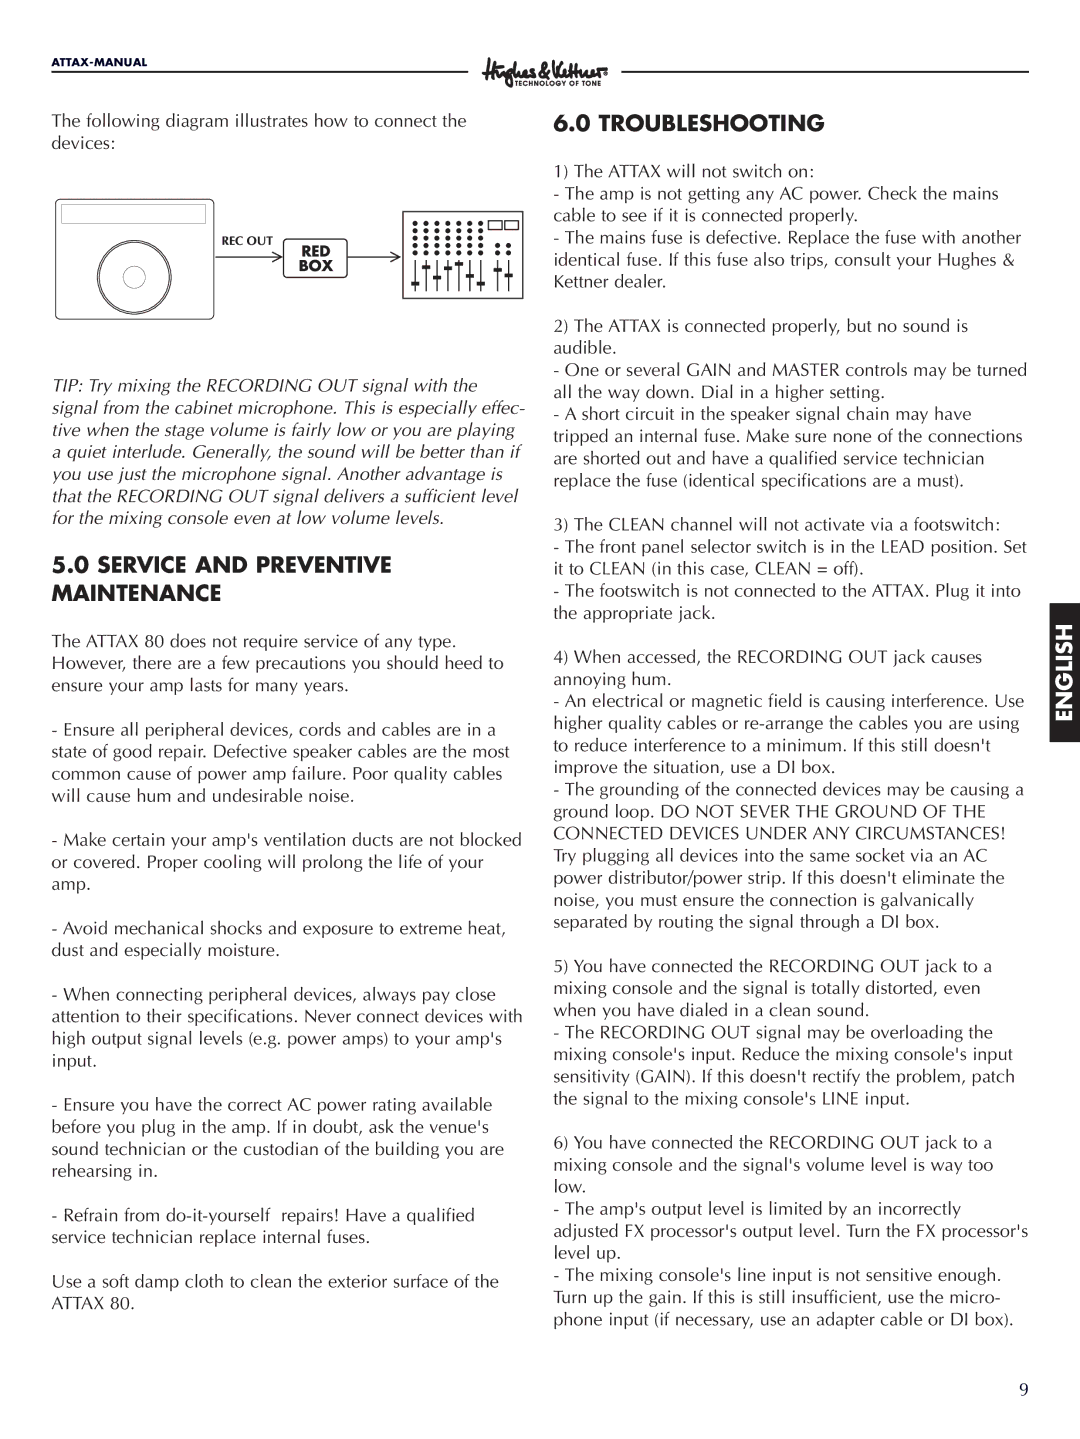
The following diagram illustrates how to connect the devices:
TIP: Try mixing the RECORDING OUT signal with the signal from the cabinet microphone. This is especially effec- tive when the stage volume is fairly low or you are playing a quiet interlude. Generally, the sound will be better than if you use just the microphone signal. Another advantage is that the RECORDING OUT signal delivers a sufficient level for the mixing console even at low volume levels.
5.0SERVICE AND PREVENTIVE MAINTENANCE
The ATTAX 80 does not require service of any type. However, there are a few precautions you should heed to ensure your amp lasts for many years.
-Ensure all peripheral devices, cords and cables are in a state of good repair. Defective speaker cables are the most common cause of power amp failure. Poor quality cables will cause hum and undesirable noise.
-Make certain your amp's ventilation ducts are not blocked or covered. Proper cooling will prolong the life of your amp.
-Avoid mechanical shocks and exposure to extreme heat, dust and especially moisture.
-When connecting peripheral devices, always pay close attention to their specifications. Never connect devices with high output signal levels (e.g. power amps) to your amp's input.
-Ensure you have the correct AC power rating available before you plug in the amp. If in doubt, ask the venue's sound technician or the custodian of the building you are rehearsing in.
-Refrain from
Use a soft damp cloth to clean the exterior surface of the ATTAX 80.
6.0 TROUBLESHOOTING
1) The ATTAX will not switch on:
-The amp is not getting any AC power. Check the mains cable to see if it is connected properly.
-The mains fuse is defective. Replace the fuse with another identical fuse. If this fuse also trips, consult your Hughes & Kettner dealer.
2)The ATTAX is connected properly, but no sound is audible.
- One or several GAIN and MASTER controls may be turned all the way down. Dial in a higher setting.
- A short circuit in the speaker signal chain may have tripped an internal fuse. Make sure none of the connections are shorted out and have a qualified service technician replace the fuse (identical specifications are a must).
3)The CLEAN channel will not activate via a footswitch:
-The front panel selector switch is in the LEAD position. Set it to CLEAN (in this case, CLEAN = off).
-The footswitch is not connected to the ATTAX. Plug it into the appropriate jack.
4)When accessed, the RECORDING OUT jack causes annoying hum.
- An electrical or magnetic field is causing interference. Use higher quality cables or
- The grounding of the connected devices may be causing a ground loop. DO NOT SEVER THE GROUND OF THE CONNECTED DEVICES UNDER ANY CIRCUMSTANCES! Try plugging all devices into the same socket via an AC power distributor/power strip. If this doesn't eliminate the noise, you must ensure the connection is galvanically separated by routing the signal through a DI box.
5)You have connected the RECORDING OUT jack to a mixing console and the signal is totally distorted, even when you have dialed in a clean sound.
- The RECORDING OUT signal may be overloading the mixing console's input. Reduce the mixing console's input sensitivity (GAIN). If this doesn't rectify the problem, patch the signal to the mixing console's LINE input.
6)You have connected the RECORDING OUT jack to a mixing console and the signal's volume level is way too low.
- The amp's output level is limited by an incorrectly adjusted FX processor's output level. Turn the FX processor's level up.
- The mixing console's line input is not sensitive enough. Turn up the gain. If this is still insufficient, use the micro- phone input (if necessary, use an adapter cable or DI box).
ENGLISH
9