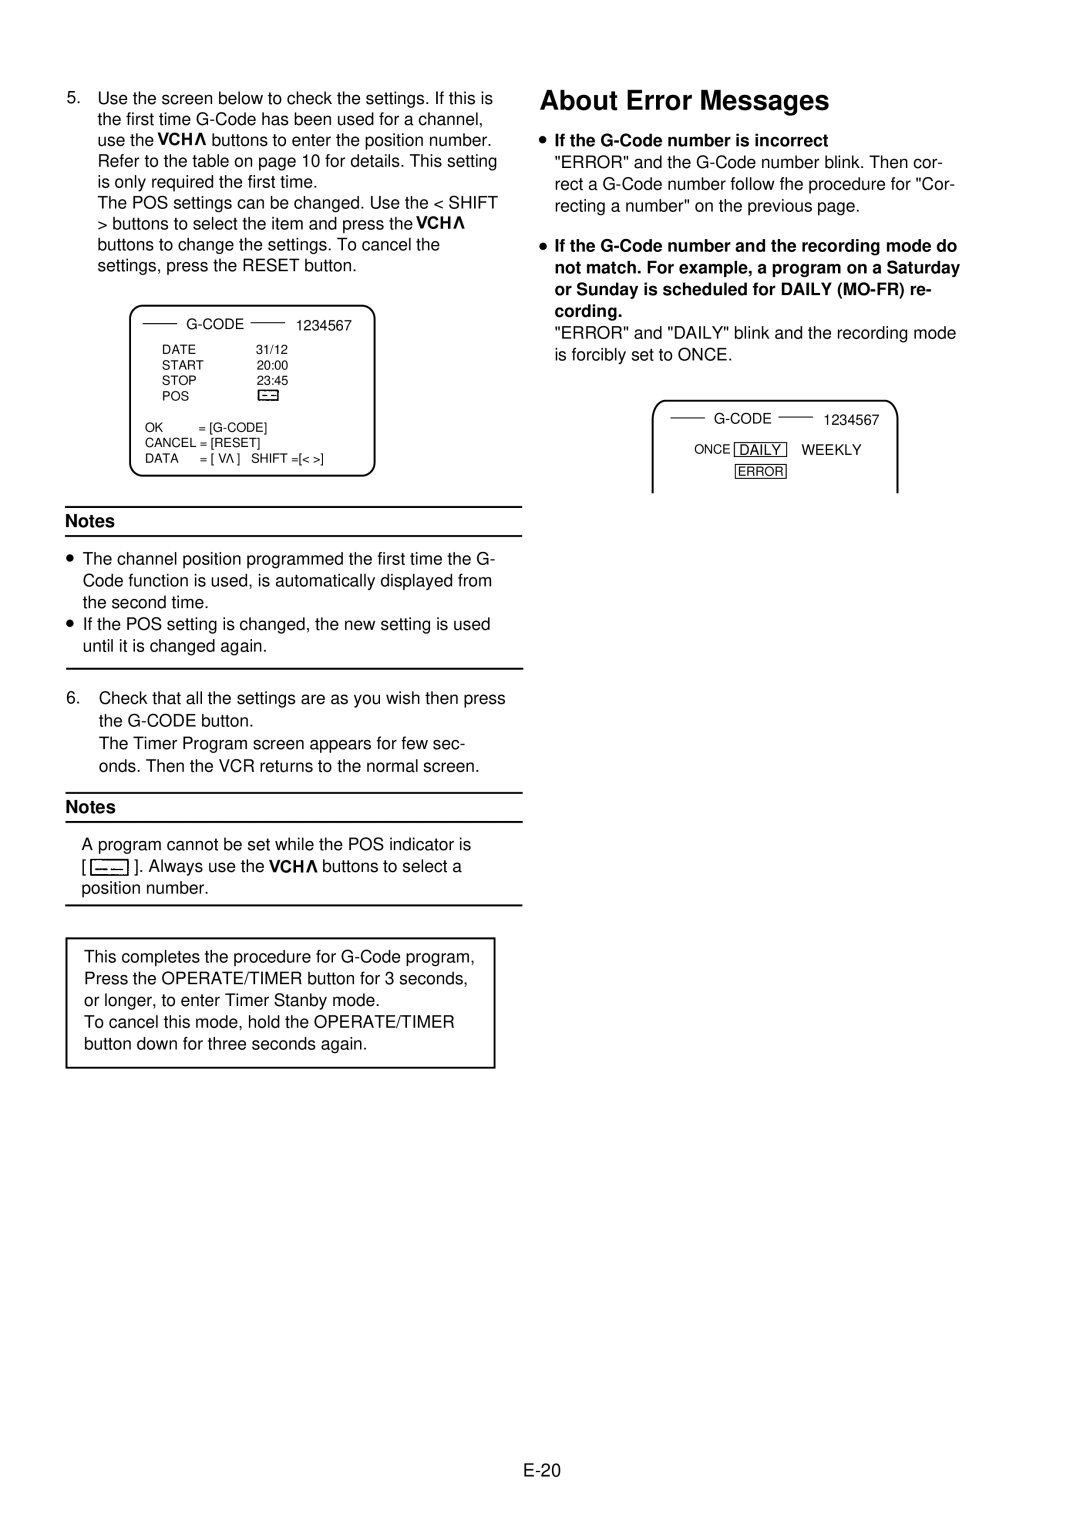
5.Use the screen below to check the settings. If this is
the first time
use the ![]() buttons to enter the position number. Refer to the table on page 10 for details. This setting is only required the first time.
buttons to enter the position number. Refer to the table on page 10 for details. This setting is only required the first time.
The POS settings can be changed. Use the < SHIFT > buttons to select the item and press the ![]() buttons to change the settings. To cancel the settings, press the RESET button.
buttons to change the settings. To cancel the settings, press the RESET button.
DATE 31/12
START 20:00
STOP 23:45
POS
OK | = |
CANCEL = [RESET] | |
DATA | = [ VV ] SHIFT =[< >] |
.NotesThe channel position programmed the first time the G- Code function is used, is automatically displayed from
. the second time.
If the POS setting is changed, the new setting is used until it is changed again.
6.Check that all the settings are as you wish then press the
The Timer Program screen appears for few sec- onds. Then the VCR returns to the normal screen.
Notes
A program cannot be set while the POS indicator is
[ ![]() ]. Always use the
]. Always use the ![]() buttons to select a position number.
buttons to select a position number.
This completes the procedure for
To cancel this mode, hold the OPERATE/TIMER button down for three seconds again.
About Error Messages
. If the G-Code number is incorrect
"ERROR" and the
. If the
"ERROR" and "DAILY" blink and the recording mode is forcibly set to ONCE.
ONCE DAILY WEEKLY
ERROR