AJ-FRC27E specifications
The Panasonic AJ-FRC27E is a standout device in the realm of broadcast and production video equipment, specifically designed for professional video production environments. This advanced frame rate converter offers a range of features and technologies that enhance video quality and streamline workflows, making it an invaluable tool for production studios and broadcasters.One of the primary features of the AJ-FRC27E is its high-quality frame rate conversion capabilities. It supports a variety of input formats, including 1080p, 720p, and standard definition formats, and can convert them to various output frame rates, such as 24p, 30p, and 60p. This versatility enables content creators to achieve the desired cinematic look or maintain broadcast standards across different platforms, ensuring a seamless viewing experience.
The AJ-FRC27E incorporates advanced processing technologies, including Panasonic's proprietary algorithms, which significantly improve motion compensation and reduce artifacts during frame rate conversion. This results in smoother motion, clearer images, and reduced flickering, making it ideal for fast-paced action scenes or sports broadcasts where clarity is paramount.
Another standout characteristic of the AJ-FRC27E is its robust connectivity options. With multiple input and output interfaces such as HD-SDI and analog connections, it can easily integrate into existing production setups. This compatibility allows for effortless connection to cameras, monitors, and other production gear, facilitating a more efficient workflow.
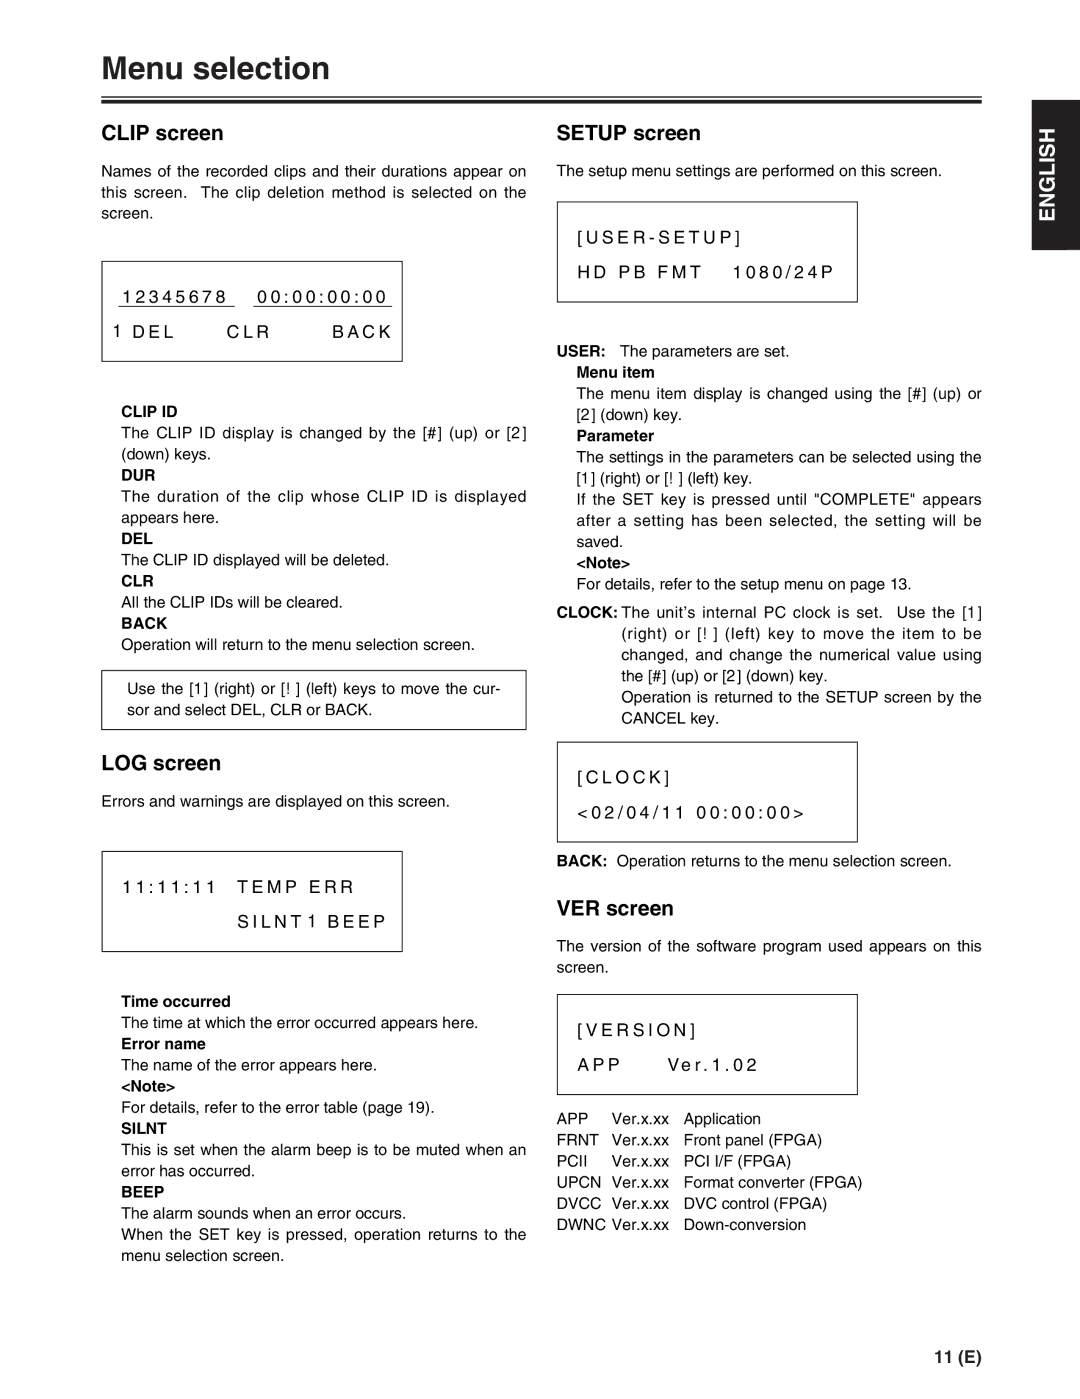
The design of the AJ-FRC27E is also notable for its user-friendly interface, which enhances the operational experience. The intuitive controls and clear display make it easy for operators to adjust settings, monitor performance, and achieve the desired output without complications. Furthermore, it features real-time monitoring capabilities, enabling users to assess the quality of their conversions live during production.
Finally, the AJ-FRC27E excels in reliability and durability, ensuring consistent performance in demanding production environments. Its solid build quality is designed to withstand the rigors of professional use, making it a dependable choice for media professionals.
In summary, the Panasonic AJ-FRC27E frame rate converter stands out for its exceptional quality, advanced processing technologies, versatility, robust connectivity, user-friendly design, and reliability. These features make it a crucial tool for enhancing video production and meeting the high standards of the broadcasting industry.

