11
(a) (b)
12 |
|
(c) | (d) |
13
(e)
(f)
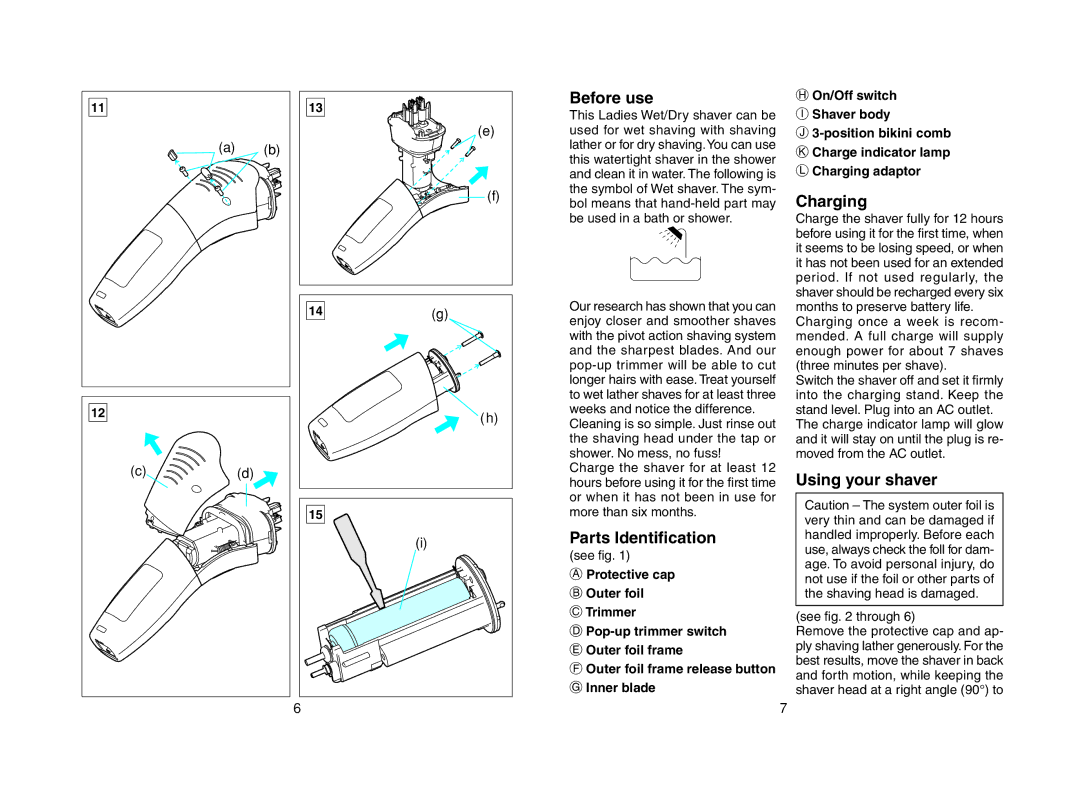
14 | (g) |
| ( h) |
15 |
|
| (i) |
6
Before use
This Ladies Wet/Dry shaver can be used for wet shaving with shaving lather or for dry shaving.You can use this watertight shaver in the shower and clean it in water. The following is the symbol of Wet shaver. The sym- bol means that
Our research has shown that you can enjoy closer and smoother shaves with the pivot action shaving system and the sharpest blades. And our
Cleaning is so simple. Just rinse out the shaving head under the tap or shower. No mess, no fuss!
Charge the shaver for at least 12 hours before using it for the first time or when it has not been in use for more than six months.
Parts Identification
(see fig. 1)
A Protective cap
B Outer foil
CTrimmer
D
EOuter foil frame
FOuter foil frame release button
GInner blade
7
H On/Off switch
I Shaver body
J
K Charge indicator lamp
L Charging adaptor
Charging
Charge the shaver fully for 12 hours before using it for the first time, when it seems to be losing speed, or when it has not been used for an extended period. If not used regularly, the shaver should be recharged every six months to preserve battery life.
Charging once a week is recom- mended. A full charge will supply enough power for about 7 shaves (three minutes per shave).
Switch the shaver off and set it firmly into the charging stand. Keep the stand level. Plug into an AC outlet.
The charge indicator lamp will glow and it will stay on until the plug is re- moved from the AC outlet.
Using your shaver
Caution – The system outer foil is very thin and can be damaged if handled improperly. Before each use, always check the foll for dam- age. To avoid personal injury, do not use if the foil or other parts of the shaving head is damaged.
(see fig. 2 through 6)
Remove the protective cap and ap- ply shaving lather generously. For the best results, move the shaver in back and forth motion, while keeping the shaver head at a right angle (90°) to
7
