OPERATION
To start the engine:
Put the engine switch in the ON ( - ) position.
Push choke in to start.
Grasp recoil starter and pull slowly until resistance is felt. Give recoil starter a short, brisk pull to start the engine.
NOTE: Do not allow the recoil starter to snap back after starting; return it gently to its original place.
Let engine run for several seconds, then pull choke out.
To stop the engine:
Put the engine switch in the OFF ( O ) position.
nPush the nozzle into the
To disconnect a nozzle from the trigger handle once the cleaning job is complete:
nTurn off the pressure washer and shut off the water supply. Pull trigger to release water pressure.
nEngage the lock out on the trigger handle by pushing up on the lock out until it clicks into the slot.
nRemove the nozzle by placing hand over nozzle then pulling back the
ASSEMBLING THE SPRAY WAND TO THE TRIGGER HANDLE
See Figure 16.
nPlace the threaded end of the spray wand in the connector on the end of the trigger handle.
nTurn the connector clockwise until it stops. This secures the spray wand in place.
USING THE SPRAY WAND TRIGGER
See Figures 17 - 18.
For greater control and safety, keep both hands on the trigger handle at all times.
nPull back and hold the trigger to operate the pressure washer.
nRelease the trigger to stop the flow of water through the nozzle.
To engage the lock out:
nPush up on the lock out until it clicks into the slot.
To disengage the lock out:
nPush the lock out down and into its original position.
For the most effective cleaning, the spray nozzle should be between 8 in. and 24 in. from the surface to be cleaned. If the spray is too close it can damage the cleaning surface.
INSTALLING/REMOVING NOZZLES
See Figure 19.
WARNING:
NEVER change nozzles or spray patterns without lock- ing the lock out on the trigger handle and NEVER point the wand at your face or at others. The
Using the
To connect the nozzle to the trigger handle:
nTurn off the pressure washer and shut off the water supply. Pull trigger to release water pressure.
nEngage the lock out on the trigger handle by pushing up on the lock out until it clicks into the slot.
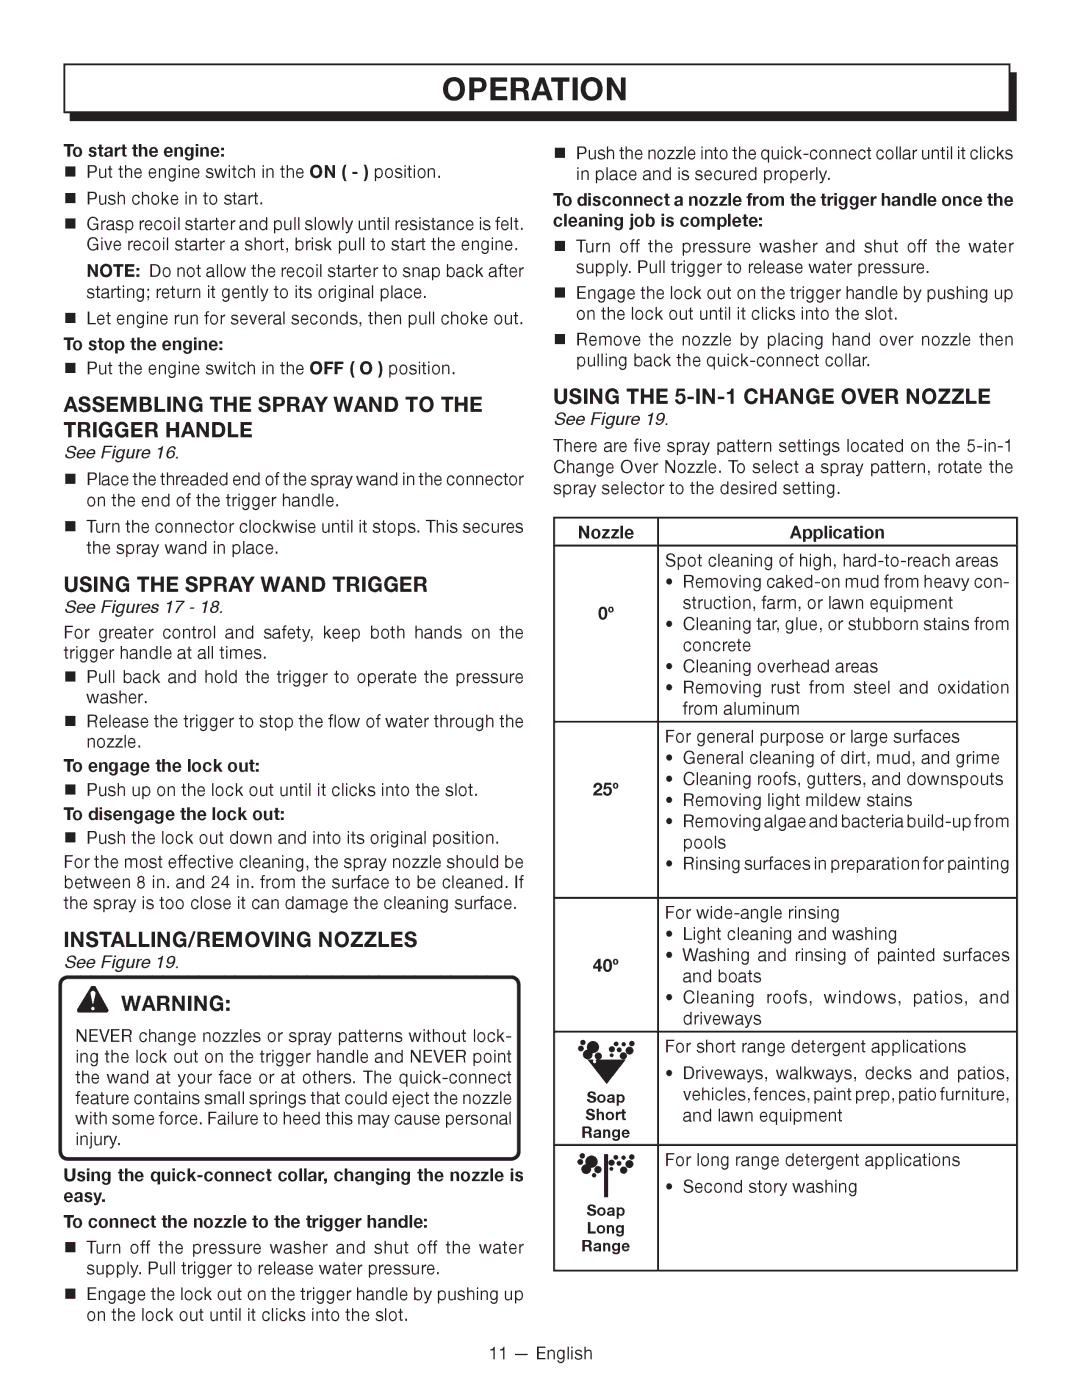
USING THE 5-IN-1 CHANGE OVER NOZZLE
See Figure 19.
There are five spray pattern settings located on the
Nozzle | Application | ||
|
|
| |
|
| Spot cleaning of high, | |
|
| • Removing | |
0º | struction, farm, or lawn equipment | ||
• Cleaning tar, glue, or stubborn stains from | |||
|
| ||
|
| concrete | |
|
| • Cleaning overhead areas | |
|
| • Removing rust from steel and oxidation | |
|
| from aluminum | |
|
|
| |
|
| For general purpose or large surfaces | |
|
| • General cleaning of dirt, mud, and grime | |
25º | • Cleaning roofs, gutters, and downspouts | ||
• Removing light mildew stains | |||
|
| ||
|
| • Removing algae and bacteria | |
|
| pools | |
|
| • Rinsing surfaces in preparation for painting | |
|
|
| |
|
| For | |
|
| • Light cleaning and washing | |
40º | • Washing and rinsing of painted surfaces | ||
and boats | |||
|
| ||
|
| • Cleaning roofs, windows, patios, and | |
|
| driveways | |
|
|
| |
|
| For short range detergent applications | |
|
| • Driveways, walkways, decks and patios, | |
Soap | vehicles, fences, paint prep, patio furniture, | ||
Short | and lawn equipment | ||
Range |
| ||
|
| For long range detergent applications | |
|
| ||
|
| • Second story washing | |
Soap |
| ||
Long |
| ||
Range |
| ||
|
|
| |
11 — English
