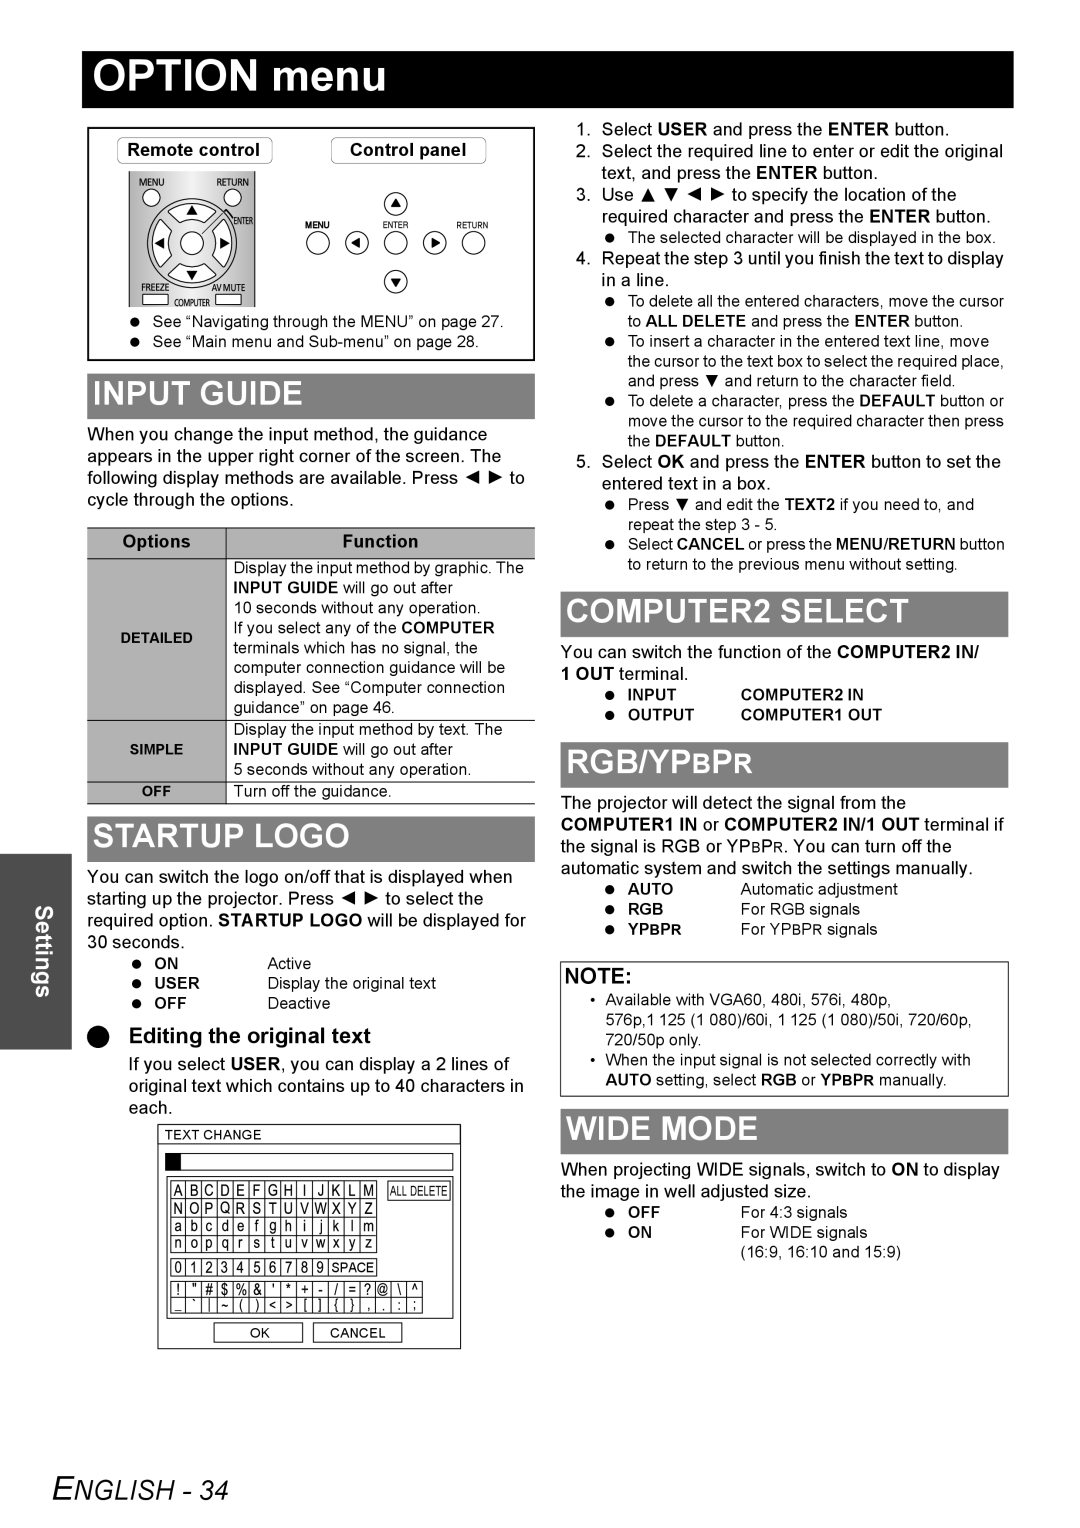
OPTION menu
Settings
Remote control | Control panel |
MENU | RETURN |
See “Navigating through the MENU” on page 27. See “Main menu and
INPUT GUIDE
When you change the input method, the guidance appears in the upper right corner of the screen. The following display methods are available. Press I H to cycle through the options.
Options | Function | |
| Display the input method by graphic. The | |
| INPUT GUIDE will go out after | |
| 10 seconds without any operation. | |
DETAILED | If you select any of the COMPUTER | |
terminals which has no signal, the | ||
| ||
| computer connection guidance will be | |
| displayed. See “Computer connection | |
| guidance” on page 46. | |
| Display the input method by text. The | |
SIMPLE | INPUT GUIDE will go out after | |
| 5 seconds without any operation. | |
OFF | Turn off the guidance. |
STARTUP LOGO
You can switch the logo on/off that is displayed when starting up the projector. Press I H to select the required option. STARTUP LOGO will be displayed for 30 seconds.
ON | Active |
USER | Display the original text |
OFF | Deactive |
Editing the original text
If you select USER, you can display a 2 lines of original text which contains up to 40 characters in each.
TEXT CHANGE
| ALL DELETE |
| SPACE |
OK | CANCEL |
1.Select USER and press the ENTER button.
2.Select the required line to enter or edit the original text, and press the ENTER button.
3.Use F G I H to specify the location of the required character and press the ENTER button.
The selected character will be displayed in the box.
4.Repeat the step 3 until you finish the text to display in a line.
To delete all the entered characters, move the cursor to ALL DELETE and press the ENTER button.
To insert a character in the entered text line, move the cursor to the text box to select the required place, and press G and return to the character field.
To delete a character, press the DEFAULT button or move the cursor to the required character then press the DEFAULT button.
5.Select OK and press the ENTER button to set the entered text in a box.
Press G and edit the TEXT2 if you need to, and repeat the step 3 - 5.
Select CANCEL or press the MENU/RETURN button to return to the previous menu without setting.
COMPUTER2 SELECT
You can switch the function of the COMPUTER2 IN/ 1 OUT terminal.
INPUT | COMPUTER2 IN |
OUTPUT | COMPUTER1 OUT |
RGB/YPBPR
The projector will detect the signal from the COMPUTER1 IN or COMPUTER2 IN/1 OUT terminal if the signal is RGB or YPBPR. You can turn off the automatic system and switch the settings manually.
AUTO | Automatic adjustment |
RGB | For RGB signals |
YPBPR | For YPBPR signals |
NOTE:
•Available with VGA60, 480i, 576i, 480p,
576p,1 125 (1 080)/60i, 1 125 (1 080)/50i, 720/60p, 720/50p only.
•When the input signal is not selected correctly with AUTO setting, select RGB or YPBPR manually.
WIDE MODE
When projecting WIDE signals, switch to ON to display the image in well adjusted size.
OFF | For 4:3 signals |
ON | For WIDE signals |
| (16:9, 16:10 and 15:9) |
