
SC-VK70D, SC-VK80D, SC-VK90D specifications
The Panasonic SC-VK series, comprising the SC-VK90D, SC-VK80D, and SC-VK70D, represents a robust line of audio systems designed for music enthusiasts seeking high-quality sound and versatility in their listening experience.The SC-VK90D stands at the top of the lineup, boasting an impressive 3000 watts of total power output. This model is equipped with a sophisticated DJ function that includes various sound effects, making it ideal for parties and gatherings. One of its standout features is the Bluetooth connectivity, allowing users to stream music wirelessly from their devices. Additionally, it supports an array of audio formats, including MP3 and WMA, ensuring compatibility with most digital music libraries. The inclusion of a built-in FM tuner enhances its functionality, providing access to a diverse array of radio stations.
Moving to the SC-VK80D, this model retains many of the performance characteristics of its more powerful counterpart while offering a slightly reduced power output of 2200 watts. This model is perfect for home use, striking a balance between power and energy efficiency. The SC-VK80D also features Bluetooth connectivity, a USB port for direct playback, and a CD player, making it a versatile choice for users who want multiple ways to experience their music. Its compact design facilitates easy placement in various living spaces without compromising sound quality.
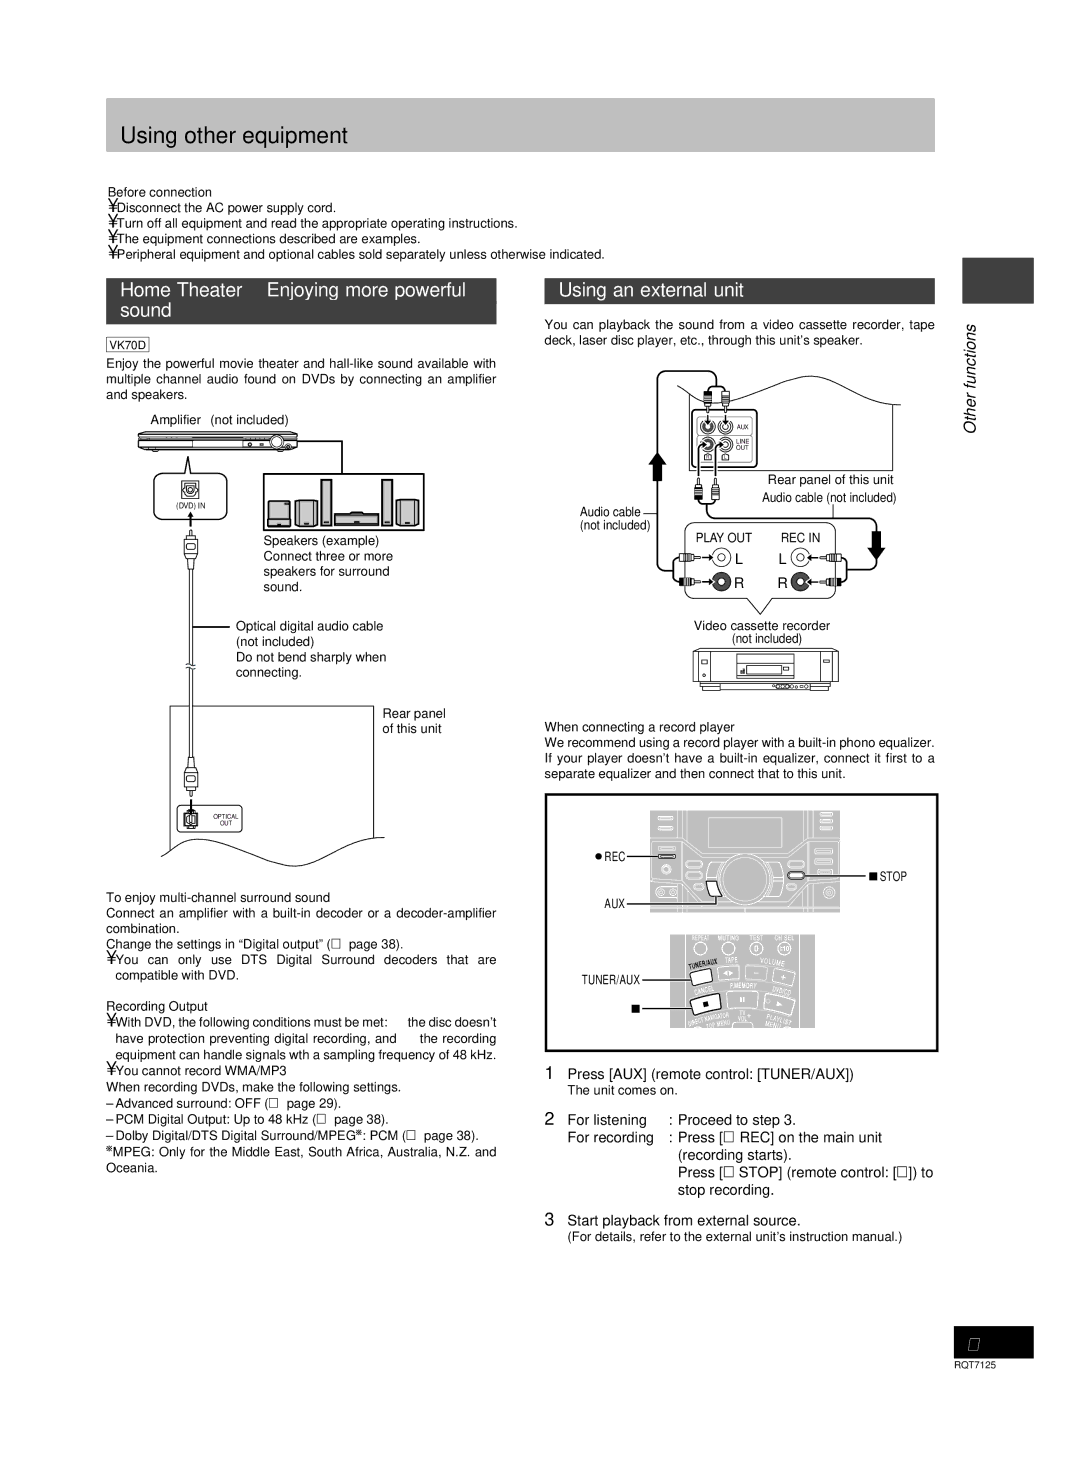
The SC-VK70D is an entry-level model that still delivers an impressive audio performance, with a total power output of 1000 watts. It is designed to meet the needs of those seeking a reliable sound system without excessive power. The SC-VK70D includes basic Bluetooth functionality and supports USB connections for playback, making it user-friendly. Additionally, it features a variety of sound modes, allowing listeners to customize their audio experience whether they are enjoying music, watching movies, or hosting parties.
All three models in the SC-VK series incorporate advanced audio technologies such as the Clear Sound and Dynamic Bass features, which enhance overall sound clarity and produce deep, resonant bass lines. They also employ a sleek, modern design with easy-to-use interfaces, emphasizing usability alongside aesthetic appeal.
In summary, the Panasonic SC-VK90D, SC-VK80D, and SC-VK70D cater to a wide range of audio preferences, making them suitable for various settings—be it a small gathering or a large event. Each model offers distinct features, yet all share a common goal: to deliver a powerful and immersive listening experience.