Anti-Shock Function
The letters such as A in the various illustrations refer to the descriptions in the “Location of Controls” section (See page 4.) .
The
When bumps continue repeatedly
The following indicator appears on the display and sound is interrupted.
DSORRY
A.SHOCK
Note!
≥The
≥During
Press during play or stop mode.
A.SHOCK | To cancel the |
Press [A.SHOCK, FM RECEPT, %CITY/NOR] again. | |
E |
|
FM RECEPT |
|
%CITY/NOR |
|
The following indicator appears on the display. |
|
Using the unit with an audio system
The
D
A.SHOCK
Using the Unit with Optional
Accessories
Maintenance
If the surfaces are dirty
To clean this unit, wipe with a soft, dry cloth.
Using the unit with an audio system
Using the stereo connection cable (not included), you can listen to CDs on your audio system.
≥Turn off the amplifier power and connect the cable.
≥Do not connect the cable to the PHONO jacks on the amplifier.
≥Obtain the optional connecting cable if the amplifier comes with
≥Adjust the volume on the amplifier.
OUT jack
Using the unit with a car audio system
Items to be purchased
For connection to the car audio system:
Car stereo cassette adaptor
Connect the car stereo cassette adaptor to the unit’s headphone jack. (When doing this, keep the unit’s VOLUME at a setting between 4 and 6.)
If the surfaces are extremely dirty, use a soft cloth dipped in a
≥Never use alcohol, paint thinner or benzine to clean this unit.
≥Before using chemically treated cloth, read the instruc- tions that came with the cloth carefully.
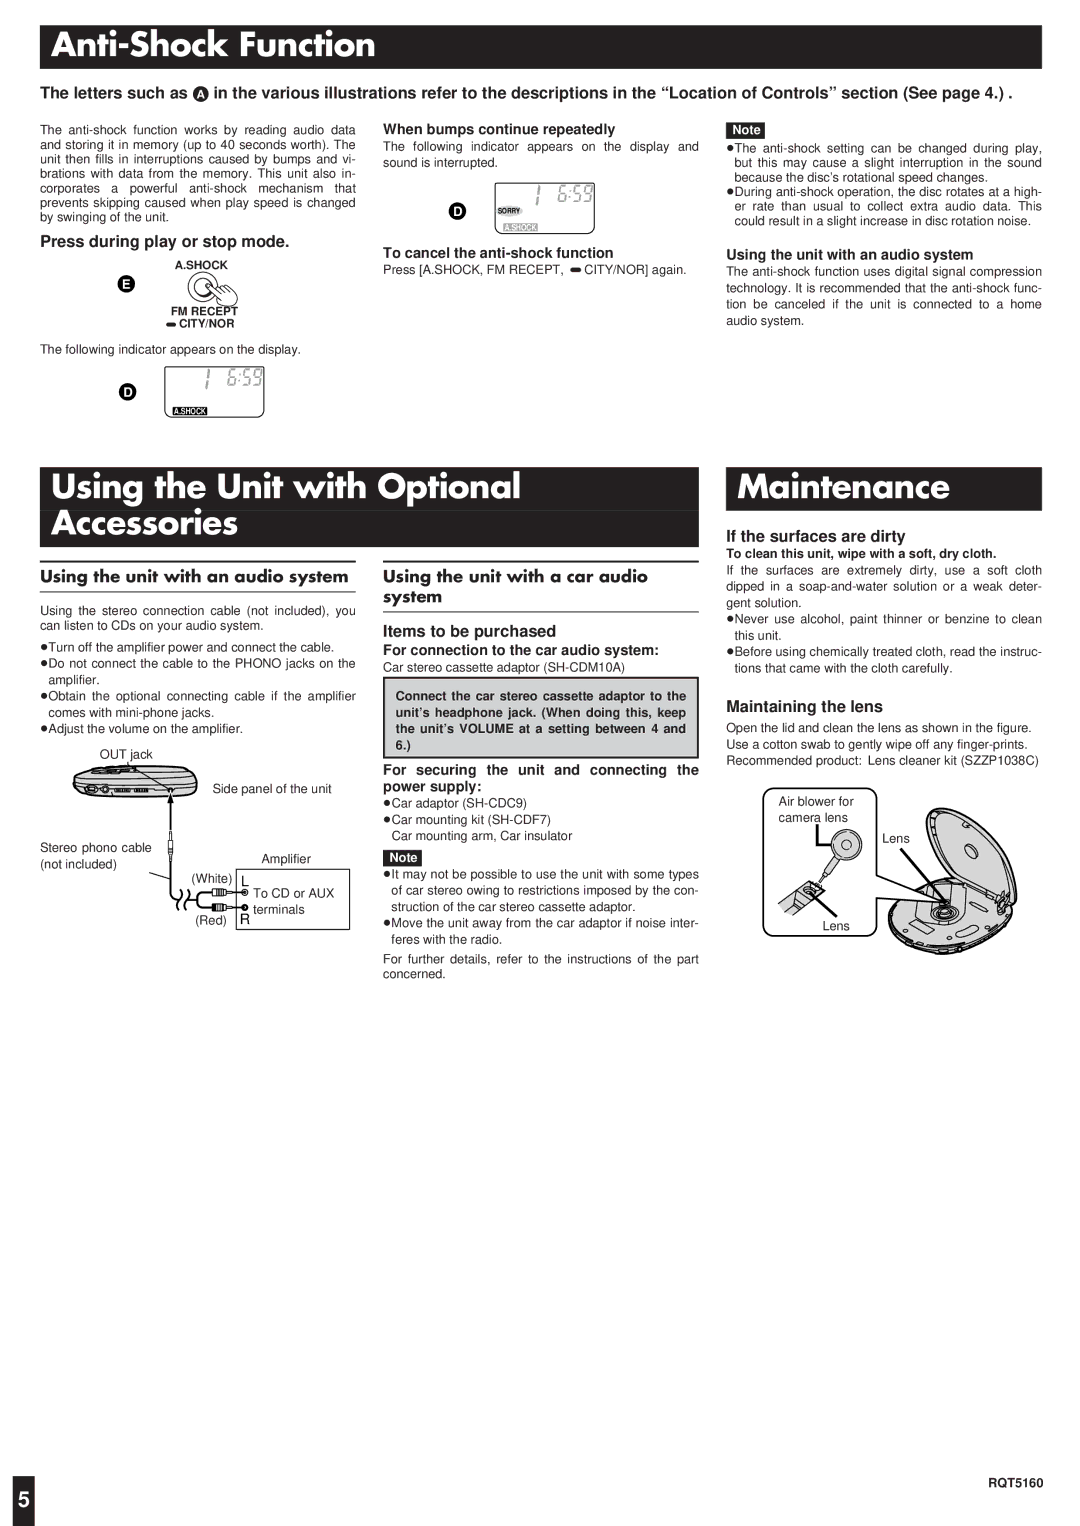
Maintaining the lens
Open the lid and clean the lens as shown in the figure. Use a cotton swab to gently wipe off any
Side panel of the unit
Stereo phono cable
(not included) | Amplifier |
| |
(White) | L |
| To CD or AUX |
(Red) | R terminals |
For securing the unit and connecting the power supply:
≥Car adaptor
≥Car mounting kit
≥Car mounting arm, Car insulator
Note!
≥It may not be possible to use the unit with some types of car stereo owing to restrictions imposed by the con- struction of the car stereo cassette adaptor.
≥Move the unit away from the car adaptor if noise inter- feres with the radio.
For further details, refer to the instructions of the part concerned.
Air blower for camera lens
Lens
Lens
RQT5160
5