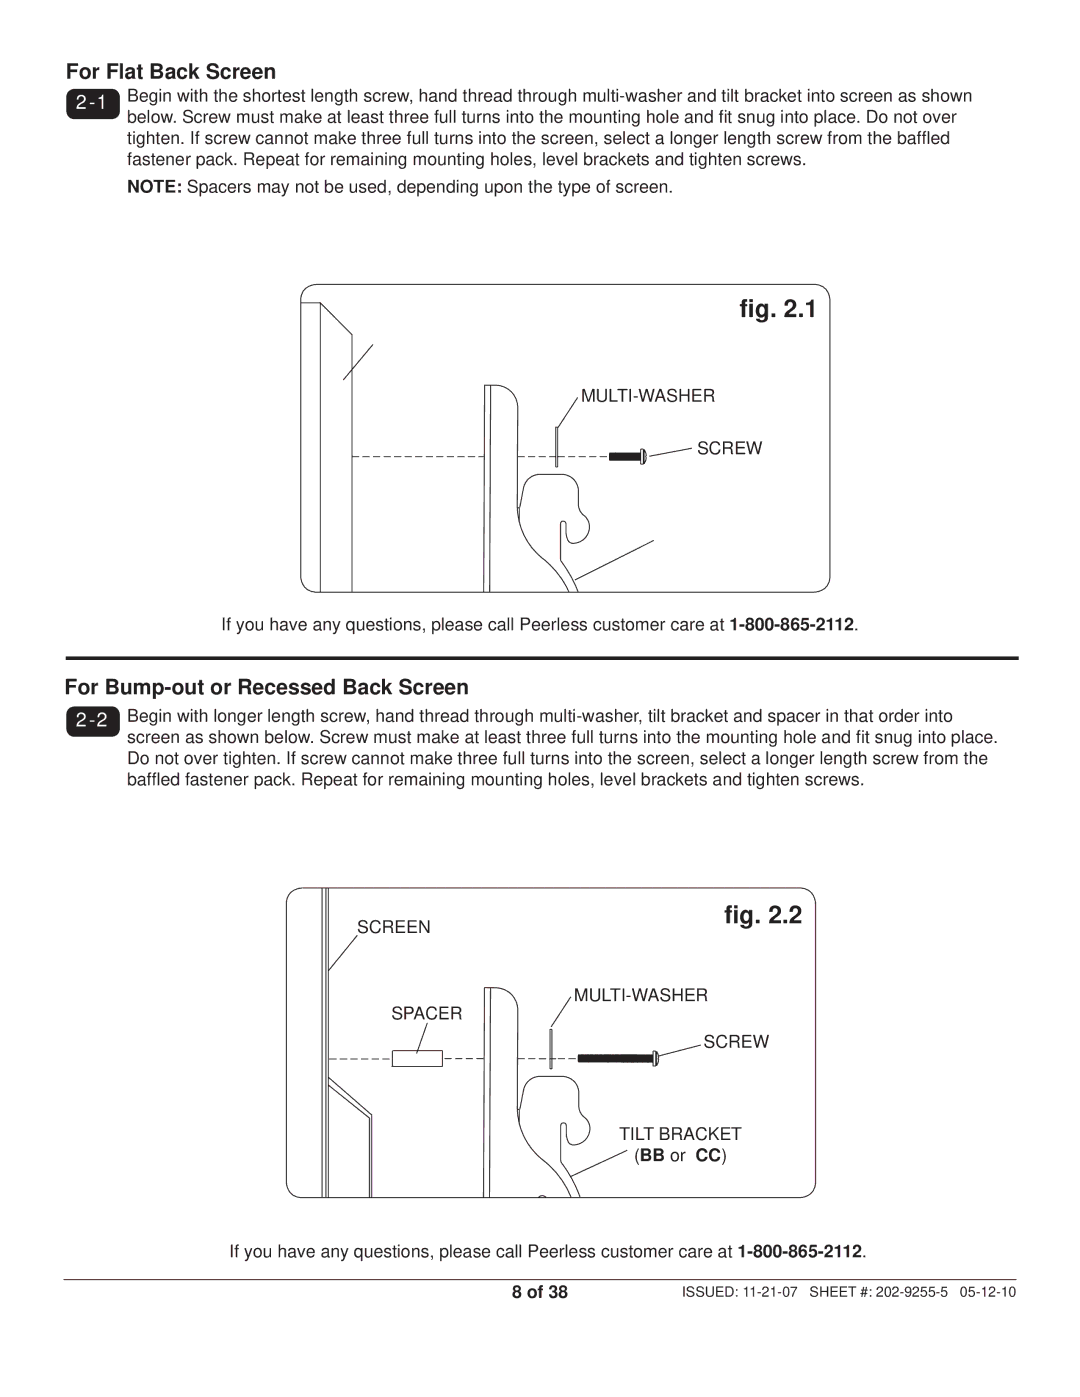
For Flat Back Screen
Begin with the shortest length screw, hand thread through | |
| below. Screw must make at least three full turns into the mounting hole and fit snug into place. Do not over |
tighten. If screw cannot make three full turns into the screen, select a longer length screw from the baffled fastener pack. Repeat for remaining mounting holes, level brackets and tighten screws.
NOTE: Spacers may not be used, depending upon the type of screen.
fig. 2.1
SCREEN
![]()
![]() SCREW
SCREW
TILT BRACKET
![]()
![]() (BB or CC)
(BB or CC)
If you have any questions, please call Peerless customer care at
For Bump-out or Recessed Back Screen
SCREEN
SPACER
fig. 2.2
MULTI-WASHER
SCREW
TILT BRACKET
![]() (BB or CC)
(BB or CC)
If you have any questions, please call Peerless customer care at
8 of 38 | ISSUED: |