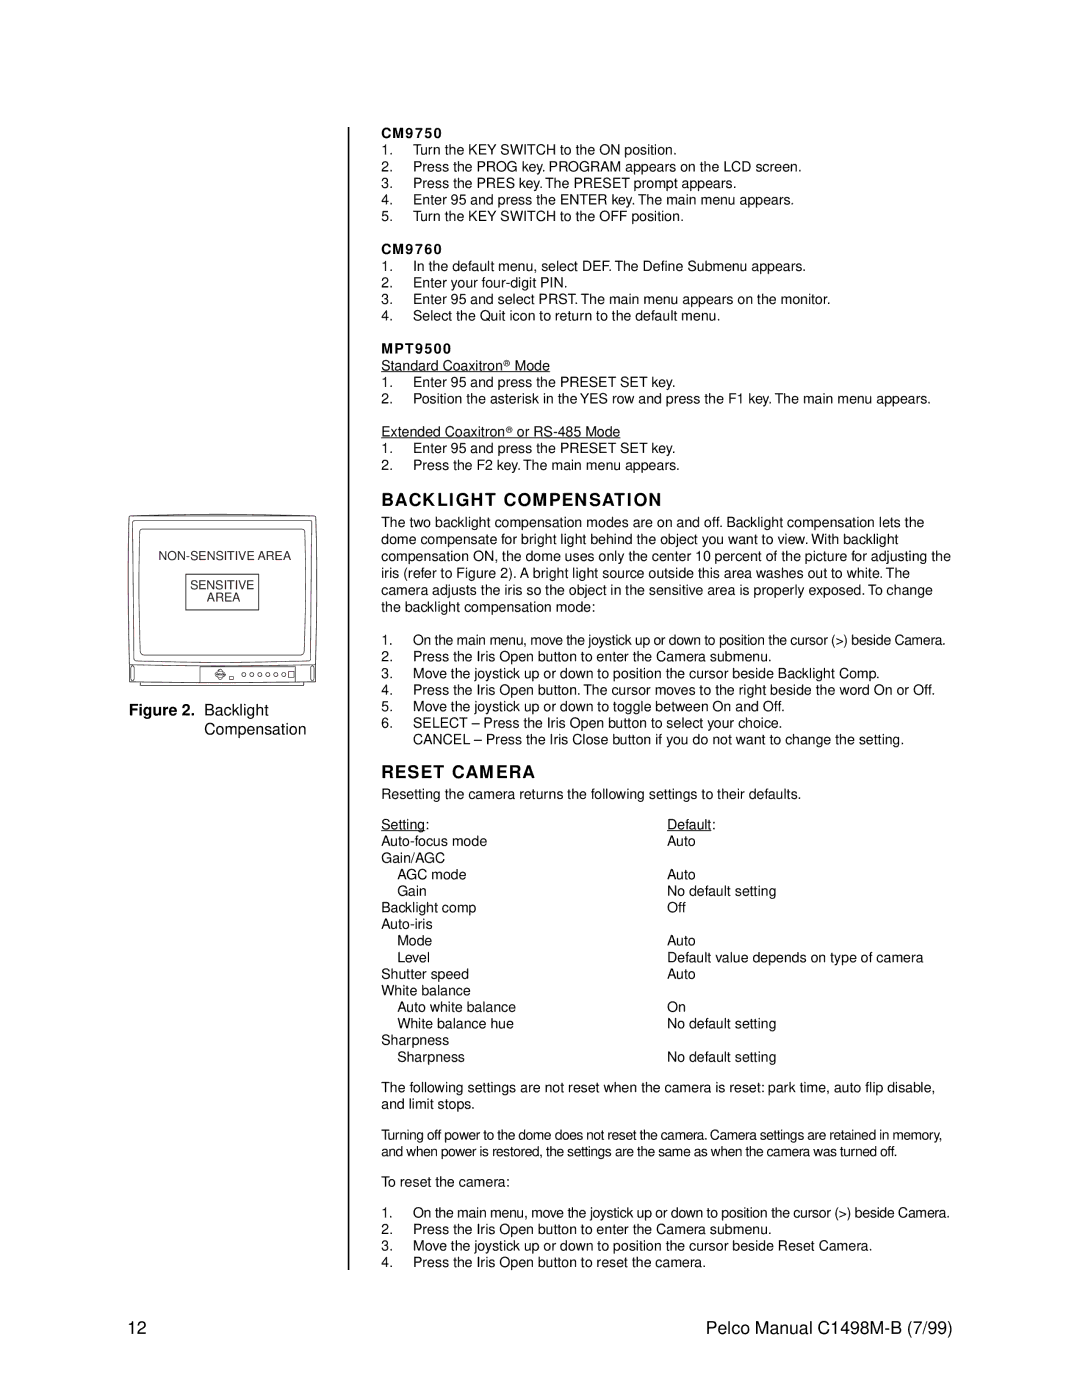
SENSITIVE
AREA
Figure 2. Backlight Compensation
CM9750
1.Turn the KEY SWITCH to the ON position.
2.Press the PROG key. PROGRAM appears on the LCD screen.
3.Press the PRES key. The PRESET prompt appears.
4.Enter 95 and press the ENTER key. The main menu appears.
5.Turn the KEY SWITCH to the OFF position.
CM9760
1.In the default menu, select DEF. The Define Submenu appears.
2.Enter your
3.Enter 95 and select PRST. The main menu appears on the monitor.
4.Select the Quit icon to return to the default menu.
MPT9500
Standard Coaxitron® Mode
1.Enter 95 and press the PRESET SET key.
2.Position the asterisk in the YES row and press the F1 key. The main menu appears.
Extended Coaxitron® or
1.Enter 95 and press the PRESET SET key.
2.Press the F2 key. The main menu appears.
BACKLIGHT COMPENSATION
The two backlight compensation modes are on and off. Backlight compensation lets the dome compensate for bright light behind the object you want to view. With backlight compensation ON, the dome uses only the center 10 percent of the picture for adjusting the iris (refer to Figure 2). A bright light source outside this area washes out to white. The camera adjusts the iris so the object in the sensitive area is properly exposed. To change the backlight compensation mode:
1.On the main menu, move the joystick up or down to position the cursor (>) beside Camera.
2.Press the Iris Open button to enter the Camera submenu.
3.Move the joystick up or down to position the cursor beside Backlight Comp.
4.Press the Iris Open button. The cursor moves to the right beside the word On or Off.
5.Move the joystick up or down to toggle between On and Off.
6.SELECT – Press the Iris Open button to select your choice.
CANCEL – Press the Iris Close button if you do not want to change the setting.
RESET CAMERA
Resetting the camera returns the following settings to their defaults.
Setting: | Default: |
Auto | |
Gain/AGC |
|
AGC mode | Auto |
Gain | No default setting |
Backlight comp | Off |
| |
Mode | Auto |
Level | Default value depends on type of camera |
Shutter speed | Auto |
White balance |
|
Auto white balance | On |
White balance hue | No default setting |
Sharpness |
|
Sharpness | No default setting |
The following settings are not reset when the camera is reset: park time, auto flip disable, and limit stops.
Turning off power to the dome does not reset the camera. Camera settings are retained in memory, and when power is restored, the settings are the same as when the camera was turned off.
To reset the camera:
1.On the main menu, move the joystick up or down to position the cursor (>) beside Camera.
2.Press the Iris Open button to enter the Camera submenu.
3.Move the joystick up or down to position the cursor beside Reset Camera.
4.Press the Iris Open button to reset the camera.
12 | Pelco Manual |
