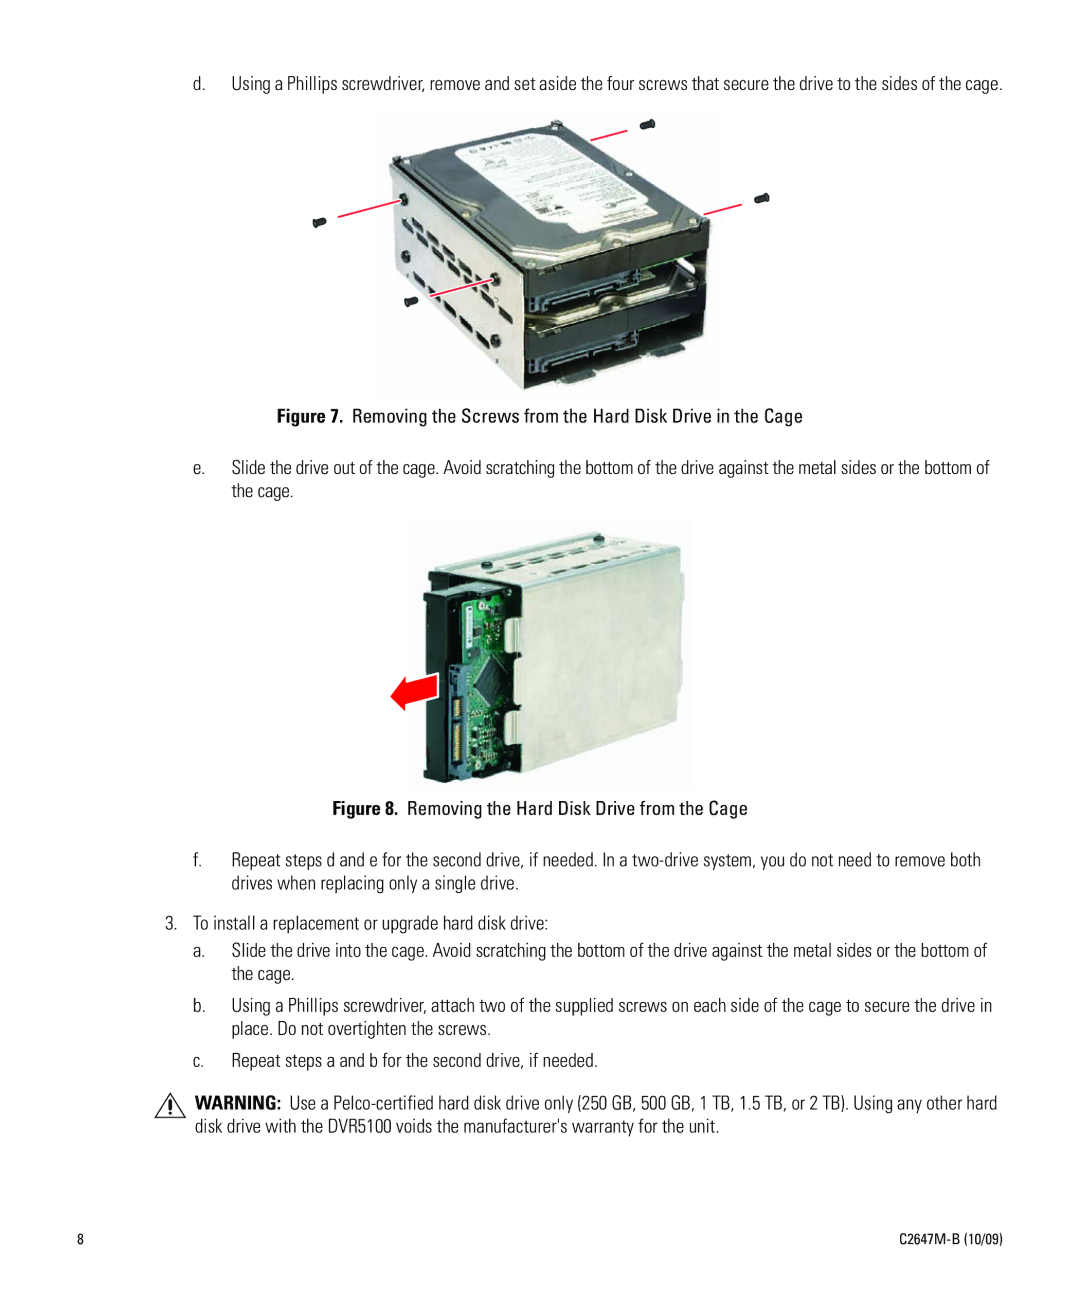
d.Using a Phillips screwdriver, remove and set aside the four screws that secure the drive to the sides of the cage.
Figure 7. Removing the Screws from the Hard Disk Drive in the Cage
e.Slide the drive out of the cage. Avoid scratching the bottom of the drive against the metal sides or the bottom of the cage.
Figure 8. Removing the Hard Disk Drive from the Cage
f.Repeat steps d and e for the second drive, if needed. In a two-drive system, you do not need to remove both drives when replacing only a single drive.
3.To install a replacement or upgrade hard disk drive:
a.Slide the drive into the cage. Avoid scratching the bottom of the drive against the metal sides or the bottom of the cage.
b.Using a Phillips screwdriver, attach two of the supplied screws on each side of the cage to secure the drive in place. Do not overtighten the screws.
c.Repeat steps a and b for the second drive, if needed.
WARNING: Use a
8 |
|