3.3 CAMERA/LENS INSTALLATION
Install the camera/lens you have selected for use with the IDS14 series dome as follows:
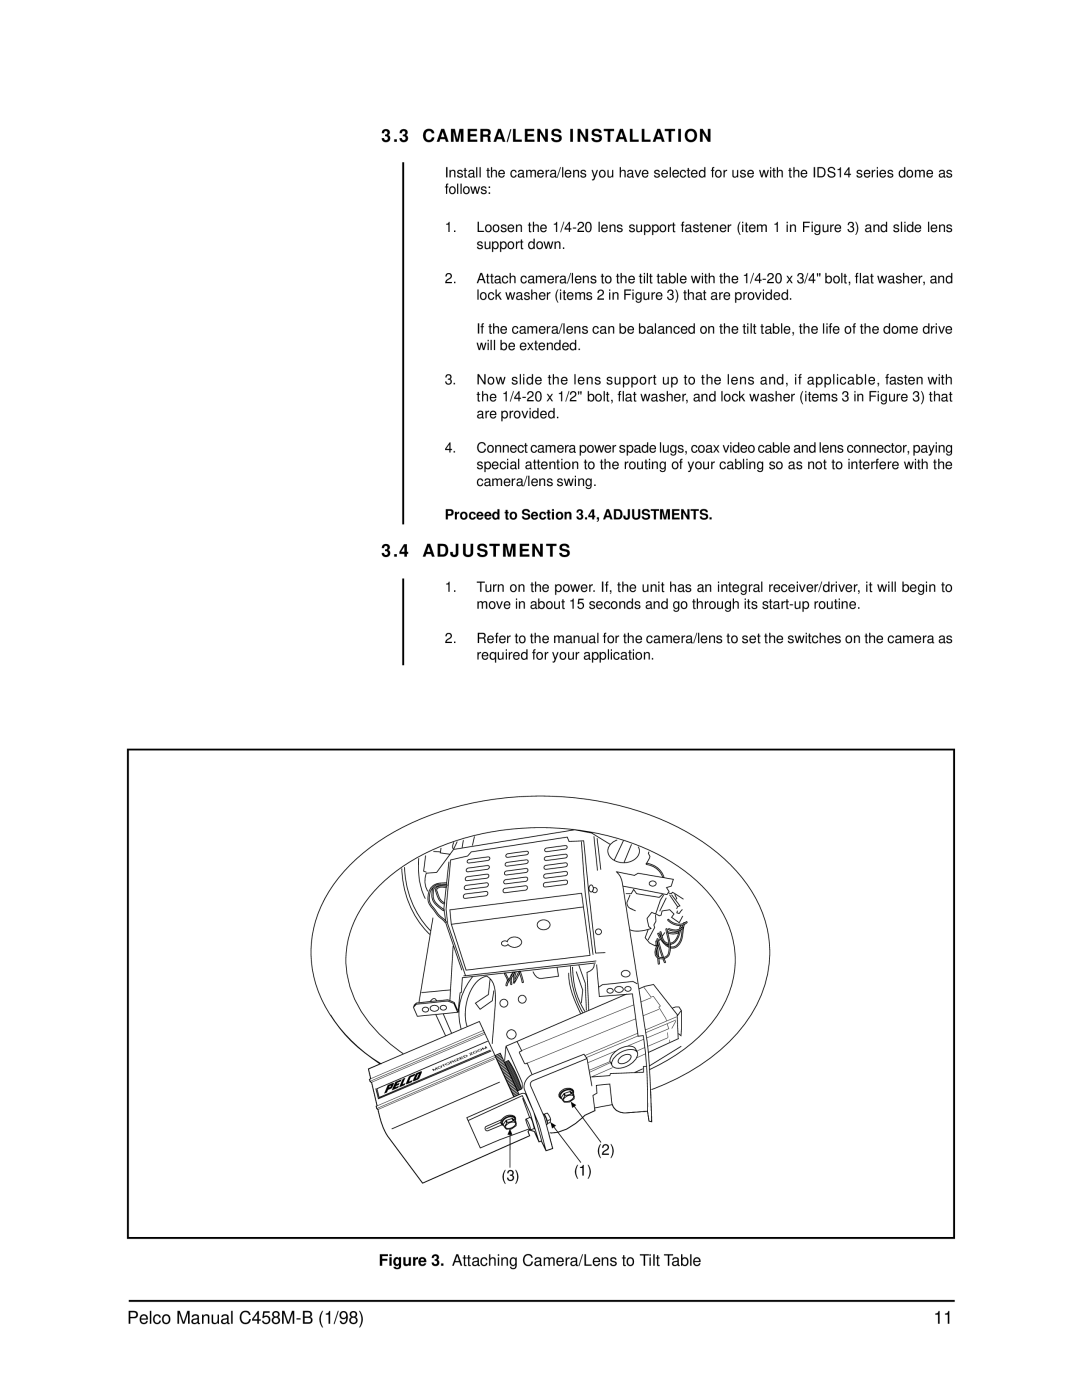
1.Loosen the
2.Attach camera/lens to the tilt table with the
If the camera/lens can be balanced on the tilt table, the life of the dome drive will be extended.
3.Now slide the lens support up to the lens and, if applicable, fasten with the
4.Connect camera power spade lugs, coax video cable and lens connector, paying special attention to the routing of your cabling so as not to interfere with the camera/lens swing.
Proceed to Section 3.4, ADJUSTMENTS.
3.4ADJUSTMENTS
1.Turn on the power. If, the unit has an integral receiver/driver, it will begin to move in about 15 seconds and go through its
2.Refer to the manual for the camera/lens to set the switches on the camera as required for your application.
(2)
(3)(1)
Figure 3. Attaching Camera/Lens to Tilt Table
Pelco Manual | 11 |