Channel 1 (The “Clean” Channel)
For starters, set Channel 1’s switches and controls as follows:
Bright switch “in”, Boost switch “out”, Gain=5, Bass=5, Middle=5, Treble=5, Level 1=5
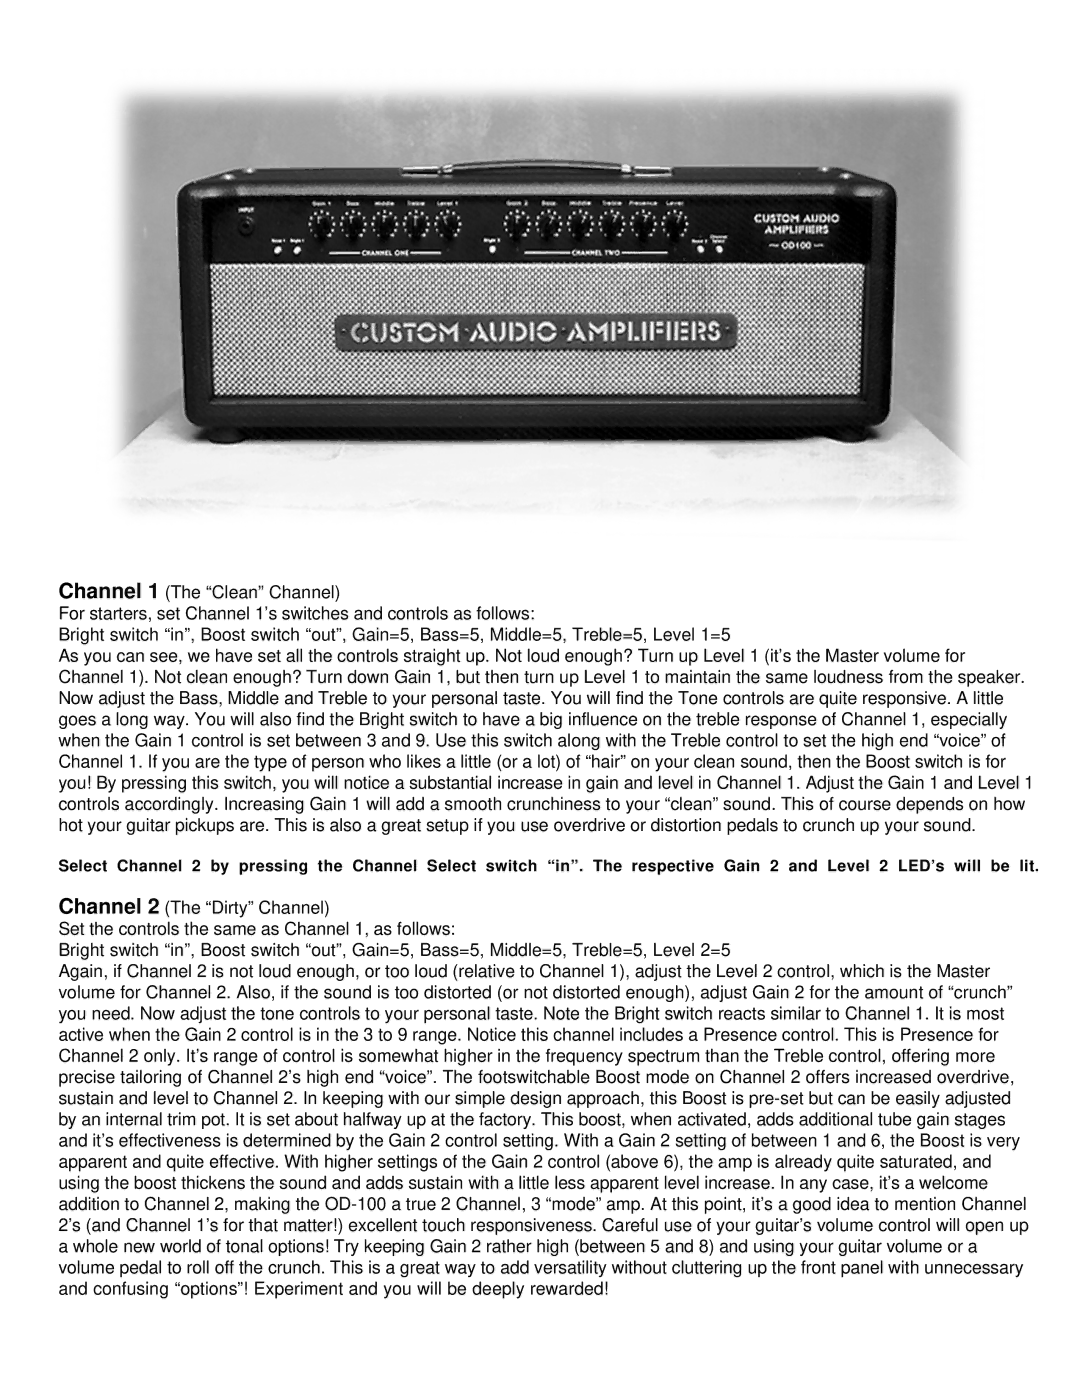
As you can see, we have set all the controls straight up. Not loud enough? Turn up Level 1 (it’s the Master volume for Channel 1). Not clean enough? Turn down Gain 1, but then turn up Level 1 to maintain the same loudness from the speaker. Now adjust the Bass, Middle and Treble to your personal taste. You will find the Tone controls are quite responsive. A little goes a long way. You will also find the Bright switch to have a big influence on the treble response of Channel 1, especially when the Gain 1 control is set between 3 and 9. Use this switch along with the Treble control to set the high end “voice” of Channel 1. If you are the type of person who likes a little (or a lot) of “hair” on your clean sound, then the Boost switch isfor you! By pressing this switch, you will notice a substantial increase in gain and level in Channel 1. Adjust the Gain 1 and Level 1 controls accordingly. Increasing Gain 1 will add a smooth crunchiness to your “clean” sound. This of course depends on how hot your guitar pickups are. This is also a great setup if you use overdrive or distortion pedals to crunch up your sound.
Select Channel 2 by pressing the Channel Select switch “in”. The respective Gain 2 and Level 2 LED’s will be lit.
Channel 2 (The “Dirty” Channel)
Set the controls the same as Channel 1, as follows:
Bright switch “in”, Boost switch “out”, Gain=5, Bass=5, Middle=5, Treble=5, Level 2=5
Again, if Channel 2 is not loud enough, or too loud (relative to Channel 1), adjust the Level 2 control, which is the Master volume for Channel 2. Also, if the sound is too distorted (or not distorted enough), adjust Gain 2 for the amount of “crunch” you need. Now adjust the tone controls to your personal taste. Note the Bright switch reacts similar to Channel 1. It is most active when the Gain 2 control is in the 3 to 9 range. Notice this channel includes a Presence control. This is Presence for Channel 2 only. It’s range of control is somewhat higher in the frequency spectrum than the Treble control, offering more precise tailoring of Channel 2’s high end “voice”. The footswitchable Boost mode on Channel 2 offers increased overdrive, sustain and level to Channel 2. In keeping with our simple design approach, this Boost is
