
SDBR48 specifications
The Perlick SDBR48 is a state-of-the-art commercial refrigerator designed for those in the food and beverage industry who require reliable, efficient, and high-capacity storage solutions. Known for its performance and durability, the SDBR48 is particularly favored by bars, restaurants, and catering businesses.One of the standout features of the SDBR48 is its spacious interior, which includes a generous 48-inch width that can accommodate a variety of beverages, including kegs, wine bottles, and other perishable items. With a capacity of nearly 20 cubic feet, this unit offers ample storage space while maintaining an organized layout. The adjustable shelving allows for a customizable approach, making it easy to store items of varying sizes.
The SDBR48 is equipped with advanced refrigeration technology that ensures optimal temperature control. It uses a consistent and efficient cooling system, maintaining temperatures between 33°F and 38°F, which is ideal for preserving the quality of beverages. The unit's self-closing doors feature a magnetic gasket that aids in maintaining a uniform temperature by minimizing cold air loss.
Another notable characteristic of the Perlick SDBR48 is its energy efficiency. Operating with an Energy Star rating, it not only saves on utility costs but also reflects a commitment to environmentally friendly practices. The insulation is designed to be thicker than many competitors, further improving energy conservation.
The stainless steel construction is both stylish and practical. It is resistant to scratches and dents, making it particularly suited for busy environments. Moreover, its sleek appearance allows it to seamlessly fit into any bar or kitchen décor.
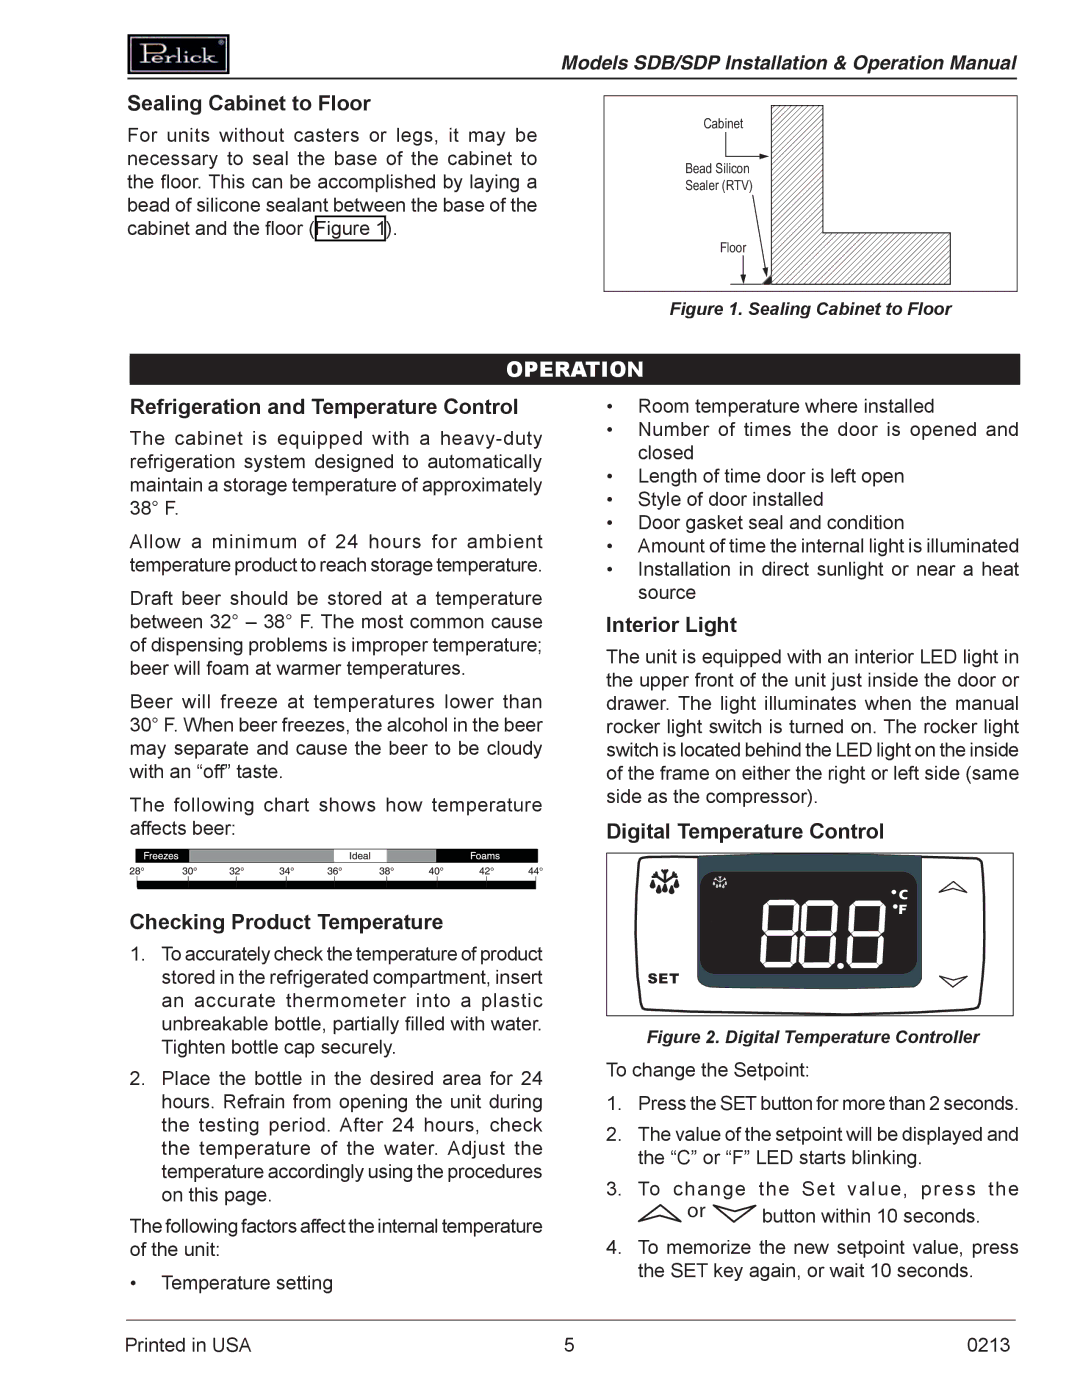
In terms of convenience, the SDBR48 comes with an easy-to-use digital temperature control system, providing users the means to monitor and adjust settings effortlessly. Also, the unit is equipped with LED interior lighting, illuminating the contents without generating heat.
With its combination of robust features, advanced technologies, and a focus on efficiency, the Perlick SDBR48 is an excellent investment for businesses looking to enhance their beverage storage capabilities while maintaining the highest standards of quality and performance. Whether it's for a small café or a large-scale restaurant, the SDBR48 delivers reliability and functionality that professionals can depend on.