Getting Started

6.Select 'Specify the location of the driver(Advanced)' and click on the 'Next' button.

7.Select 'Display a list of all the drivers in a specific location, so you can choose the driver you want', then click on 'Next' and then click on 'Have Disk...'.

8.Click on the 'Browse...' button, select the appropriate drive F: ( CD-ROM Drive) then click on the 'OK' button.

9.Click on the 'OK' button, select your monitor model and click on the 'Next' button.

10.Click on 'Finish' button then the 'Close' button.

For Windows® 2000

1.Start Windows® 2000.

2.Click on the 'Start' button, point to 'Settings', and then click on 'Control Panel'.

3.Double click on the 'Display' icon.

4.Select the 'Settings' tab then click on 'Advanced...'.

5.Select 'Monitor'

-If the 'Properties' button is inactive, it means your monitor is properly configured. Please stop installation.

-If the 'Properties' button is active. Click on 'Properties' button. Please follow the steps given below.

6.Click on 'Driver' and then click on 'Update Driver...' then click on the 'Next' button.

7.Select 'Display a list of the known drivers for this device so that I can choose a specific driver', then click on 'Next' and then click on 'Have disk...'.

8.Click on the 'Browse...' button then select the appropriate drive F: ( CD-ROM Drive).

9.Click on the 'Open' button, then click on the 'OK' button.

10.Select your monitor model and click on the 'Next' button.

11.Click on the 'Finish' button then the 'Close' button.

If you can see the 'Digital Signature Not Found' window, click on the 'Yes' button.

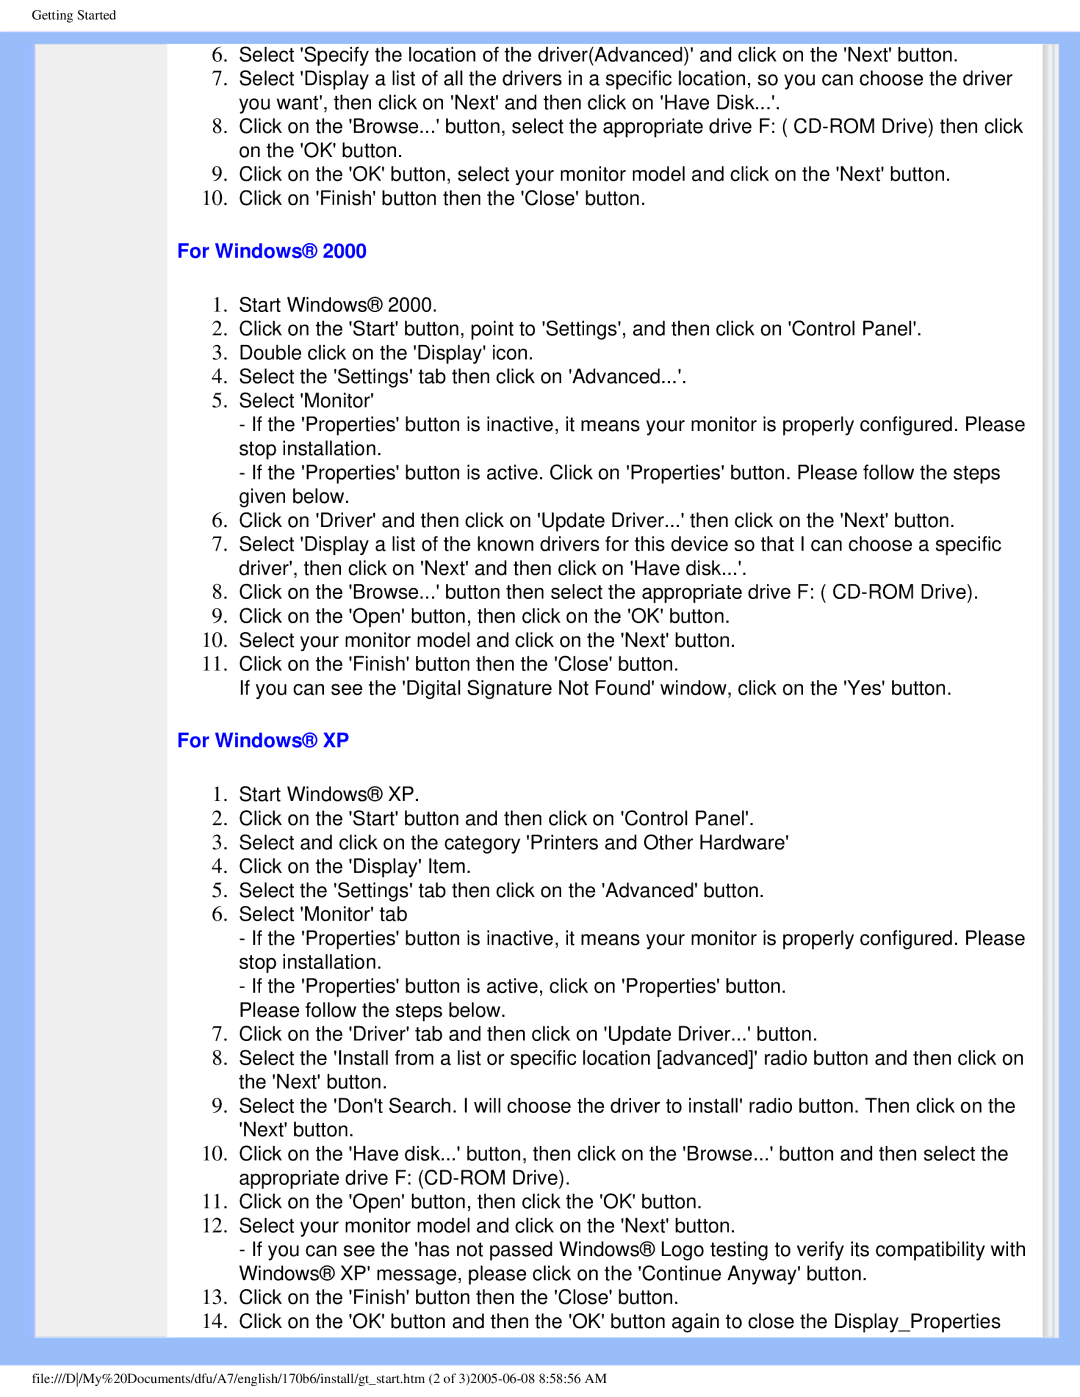
For Windows® XP

1.Start Windows® XP.

2.Click on the 'Start' button and then click on 'Control Panel'.

3.Select and click on the category 'Printers and Other Hardware'

4.Click on the 'Display' Item.

5.Select the 'Settings' tab then click on the 'Advanced' button.

6.Select 'Monitor' tab

-If the 'Properties' button is inactive, it means your monitor is properly configured. Please stop installation.

-If the 'Properties' button is active, click on 'Properties' button.

Please follow the steps below.

7.Click on the 'Driver' tab and then click on 'Update Driver...' button.

8.Select the 'Install from a list or specific location [advanced]' radio button and then click on the 'Next' button.

9.Select the 'Don't Search. I will choose the driver to install' radio button. Then click on the 'Next' button.

10.Click on the 'Have disk...' button, then click on the 'Browse...' button and then select the appropriate drive F: (CD-ROM Drive).

11.Click on the 'Open' button, then click the 'OK' button.

12.Select your monitor model and click on the 'Next' button.

- If you can see the 'has not passed Windows® Logo testing to verify its compatibility with Windows® XP' message, please click on the 'Continue Anyway' button.

13.Click on the 'Finish' button then the 'Close' button.

14.Click on the 'OK' button and then the 'OK' button again to close the Display_Properties

file:///D/My%20Documents/dfu/A7/english/170b6/install/gt_start.htm (2 of 3)2005-06-08 8:58:56 AM

Page 79
Image 79
Philips 170B6 user manual For Windows XP

170B6 specifications

The Philips 170B6 is a remarkable entry in the world of display technology, garnering attention for its blend of functionality, performance, and eco-friendliness. This 17-inch LCD monitor is designed for users seeking reliable and sharp image quality, making it suitable for both professional and personal use.

One of the standout features of the Philips 170B6 is its Crystal Clear technology. This technology enhances image clarity and detail, ensuring that images appear sharp, vibrant, and true to life. With a maximum resolution of 1280 x 1024 pixels, the monitor delivers a crisp, clear viewing experience ideal for tasks such as graphic design, document editing, and everyday browsing.

The monitor features a quick response time of 8 milliseconds, significantly reducing the occurrence of ghosting and motion blur in fast-moving images. This makes it an excellent choice for multimedia applications and gaming, allowing users to enjoy smooth and fluid visuals without compromising on quality.

Another notable characteristic of the Philips 170B6 is its versatility in connectivity. The monitor comes equipped with multiple input options, including VGA and DVI, which enable seamless integration with various devices such as computers and laptops. This flexibility ensures that users can connect the monitor to their preferred devices without hassle.

Ergonomics plays a significant role in the design of the Philips 170B6. The monitor offers height adjustment, tilt, and swivel capabilities, allowing users to customize their viewing angle and position for optimal comfort. This is particularly useful for extended work sessions where adjustability can reduce strain on the neck and back.

Additionally, the Philips 170B6 embraces eco-friendly practices. It is designed to meet Energy Star standards, which helps lower power consumption and costs while also reducing the environmental impact of electronic waste. The monitor also features a low power consumption mode, ensuring that it operates efficiently even when idle.

In summary, the Philips 170B6 is a compelling monitor that combines innovative technology with user-focused design. With its Crystal Clear display, quick response time, versatile connectivity, and ergonomic features, it stands out as a reliable choice for those looking for an efficient and high-performance display solution. Furthermore, its eco-friendly attributes make it a responsible choice for consumers conscious of their environmental footprint.