Getting Started

2.Click on the 'Start' button, point to 'Settings', and then click on 'Control Panel'.

3.Double click on the 'Display' Icon.

4.Select the 'Settings' tab then click on 'Advanced...'.

5.Select 'Monitor'

-If the 'Properties' button is inactive, it means your monitor is properly configured. Please stop installation.

-If the 'Properties' button is active. Click on 'Properties' button. Please follow the steps given below.

6.Click on 'Driver' and then click on 'Update Driver...' then click on the 'Next' button.

7.Select 'Display a list of the known drivers for this device so that I can choose a specific driver', then click on 'Next' and then click on 'Have disk...'.

8.Click on the 'Browse...' button then select the appropriate drive F: ( CD-ROM Drive).

9.Click on the 'Open' button, then click on the 'OK' button.

10.Select your monitor model and click on the 'Next' button.

11.Click on the 'Finish' button then the 'Close' button.

If you can see the 'Digital Signature Not Found' window, click on the 'Yes' button.

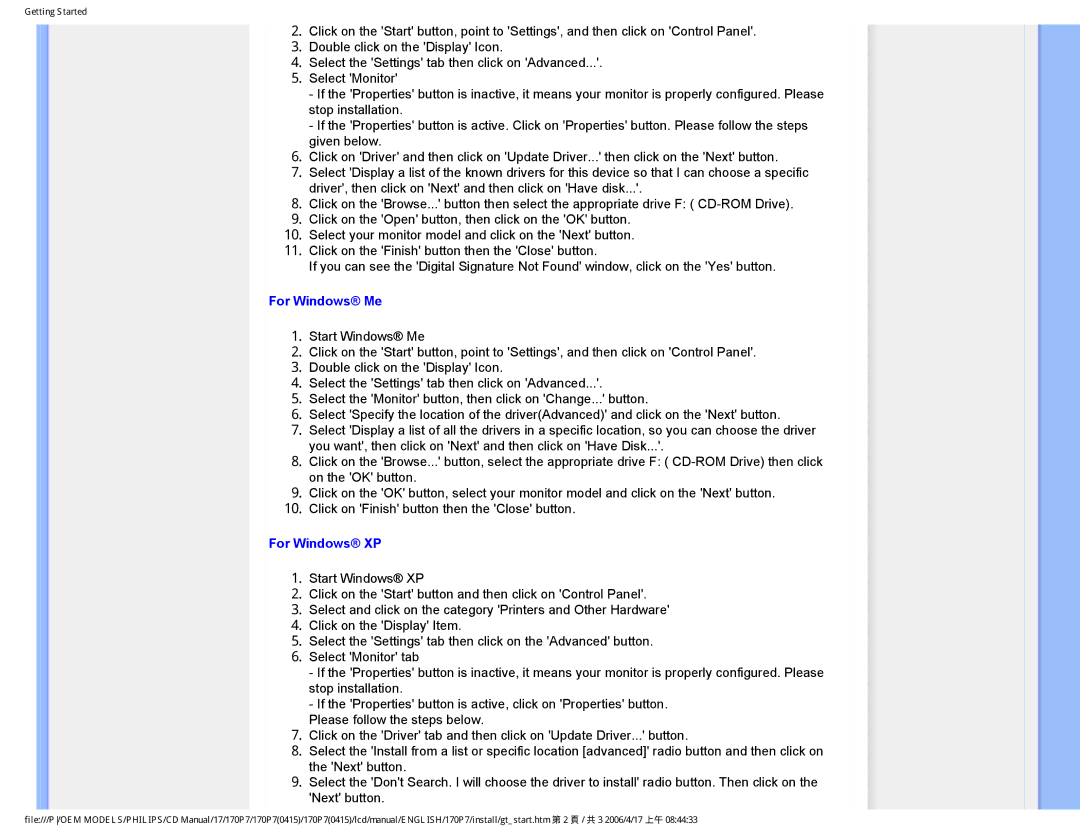
For Windows® Me

1.Start Windows® Me

2.Click on the 'Start' button, point to 'Settings', and then click on 'Control Panel'.

3.Double click on the 'Display' Icon.

4.Select the 'Settings' tab then click on 'Advanced...'.

5.Select the 'Monitor' button, then click on 'Change...' button.

6.Select 'Specify the location of the driver(Advanced)' and click on the 'Next' button.

7.Select 'Display a list of all the drivers in a specific location, so you can choose the driver you want', then click on 'Next' and then click on 'Have Disk...'.

8.Click on the 'Browse...' button, select the appropriate drive F: ( CD-ROM Drive) then click on the 'OK' button.

9.Click on the 'OK' button, select your monitor model and click on the 'Next' button.

10.Click on 'Finish' button then the 'Close' button.

For Windows® XP

1.Start Windows® XP

2.Click on the 'Start' button and then click on 'Control Panel'.

3.Select and click on the category 'Printers and Other Hardware'

4.Click on the 'Display' Item.

5.Select the 'Settings' tab then click on the 'Advanced' button.

6.Select 'Monitor' tab

-If the 'Properties' button is inactive, it means your monitor is properly configured. Please stop installation.

-If the 'Properties' button is active, click on 'Properties' button.

Please follow the steps below.

7.Click on the 'Driver' tab and then click on 'Update Driver...' button.

8.Select the 'Install from a list or specific location [advanced]' radio button and then click on the 'Next' button.

9.Select the 'Don't Search. I will choose the driver to install' radio button. Then click on the 'Next' button.

file:///P/OEM MODELS/PHILIPS/CD Manual/17/170P7/170P7(0415)/170P7(0415)/lcd/manual/ENGLISH/170P7/install/gt_start.htm 第 2 頁 / 共 3 2006/4/17 上午 08:44:33

Page 61
Image 61
Philips 170P7 user manual For Windows Me

170P7 specifications

The Philips 170P7 is a classic LCD monitor that brings a blend of innovative design, advanced technology, and environmental considerations. This 17-inch display is known for its exceptional performance and user-friendly features, making it a suitable option for both home and office use.

One of the standout features of the Philips 170P7 is its high-quality LCD panel that boasts a resolution of 1280 x 1024 pixels. This ensures crisp and clear visuals, ideal for tasks ranging from productivity applications to graphic work. The monitor also offers a standard refresh rate of 75Hz, providing smooth movement for on-screen activities.

The monitor's design is characterized by its sleek and modern aesthetic. The bezel is slim, allowing for a more immersive viewing experience while also enhancing its style. The 170P7 is equipped with an adjustable stand, enabling users to tilt and position it according to their comfort level, which is essential for reducing strain during prolonged use.

In terms of connectivity, the Philips 170P7 is versatile. It features VGA and DVI-D inputs, ensuring compatibility with a range of devices, from older PCs to modern laptops. This flexibility guarantees that users can easily integrate the monitor into their existing setups without hassle.

Another defining aspect of the Philips 170P7 is its emphasis on energy efficiency and environmental responsibility. The monitor is designed with energy-saving technologies, which help minimize power consumption without compromising performance. This not only benefits the environment but also reduces operational costs for users.

The Philips 170P7 also incorporates SmartImage technology, enhancing image quality dynamically based on the displayed content. This feature optimizes contrast, saturation, and sharpness on the fly, ensuring that users enjoy the best possible visuals regardless of the application.

With its range of features, user-centric design, and commitment to sustainability, the Philips 170P7 stands as a reliable and efficient choice for those seeking a dependable 17-inch display. Whether for professional use or casual browsing, its performance and elegance make it a noteworthy option in the realm of computer monitors.