Wir fangen an

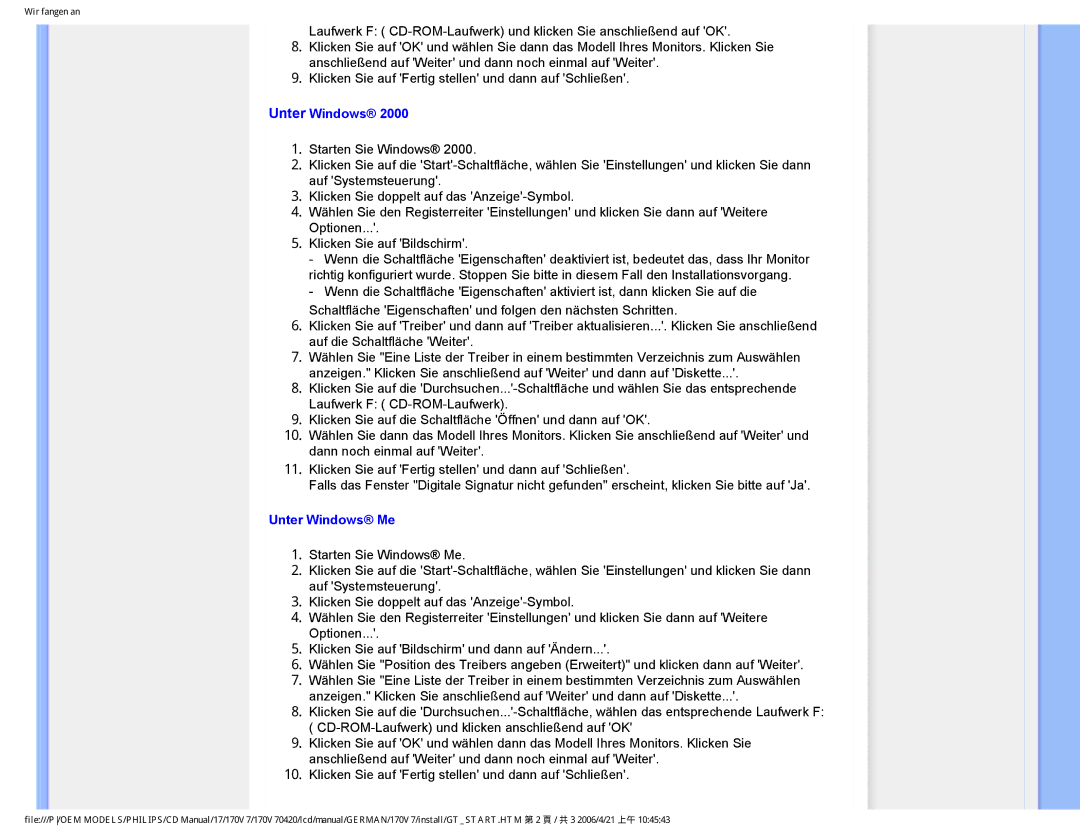
Laufwerk F: ( CD-ROM-Laufwerk) und klicken Sie anschließend auf 'OK'.

8.Klicken Sie auf 'OK' und wählen Sie dann das Modell Ihres Monitors. Klicken Sie anschließend auf 'Weiter' und dann noch einmal auf 'Weiter'.

9.Klicken Sie auf 'Fertig stellen' und dann auf 'Schließen'.

Unter Windows® 2000

1.Starten Sie Windows® 2000.

2.Klicken Sie auf die 'Start'-Schaltfläche, wählen Sie 'Einstellungen' und klicken Sie dann auf 'Systemsteuerung'.

3.Klicken Sie doppelt auf das 'Anzeige'-Symbol.

4.Wählen Sie den Registerreiter 'Einstellungen' und klicken Sie dann auf 'Weitere Optionen...'.

5.Klicken Sie auf 'Bildschirm'.

-Wenn die Schaltfläche 'Eigenschaften' deaktiviert ist, bedeutet das, dass Ihr Monitor richtig konfiguriert wurde. Stoppen Sie bitte in diesem Fall den Installationsvorgang.

-Wenn die Schaltfläche 'Eigenschaften' aktiviert ist, dann klicken Sie auf die

Schaltfläche 'Eigenschaften' und folgen den nächsten Schritten.

6.Klicken Sie auf 'Treiber' und dann auf 'Treiber aktualisieren...'. Klicken Sie anschließend auf die Schaltfläche 'Weiter'.

7.Wählen Sie "Eine Liste der Treiber in einem bestimmten Verzeichnis zum Auswählen anzeigen." Klicken Sie anschließend auf 'Weiter' und dann auf 'Diskette...'.

8.Klicken Sie auf die 'Durchsuchen...'-Schaltfläche und wählen Sie das entsprechende Laufwerk F: ( CD-ROM-Laufwerk).

9.Klicken Sie auf die Schaltfläche 'Öffnen' und dann auf 'OK'.

10.Wählen Sie dann das Modell Ihres Monitors. Klicken Sie anschließend auf 'Weiter' und dann noch einmal auf 'Weiter'.

11.Klicken Sie auf 'Fertig stellen' und dann auf 'Schließen'.

Falls das Fenster "Digitale Signatur nicht gefunden" erscheint, klicken Sie bitte auf 'Ja'.

Unter Windows® Me

1.Starten Sie Windows® Me.

2.Klicken Sie auf die 'Start'-Schaltfläche, wählen Sie 'Einstellungen' und klicken Sie dann auf 'Systemsteuerung'.

3.Klicken Sie doppelt auf das 'Anzeige'-Symbol.

4.Wählen Sie den Registerreiter 'Einstellungen' und klicken Sie dann auf 'Weitere Optionen...'.

5.Klicken Sie auf 'Bildschirm' und dann auf 'Ändern...'.

6.Wählen Sie "Position des Treibers angeben (Erweitert)" und klicken dann auf 'Weiter'.

7.Wählen Sie "Eine Liste der Treiber in einem bestimmten Verzeichnis zum Auswählen anzeigen." Klicken Sie anschließend auf 'Weiter' und dann auf 'Diskette...'.

8.Klicken Sie auf die 'Durchsuchen...'-Schaltfläche, wählen das entsprechende Laufwerk F: ( CD-ROM-Laufwerk) und klicken anschließend auf 'OK'

9.Klicken Sie auf 'OK' und wählen dann das Modell Ihres Monitors. Klicken Sie anschließend auf 'Weiter' und dann noch einmal auf 'Weiter'.

10.Klicken Sie auf 'Fertig stellen' und dann auf 'Schließen'.

file:///P/OEM MODELS/PHILIPS/CD Manual/17/170V7/170V70420/lcd/manual/GERMAN/170V7/install/GT_START.HTM 第 2 頁 / 共 3 2006/4/21 上午 10:45:43

Page 51
Image 51
Philips 170V7 user manual Unter Windows Me

170V7 specifications

The Philips 170V7 is a versatile and reliable monitor designed to enhance everyday computing tasks, whether for work or leisure. With its sleek design, the 170V7 offers a balance of modern aesthetics and practical functionality, making it an excellent addition to any desktop setup.

One of the standout features of the Philips 170V7 is its 17-inch display. This screen size provides an optimal viewing experience for various applications, from office work to multimedia consumption. The monitor boasts a resolution of 1280 x 1024 pixels, ensuring clear and sharp visuals. This resolution is particularly suitable for standard business applications, graphic design, and general multimedia tasks.

The Philips 170V7 employs advanced CRT technology, which not only delivers vibrant colors but also enhances the brightness and contrast ratio. This results in deeper blacks and more luminous whites, providing an immersive viewing experience. The monitor supports a wide range of color depths, ensuring that images and videos are displayed with true-to-life accuracy.

Another key characteristic of the Philips 170V7 is its ergonomic design. It features an adjustable tilt, allowing users to customize the angle to their comfort, reducing strain during prolonged use. Additionally, the monitor is built with energy-saving technologies, such as the EcoMode, which reduces power consumption without compromising performance. This makes it a more environmentally friendly choice for users who are conscious of their energy usage.

The connectivity options on the Philips 170V7 are also noteworthy. It comes equipped with multiple input options, including VGA, making it easy to connect to various devices such as laptops, desktop computers, and gaming consoles. This versatility allows users to seamlessly switch between different sources without the hassles of frequent cable changes.

Furthermore, the monitor is designed for user-friendly operation, with intuitive on-screen display controls that allow for easy adjustments of brightness, contrast, and other settings. The Philips 170V7 also prioritizes eye care, incorporating technologies such as flicker-free performance, which helps eliminate screen flickering that can cause eye strain during extended periods of use.

In summary, the Philips 170V7 is a well-rounded monitor, featuring a 17-inch screen, excellent resolution, ergonomic adjustments, and energy-efficient technologies. Its combination of functionality, connectivity, and user-centric design makes it a solid choice for anyone in need of a reliable display solution for both work and entertainment.