Getting Started

1.Start Windows® Me.

2.Click on the 'Start' button, point to 'Settings', and then click on 'Control Panel'.

3.Double click on the 'Display' icon.

4.Select the 'Settings' tab then click on 'Advanced...'.

5.Select the 'Monitor' button, then click on 'Change...' button.

6.Select 'Specify the location of the driver(Advanced)' and click on the 'Next' button.

7.Select 'Display a list of all the drivers in a specific location, so you can choose the driver you want', then click on 'Next' and then click on 'Have Disk...'.

8.Click on the 'Browse...' button, select the appropriate drive F: ( CD-ROM Drive) then click on the 'OK' button.

9.Click on the 'OK' button, select your monitor model and click on the 'Next' button.

10.Click on 'Finish' button then the 'Close' button.

For Windows® 2000

1.Start Windows® 2000.

2.Click on the 'Start' button, point to 'Settings', and then click on 'Control Panel'.

3.Double click on the 'Display' icon.

4.Select the 'Settings' tab then click on 'Advanced...'.

5.Select 'Monitor'

-If the 'Properties' button is inactive, it means your monitor is properly configured. Please stop installation.

-If the 'Properties' button is active. Click on 'Properties' button. Please follow the steps given below.

6.Click on 'Driver' and then click on 'Update Driver...' then click on the 'Next' button.

7.Select 'Display a list of the known drivers for this device so that I can choose a specific driver', then click on 'Next' and then click on 'Have disk...'.

8.Click on the 'Browse...' button then select the appropriate drive F: ( CD-ROM Drive).

9.Click on the 'Open' button, then click on the 'OK' button.

10.Select your monitor model and click on the 'Next' button.

11.Click on the 'Finish' button then the 'Close' button.

If you can see the 'Digital Signature Not Found' window, click on the 'Yes' button.

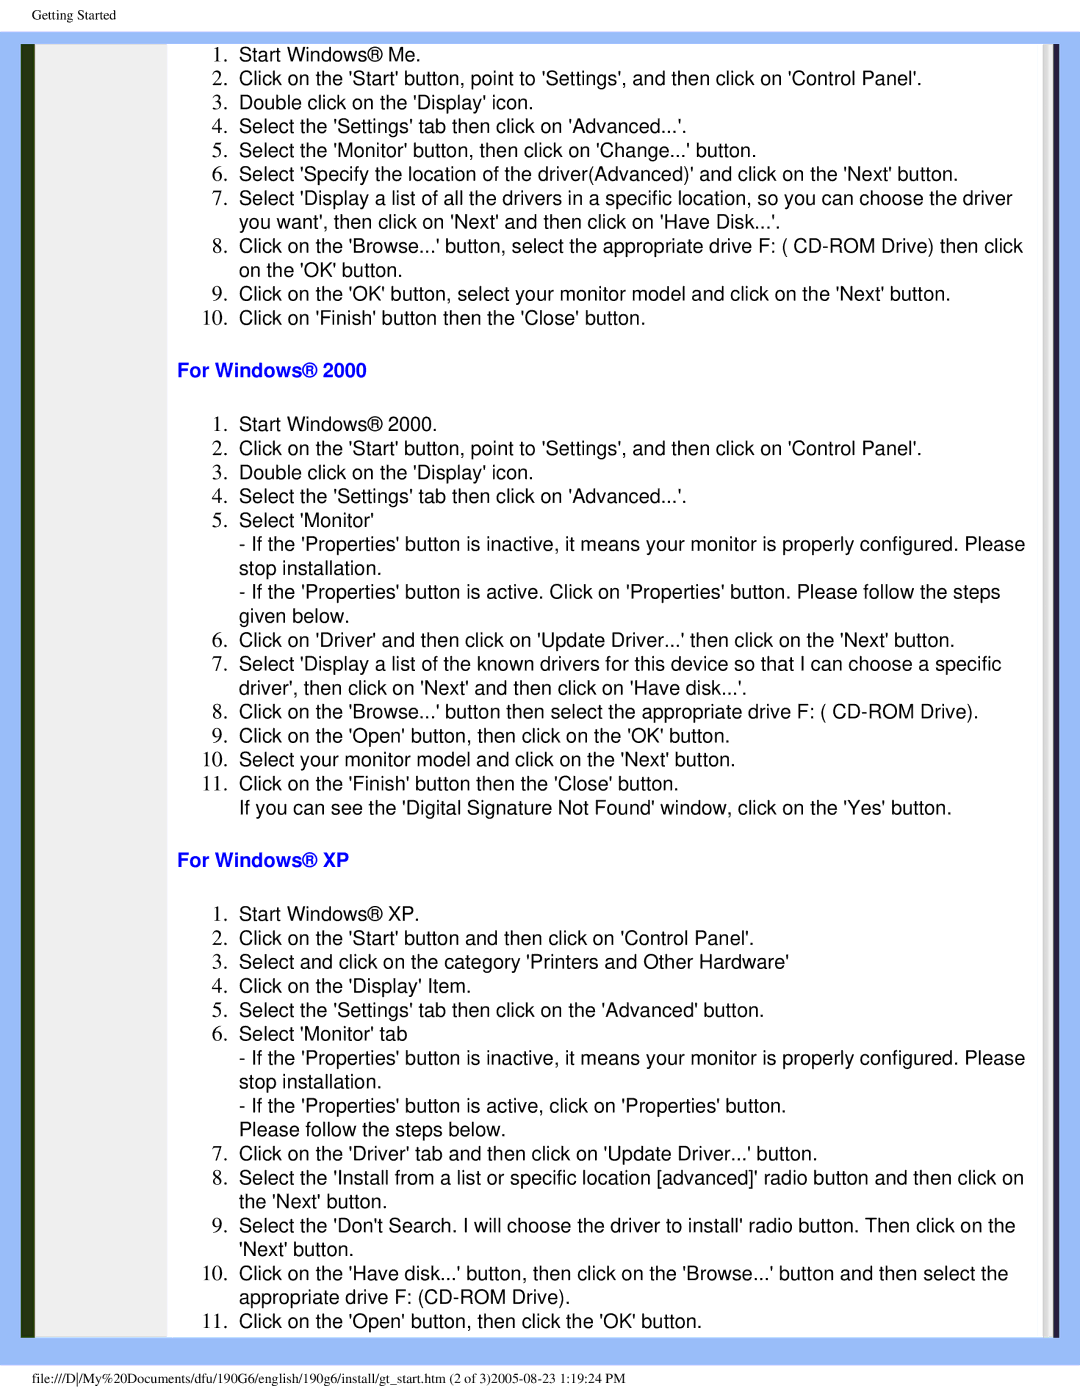
For Windows® XP

1.Start Windows® XP.

2.Click on the 'Start' button and then click on 'Control Panel'.

3.Select and click on the category 'Printers and Other Hardware'

4.Click on the 'Display' Item.

5.Select the 'Settings' tab then click on the 'Advanced' button.

6.Select 'Monitor' tab

-If the 'Properties' button is inactive, it means your monitor is properly configured. Please stop installation.

-If the 'Properties' button is active, click on 'Properties' button.

Please follow the steps below.

7.Click on the 'Driver' tab and then click on 'Update Driver...' button.

8.Select the 'Install from a list or specific location [advanced]' radio button and then click on the 'Next' button.

9.Select the 'Don't Search. I will choose the driver to install' radio button. Then click on the 'Next' button.

10.Click on the 'Have disk...' button, then click on the 'Browse...' button and then select the appropriate drive F: (CD-ROM Drive).

11.Click on the 'Open' button, then click the 'OK' button.

file:///D/My%20Documents/dfu/190G6/english/190g6/install/gt_start.htm (2 of 3)2005-08-23 1:19:24 PM

Page 82
Image 82
Philips 190G6 user manual For Windows XP

190G6 specifications

The Philips 190G6 is a well-regarded monitor that combines performance and style. Designed with both consumer and professional use in mind, the 190G6 offers a suite of features aimed at delivering an exceptional viewing experience.

One of the standout characteristics of the Philips 190G6 is its 19-inch display, which provides a native resolution of 1280 x 1024 pixels. This resolution allows users to enjoy sharp images and clear text, making it an excellent choice for tasks such as word processing, graphic design, and web browsing. The monitor utilizes an IPS (In-Plane Switching) panel, which ensures accurate color reproduction and wide viewing angles. This technology allows users to enjoy consistent, vibrant colors regardless of their position relative to the screen.

In terms of connectivity, the Philips 190G6 is equipped with several input options. It typically includes both VGA and DVI-D ports, allowing for compatibility with a wide range of devices. This versatility makes it an ideal option for users looking to connect multiple computers or other peripherals.

Philips has integrated several technologies into the 190G6 to enhance its usability. One notable feature is SmartContrast, which dynamically adjusts the contrast levels based on the content being displayed. This capability enhances the visual experience, especially during the viewing of movies or playing video games. Additionally, the monitor supports Flicker-Free technology, which reduces eye strain by eliminating flicker at any brightness setting. This is particularly beneficial for professionals who spend extended periods in front of the screen.

The design of the Philips 190G6 is both sleek and functional. It features a slim profile and a modern aesthetic that easily fits into any workspace. The monitor is adjustable, allowing users to change the height and tilt to achieve optimal comfort and ergonomics.

Moreover, the Philips 190G6 is energy efficient, often bearing certifications such as Energy Star, which signifies its compliance with energy-saving guidelines. This makes it an environmentally conscious choice for users wanting to reduce their carbon footprint.

In conclusion, the Philips 190G6 is a versatile monitor that excels in both performance and design. With features such as IPS technology, SmartContrast, and Flicker-Free technology, it is geared towards providing an excellent visual experience. Its range of connectivity options, ergonomic design, and energy efficiency make it a solid choice for both home and professional environments.