Getting Started

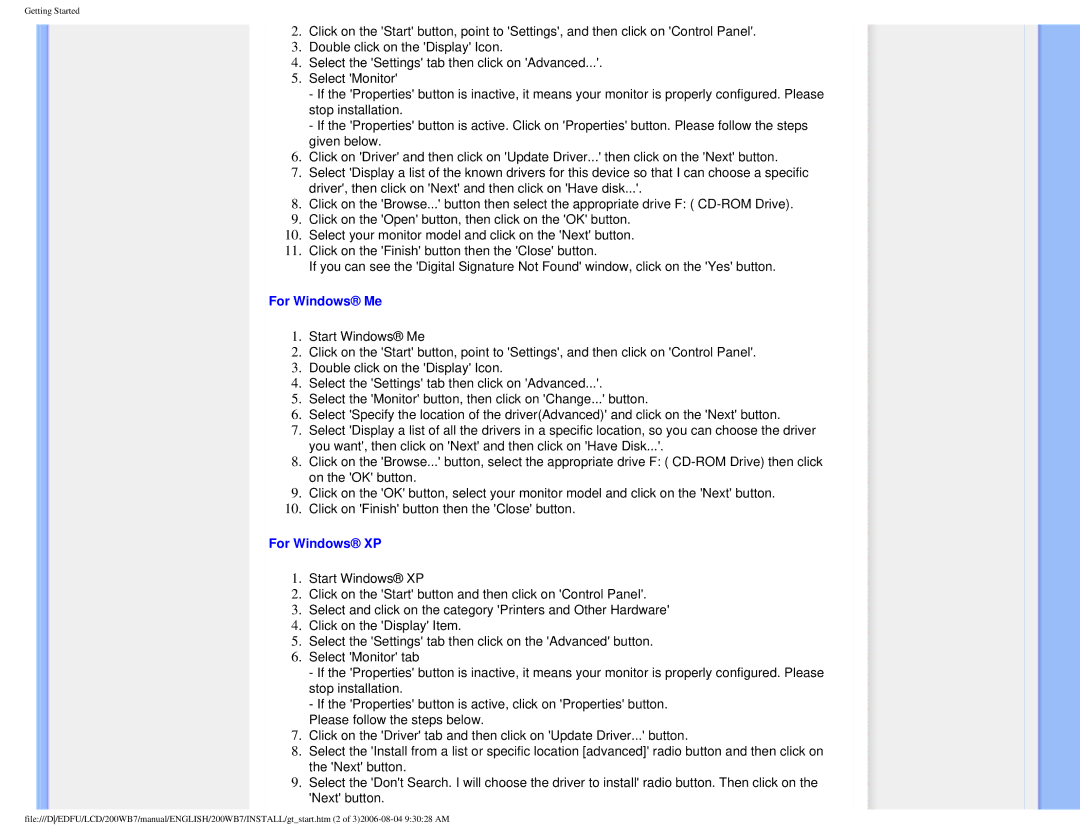
2.Click on the 'Start' button, point to 'Settings', and then click on 'Control Panel'.

3.Double click on the 'Display' Icon.

4.Select the 'Settings' tab then click on 'Advanced...'.

5.Select 'Monitor'

-If the 'Properties' button is inactive, it means your monitor is properly configured. Please stop installation.

-If the 'Properties' button is active. Click on 'Properties' button. Please follow the steps given below.

6.Click on 'Driver' and then click on 'Update Driver...' then click on the 'Next' button.

7.Select 'Display a list of the known drivers for this device so that I can choose a specific driver', then click on 'Next' and then click on 'Have disk...'.

8.Click on the 'Browse...' button then select the appropriate drive F: ( CD-ROM Drive).

9.Click on the 'Open' button, then click on the 'OK' button.

10.Select your monitor model and click on the 'Next' button.

11.Click on the 'Finish' button then the 'Close' button.

If you can see the 'Digital Signature Not Found' window, click on the 'Yes' button.

For Windows® Me

1.Start Windows® Me

2.Click on the 'Start' button, point to 'Settings', and then click on 'Control Panel'.

3.Double click on the 'Display' Icon.

4.Select the 'Settings' tab then click on 'Advanced...'.

5.Select the 'Monitor' button, then click on 'Change...' button.

6.Select 'Specify the location of the driver(Advanced)' and click on the 'Next' button.

7.Select 'Display a list of all the drivers in a specific location, so you can choose the driver you want', then click on 'Next' and then click on 'Have Disk...'.

8.Click on the 'Browse...' button, select the appropriate drive F: ( CD-ROM Drive) then click on the 'OK' button.

9.Click on the 'OK' button, select your monitor model and click on the 'Next' button.

10.Click on 'Finish' button then the 'Close' button.

For Windows® XP

1.Start Windows® XP

2.Click on the 'Start' button and then click on 'Control Panel'.

3.Select and click on the category 'Printers and Other Hardware'

4.Click on the 'Display' Item.

5.Select the 'Settings' tab then click on the 'Advanced' button.

6.Select 'Monitor' tab

-If the 'Properties' button is inactive, it means your monitor is properly configured. Please stop installation.

-If the 'Properties' button is active, click on 'Properties' button.

Please follow the steps below.

7.Click on the 'Driver' tab and then click on 'Update Driver...' button.

8.Select the 'Install from a list or specific location [advanced]' radio button and then click on the 'Next' button.

9.Select the 'Don't Search. I will choose the driver to install' radio button. Then click on the 'Next' button.

file:///D/EDFU/LCD/200WB7/manual/ENGLISH/200WB7/INSTALL/gt_start.htm (2 of 3)2006-08-04 9:30:28 AM

Page 62
Image 62
Philips 200WB7 user manual For Windows Me, For Windows XP

200WB7 specifications

The Philips 200WB7 is a remarkable display that caters to both professional and personal use, showcasing a blend of advanced technology and user-friendly features. With its sleek design and excellent performance, this monitor stands out in a crowded market, making it an excellent choice for various computing needs.

One of the defining characteristics of the Philips 200WB7 is its impressive 20-inch display, which offers a resolution of 1600 x 1200 pixels. This higher-than-average resolution ensures sharp. clear images and vibrant colors, making it suitable for graphic design, video editing, and other visually demanding applications. The 4:3 aspect ratio strikes a balance between traditional and modern viewing experiences, providing ample vertical space for document editing and web browsing.

The monitor employs advanced LCD technology, which enhances its viewing angles and color accuracy. The excellent color reproduction is further complemented by the use of a brightness level of up to 250 cd/m², ensuring that visuals remain clear even in brightly lit environments. Users can enjoy a consistent picture quality from various angles, as the wide viewing angles reduce color shifts and maintain image integrity across the screen.

Philips prioritizes user comfort with features like Flicker-Free technology, which reduces eye strain during extended usage. The LowBlue mode also minimizes harmful blue light emissions, allowing for longer viewing periods without discomfort. These ergonomic advancements are perfect for professionals who spend long hours in front of their monitors.

Connectivity is another strong point of the Philips 200WB7. It includes a variety of input options, such as VGA and DVI ports, allowing for seamless integration with different computers and devices. This versatility ensures that users can easily switch between multiple devices without any hassle.

Moreover, the monitor is designed with energy efficiency in mind, meeting Energy Star requirements which help to reduce power consumption and lower utility bills. The eco-friendly approach is an added attraction for environmentally conscious consumers.

Overall, the Philips 200WB7 is a versatile monitor that combines exceptional quality, user-friendly features, and sleek aesthetics. Whether for professional use in an office setting or for personal enjoyment at home, it stands as a reliable option that enhances productivity and provides an enjoyable viewing experience.