Using in PC monitor mode
PC mode
![]() Press the AV key on the remote control to display the Source list.
Press the AV key on the remote control to display the Source list.
![]() Use the
Use the ![]()
![]() keys to select PC mode and validate with
keys to select PC mode and validate with ![]() .
.
Using the PC menus
Press the MENU key to access the specific settings of the PC monitor mode. Use the cursor to adjust them (the settings are automatically saved):
Picture:
•Color temp: this changes the color rendering: Cool (bluer), Normal (balanced), or Warm (redder).
•Brightness: to adjust the brightness.
•Contrast: to adjust the contrast.
•Auto adjust: to adjust the best image position and phase/clock settings automatically.
•Manual adjust: to manually fine tune the image as it appears on the screen.
-Phase: eliminates the horizontal interfering lines.
-Clock: eliminates the vertical interfering lines.
-Horizontal: adjust the horizontal placement of the picture.
-Vertical: adjust the vertical placement of the picture.
Sound:
•Smart sound: you can press the Smart sound button on the remote control repeatedly to select Personal, Speech, Music, Movie and Multimedia. Personal mode can be set by your preference.
•Setting: this allows you to adjust Treble, Bass, and Balance of the sound.
•Incredible surround: adds greater depth and dimension to TV sound. Select from On or Off.
•AVL: this is used to limit increase in sound, especially on program change or advertising slots.
Features: (not available for 15” / 20”)
•Picture format: to choose between full screen or 4:3 of the PC screen.
Install:
•Language: to choose your preferred language.
•Factory reset: to reset the TV to the factory settings.
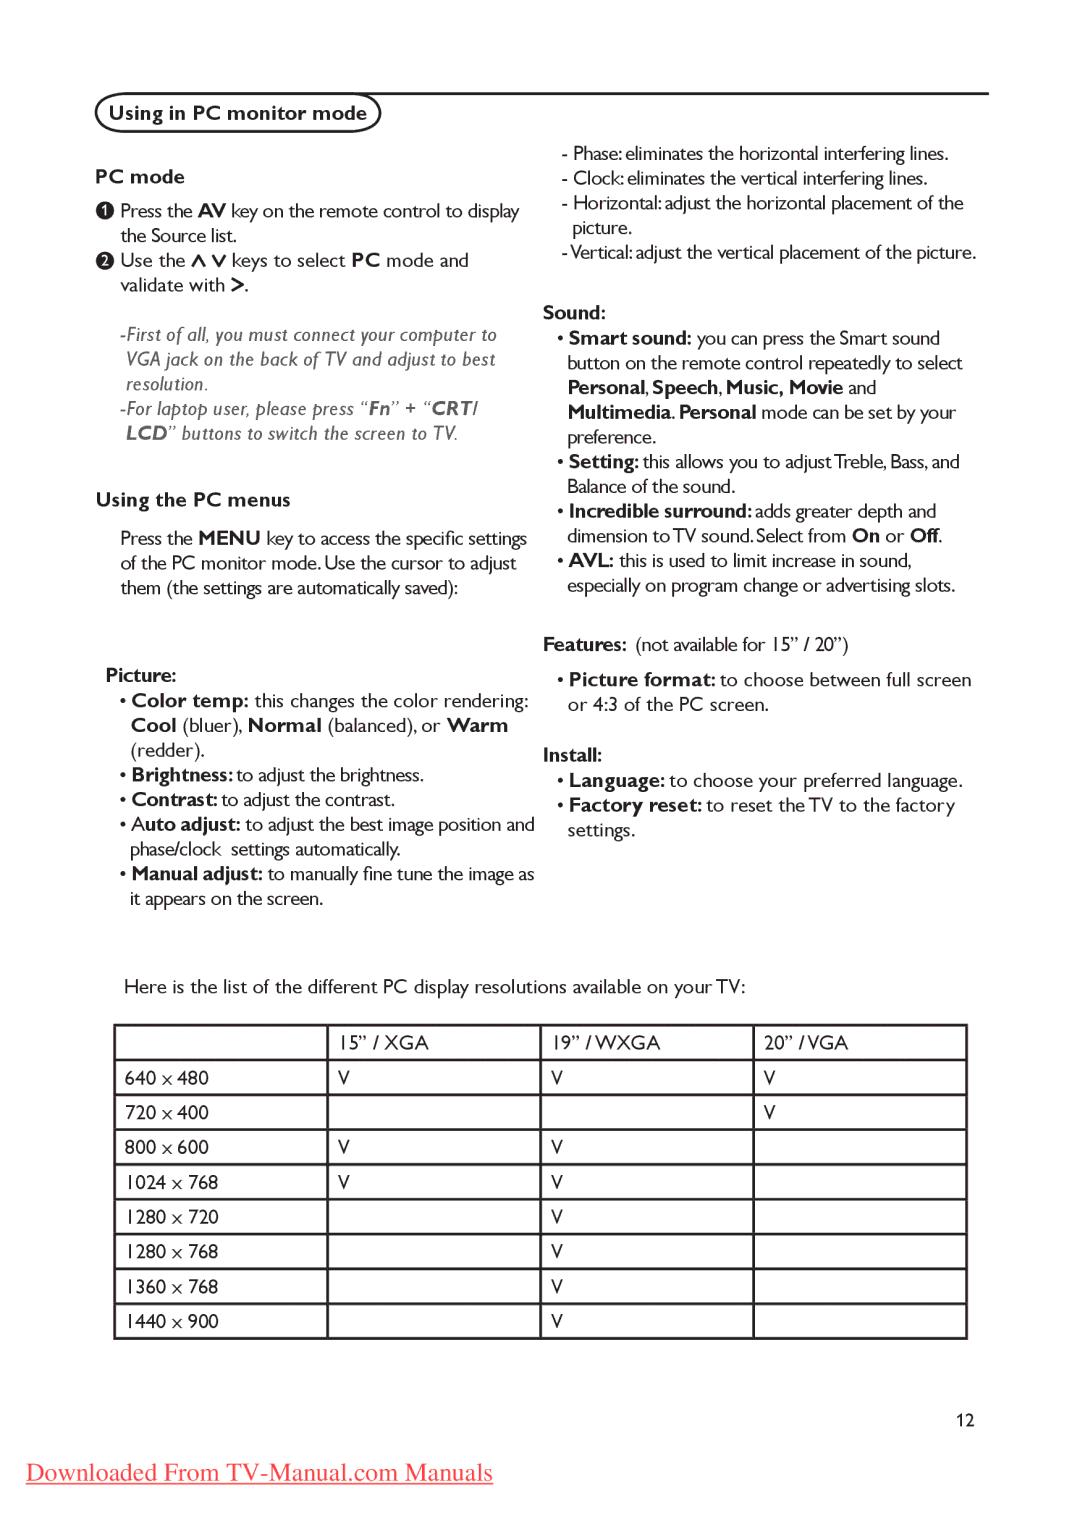
Here is the list of the different PC display resolutions available on your TV:
| 15” / XGA | 19” / WXGA | 20” / VGA |
|
|
|
|
640 x 480 | V | V | V |
|
|
|
|
720 x 400 |
|
| V |
|
|
|
|
800 x 600 | V | V |
|
|
|
|
|
1024 x 768 | V | V |
|
|
|
|
|
1280 x 720 |
| V |
|
|
|
|
|
1280 x 768 |
| V |
|
|
|
|
|
1360 x 768 |
| V |
|
|
|
|
|
1440 x 900 |
| V |
|
|
|
|
|
12
Downloaded From
