Getting Started

6.Select 'Specify the location of the driver(Advanced)' and click on the 'Next' button.

7.Select 'Display a list of all the drivers in a specific location, so you can choose the driver you want', then click on 'Next' and then click on 'Have Disk...'.

8.Click on the 'Browse...' button, select the appropriate drive F: ( CD-ROM Drive) then click on the 'OK' button.

9.Click on the 'OK' button, select your monitor model and click on the 'Next' button.

10.Click on 'Finish' button then the 'Close' button.

For Windows® 2000

1.Start Windows® 2000

2.Click on the 'Start' button, point to 'Settings', and then click on 'Control Panel'.

3.Double click on the 'Display' Icon.

4.Select the 'Settings' tab then click on 'Advanced...'.

5.Select 'Monitor'

-If the 'Properties' button is inactive, it means your monitor is properly configured. Please stop installation.

-If the 'Properties' button is active. Click on 'Properties' button. Please follow the steps given below.

6.Click on 'Driver' and then click on 'Update Driver...' then click on the 'Next' button.

7.Select 'Display a list of the known drivers for this device so that I can choose a specific driver', then click on 'Next' and then click on 'Have disk...'.

8.Click on the 'Browse...' button then select the appropriate drive F: ( CD-ROM Drive).

9.Click on the 'Open' button, then click on the 'OK' button.

10.Select your monitor model and click on the 'Next' button.

11.Click on the 'Finish' button then the 'Close' button.

If you can see the 'Digital Signature Not Found' window, click on the 'Yes' button.

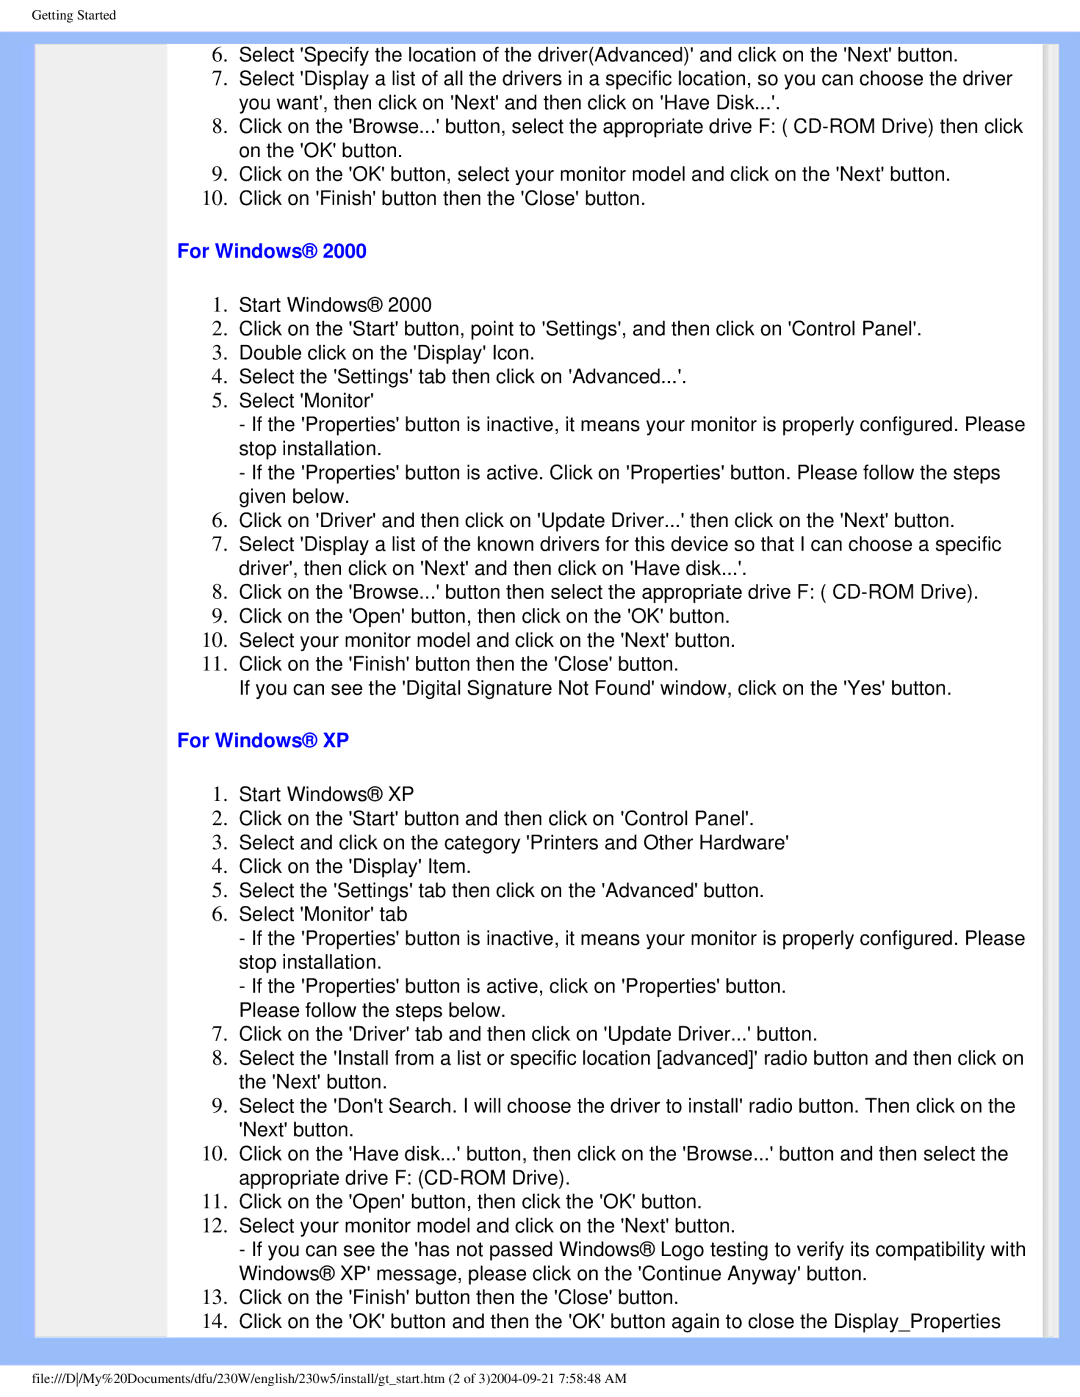
For Windows® XP

1.Start Windows® XP

2.Click on the 'Start' button and then click on 'Control Panel'.

3.Select and click on the category 'Printers and Other Hardware'

4.Click on the 'Display' Item.

5.Select the 'Settings' tab then click on the 'Advanced' button.

6.Select 'Monitor' tab

-If the 'Properties' button is inactive, it means your monitor is properly configured. Please stop installation.

-If the 'Properties' button is active, click on 'Properties' button.

Please follow the steps below.

7.Click on the 'Driver' tab and then click on 'Update Driver...' button.

8.Select the 'Install from a list or specific location [advanced]' radio button and then click on the 'Next' button.

9.Select the 'Don't Search. I will choose the driver to install' radio button. Then click on the 'Next' button.

10.Click on the 'Have disk...' button, then click on the 'Browse...' button and then select the appropriate drive F: (CD-ROM Drive).

11.Click on the 'Open' button, then click the 'OK' button.

12.Select your monitor model and click on the 'Next' button.

- If you can see the 'has not passed Windows® Logo testing to verify its compatibility with Windows® XP' message, please click on the 'Continue Anyway' button.

13.Click on the 'Finish' button then the 'Close' button.

14.Click on the 'OK' button and then the 'OK' button again to close the Display_Properties

file:///D/My%20Documents/dfu/230W/english/230w5/install/gt_start.htm (2 of 3)2004-09-21 7:58:48 AM

Page 69
Image 69
Philips 230w5 user manual For Windows XP

230w5 specifications

The Philips 230W5 is a standout monitor that embodies the blend of cutting-edge technology and elegant design, making it a compelling choice for both professional and personal use. Known for its superior display quality and ergonomic features, this monitor caters to various user needs, from graphic design to general computing tasks.

One of the most noteworthy characteristics of the Philips 230W5 is its 23-inch wide-screen display, which boasts a Full HD resolution of 1920 x 1080 pixels. This means users can expect sharpness and clarity that enhance the viewing experience, whether one is watching movies, playing games, or working on detailed projects. The monitor features an IPS (In-Plane Switching) panel, which provides wider viewing angles and more accurate colors compared to traditional TN panels. This ensures that the display looks vibrant and consistent from various angles, making it ideal for collaborative work environments.

The monitor is designed with Philips' SmartContrast technology, which dynamically adjusts the contrast ratio of the images being displayed. This results in deeper blacks and brighter whites, improving the overall visual quality, especially in darker scenes. Additionally, the PowerSensor technology is a remarkable feature that employs infrared detection to sense when the user is away from the monitor. It then automatically reduces the screen brightness to save energy, a blend of convenience and sustainability that appeals to environmentally-conscious users.

Ergonomics is another highlight of the Philips 230W5. The monitor comes equipped with height, tilt, and swivel adjustments, allowing users to customize their viewing experience to reduce strain during long hours of use. This is essential for professionals and gamers who are in front of the screen for extended periods.

Connectivity is also well-addressed, with multiple input options including HDMI, DisplayPort, and VGA, allowing for easy connection to various devices, from laptops to gaming consoles. The built-in speakers provide decent sound quality, further enhancing the multimedia experience without the need for additional external speakers.

In summary, the Philips 230W5 is more than just a monitor; it is a multifunctional device that combines impressive display technologies with user-centric features. Its Full HD IPS panel, SmartContrast, energy-saving capabilities, and ergonomic design make it a versatile choice for anyone seeking to upgrade their workstation or gaming setup without compromising on style or performance.