Getting Started

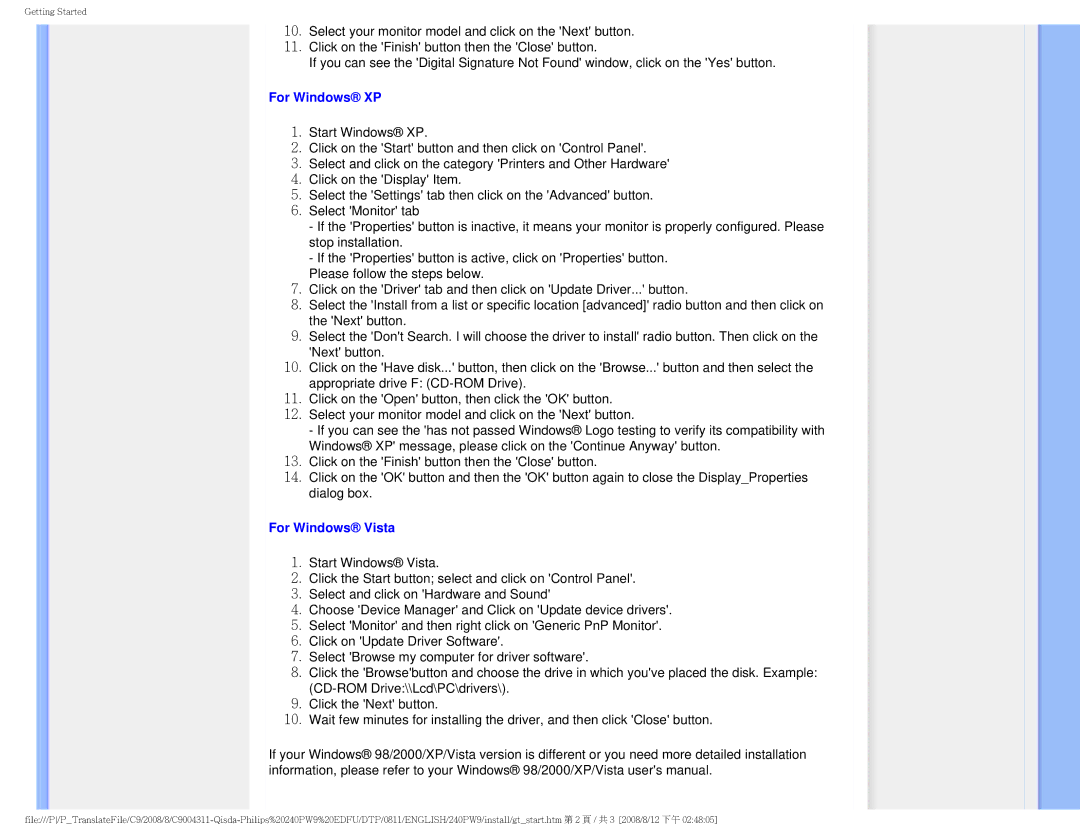
10.Select your monitor model and click on the 'Next' button.

11.Click on the 'Finish' button then the 'Close' button.

If you can see the 'Digital Signature Not Found' window, click on the 'Yes' button.

For Windows® XP

1.Start Windows® XP.

2.Click on the 'Start' button and then click on 'Control Panel'.

3.Select and click on the category 'Printers and Other Hardware'

4.Click on the 'Display' Item.

5.Select the 'Settings' tab then click on the 'Advanced' button.

6.Select 'Monitor' tab

-If the 'Properties' button is inactive, it means your monitor is properly configured. Please stop installation.

-If the 'Properties' button is active, click on 'Properties' button.

Please follow the steps below.

7.Click on the 'Driver' tab and then click on 'Update Driver...' button.

8.Select the 'Install from a list or specific location [advanced]' radio button and then click on the 'Next' button.

9.Select the 'Don't Search. I will choose the driver to install' radio button. Then click on the 'Next' button.

10.Click on the 'Have disk...' button, then click on the 'Browse...' button and then select the appropriate drive F: (CD-ROM Drive).

11.Click on the 'Open' button, then click the 'OK' button.

12.Select your monitor model and click on the 'Next' button.

- If you can see the 'has not passed Windows® Logo testing to verify its compatibility with Windows® XP' message, please click on the 'Continue Anyway' button.

13.Click on the 'Finish' button then the 'Close' button.

14.Click on the 'OK' button and then the 'OK' button again to close the Display_Properties dialog box.

For Windows® Vista

1.Start Windows® Vista.

2.Click the Start button; select and click on 'Control Panel'.

3.Select and click on 'Hardware and Sound'

4.Choose 'Device Manager' and Click on 'Update device drivers'.

5.Select 'Monitor' and then right click on 'Generic PnP Monitor'.

6.Click on 'Update Driver Software'.

7.Select 'Browse my computer for driver software'.

8.Click the 'Browse'button and choose the drive in which you've placed the disk. Example: (CD-ROM Drive:\\Lcd\PC\drivers\).

9.Click the 'Next' button.

10.Wait few minutes for installing the driver, and then click 'Close' button.

If your Windows® 98/2000/XP/Vista version is different or you need more detailed installation information, please refer to your Windows® 98/2000/XP/Vista user's manual.

file:///P/P_TranslateFile/C9/2008/8/C9004311-Qisda-Philips%20240PW9%20EDFU/DTP/0811/ENGLISH/240PW9/install/gt_start.htm 2 / 3 [2008/8/12 下午 02:48:05]

Page 79
Image 79
Philips 240PW9 user manual For Windows XP

240PW9 specifications

The Philips 240PW9 is a notable monitor that has made a significant impact in the market, blending high performance with many user-friendly features. This LCD monitor is specifically designed to cater to both professional and everyday users, making it an ideal choice for offices, creative tasks, and gaming.

One of the standout features of the 240PW9 is its high-resolution display. With a native resolution of 1920x1200 pixels, the monitor offers sharp visuals and detailed images that enhance the viewing experience. The widescreen format provides ample workspace, accommodating multiple windows side by side and improving productivity for users engaged in multitasking.

The monitor utilizes advanced technologies to deliver vibrant colors and deep contrasts. Integrated technology such as Philips' Dynamic Contast, enhances picture quality, delivering deeper blacks and brighter whites. This, together with a fast response time, ensures fluid motion for video playback and gaming, reducing motion blur and ghosting effects.

Another key characteristic of the 240PW9 is its ergonomic design. The monitor comes with an adjustable stand that allows users to tilt, swivel, and adjust the height of the screen, ensuring a comfortable viewing angle. This feature is particularly beneficial for long hours of use, reducing strain on the neck and eyes. The flicker-free technology further protects the eyes from fatigue, making it easy to work for extended periods.

Connectivity options are plentiful with the Philips 240PW9, featuring multiple input ports including VGA, DVI, and HDMI, allowing for seamless connectivity with various devices. Whether connecting to a computer, laptop, or gaming console, users can enjoy a hassle-free setup.

The monitor also incorporates energy-efficient technologies, earning it energy-saving certifications. This makes it an environmentally friendly choice without compromising on performance. The built-in speakers add convenience, reducing the need for additional external audio solutions.

In summary, the Philips 240PW9 stands out in the competitive monitor landscape with its high-resolution display, ergonomic features, and user-friendly technologies. It serves as a versatile tool for professionals and casual users alike, ensuring a blend of performance, comfort, and efficiency. Whether for work or play, the 240PW9 is a solid investment for any setup.