6.
4Brush the inside of housing and Razor Head Assembly.
5Replace the Razor Head Assembly back on razor.
 Every Two Months: Razor Heads
1Turn razor OFF and disconnect from outlet.
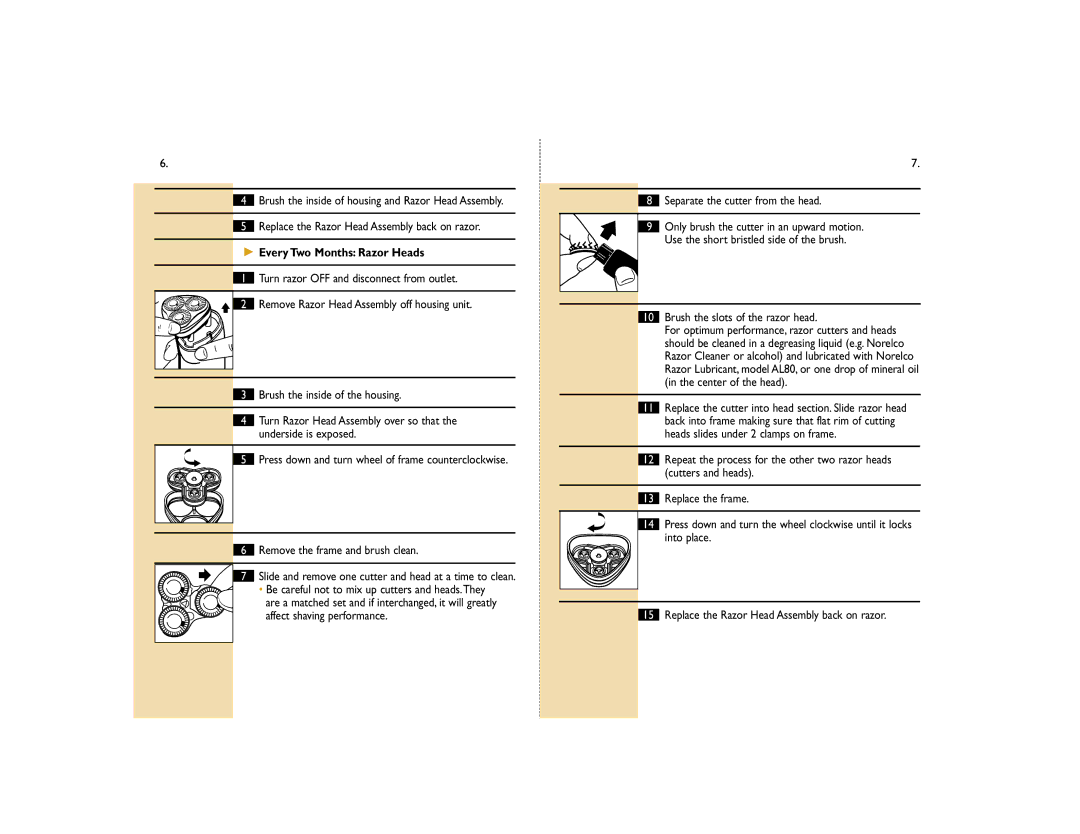
2 Remove Razor Head Assembly off housing unit.
3Brush the inside of the housing.
4Turn Razor Head Assembly over so that the underside is exposed.
5 Press down and turn wheel of frame counterclockwise.
6Remove the frame and brush clean.
7 Slide and remove one cutter and head at a time to clean.
• Be careful not to mix up cutters and heads.They are a matched set and if interchanged, it will greatly affect shaving performance.
7.
8Separate the cutter from the head.
9Only brush the cutter in an upward motion. Use the short bristled side of the brush.
10Brush the slots of the razor head.
For optimum performance, razor cutters and heads should be cleaned in a degreasing liquid (e.g. Norelco Razor Cleaner or alcohol) and lubricated with Norelco Razor Lubricant, model AL80, or one drop of mineral oil (in the center of the head).
11Replace the cutter into head section. Slide razor head back into frame making sure that flat rim of cutting heads slides under 2 clamps on frame.
12Repeat the process for the other two razor heads (cutters and heads).
13Replace the frame.
14Press down and turn the wheel clockwise until it locks into place.
15Replace the Razor Head Assembly back on razor.
