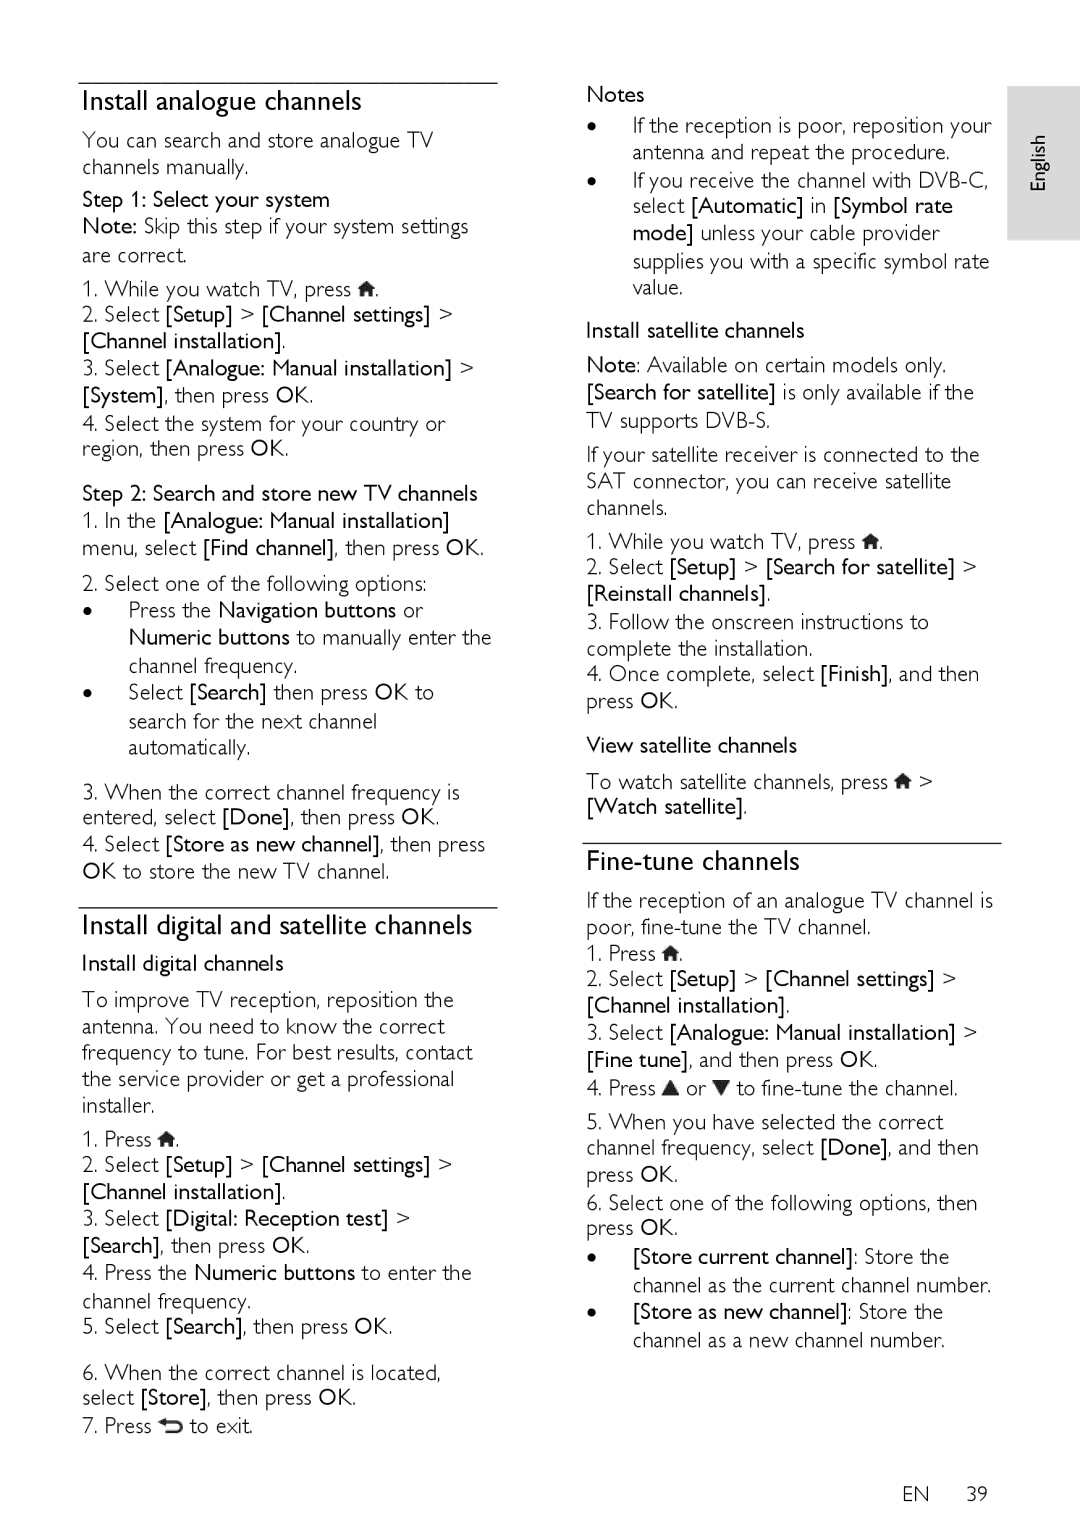
Install analogue channels

You can search and store analogue TV channels manually.

Step 1: Select your system

Note: Skip this step if your system settings are correct.

1.While you watch TV, press .

2.Select [Setup] > [Channel settings] >

[Channel installation].

3.Select [Analogue: Manual installation] > [System], then press OK.

4.Select the system for your country or region, then press OK.

Step 2: Search and store new TV channels

1.In the [Analogue: Manual installation] menu, select [Find channel], then press OK.

2.Select one of the following options:

Press the Navigation buttons or Numeric buttons to manually enter the channel frequency.

Select [Search] then press OK to search for the next channel automatically.

3.When the correct channel frequency is entered, select [Done], then press OK.

4.Select [Store as new channel], then press OK to store the new TV channel.

Install digital and satellite channels

Install digital channels

To improve TV reception, reposition the antenna. You need to know the correct frequency to tune. For best results, contact the service provider or get a professional installer.

1.Press .

2.Select [Setup] > [Channel settings] >

[Channel installation].

3.Select [Digital: Reception test] > [Search], then press OK.

4.Press the Numeric buttons to enter the

channel frequency.

5. Select [Search], then press OK.

6.When the correct channel is located, select [Store], then press OK.

7.Press to exit.

Notes


If the reception is poor, reposition your

English

If you receive the channel with DVB-C,


antenna and repeat the procedure.


select [Automatic] in [Symbol rate


mode] unless your cable provider


supplies you with a specific symbol rate


value.


Install satellite channels

Note: Available on certain models only. [Search for satellite] is only available if the TV supports DVB-S.

If your satellite receiver is connected to the SAT connector, you can receive satellite channels.

1. While you watch TV, press .

2.Select [Setup] > [Search for satellite] > [Reinstall channels].

3.Follow the onscreen instructions to complete the installation.

4.Once complete, select [Finish], and then press OK.

View satellite channels

To watch satellite channels, press > [Watch satellite].

Fine-tune channels

If the reception of an analogue TV channel is poor, fine-tune the TV channel.

1.Press .

2.Select [Setup] > [Channel settings] >

[Channel installation].

3.Select [Analogue: Manual installation] > [Fine tune], and then press OK.

4. Press or to fine-tune the channel.

5.When you have selected the correct channel frequency, select [Done], and then press OK.

6.Select one of the following options, then press OK.

[Store current channel]: Store the channel as the current channel number.

[Store as new channel]: Store the channel as a new channel number.

EN 39

Page 39
Image 39
Philips 32PDL7906T, 42PDL7906T Install analogue channels, Install digital and satellite channels, Fine-tune channels

42PDL7906K, 32PDL7906K, 42PDL7906H, 32PDL7906H, 42PDL7906T specifications

The Philips 32PDL7906T, 42PDL7906T, 32PDL7906H, 42PDL7906H, and 32PDL7906K are part of Philips' remarkable range of LED televisions, designed to bring an immersive viewing experience right into your living room. Combining advanced technology and elegant design, these models cater to various viewer needs and preferences.

At the heart of the Philips 7906 series is the Crystal Clear technology which enhances picture quality by providing sharper images and vivid colors. The LED display ensures a high contrast ratio and better brightness management, bringing out the finest details in every frame. With resolutions up to 4K Ultra HD, viewers can enjoy stunning visuals that are almost lifelike.

One of the notable features of these models is the Ambilight technology, exclusive to Philips televisions. This innovative feature extends the viewing experience beyond the screen by projecting light that corresponds to the on-screen content onto the surrounding walls, creating a more immersive atmosphere. It enhances the mood whether you are watching movies, playing video games, or enjoying your favorite shows.

The Philips 7906 series also comes equipped with support for multiple HDR formats, including HDR10+ and Dolby Vision. This ensures that content is displayed with enhanced dynamic range and color accuracy, making highlights brighter and shadows deeper. This feature is perfect for cinephiles looking to experience films as the creators intended.

In terms of connectivity, the Philips 32PDL7906T, 42PDL7906T, 32PDL7906H, 42PDL7906H, and 32PDL7906K do not disappoint. They offer multiple HDMI and USB ports, allowing easy connection to external devices such as gaming consoles, Blu-ray players, and soundbars. Additionally, built-in Wi-Fi and support for various streaming apps give users access to endless content options without the need for additional devices.

Smart TV functionality is a key characteristic of the 7906 series, featuring a user-friendly interface powered by Android TV. This allows for seamless navigation and access to a wide range of apps, including popular streaming services like Netflix and YouTube. Voice control compatibility with Google Assistant and other smart home systems further enhances the user experience.

Overall, the Philips 32PDL7906T, 42PDL7906T, 32PDL7906H, 42PDL7906H, and 32PDL7906K represent a perfect blend of cutting-edge technology, user-friendly features, and stunning design, making them a compelling choice for anyone looking to upgrade their home entertainment setup.