Assembly Instructions
This page will give you an overview of information to assemble your grill. The following pages will show in
1.) Read through the entire Assembly Instructions before you begin.
2.) Choose an area large enough to comfortably lay out all the parts and hardware with enough room to easily maneuver.
3.) Have an area with a
4.) Use 2 people to remove the Cabinet and Firebox Assembly from the carton. You will also need 2 people to attach the Casters to the Cabinet and Firebox Assembly.
5.) Lay all parts and hardware out and ensure you have everything listed on the Parts and Hardware page before you begin assembly. See the Customer Support Page for contact information should any parts be damaged or missing.
6.) A Phillips Head Screwdriver has been provided for assembly. You will not need any additional tools.
7.) Do not use a Power Screwdriver for assembly as you could strip the threads on the Nuts and Bolts.
8.) The propane tank for this grill is sold separately. See the LP Gas and Cylinder Information later in this guide.
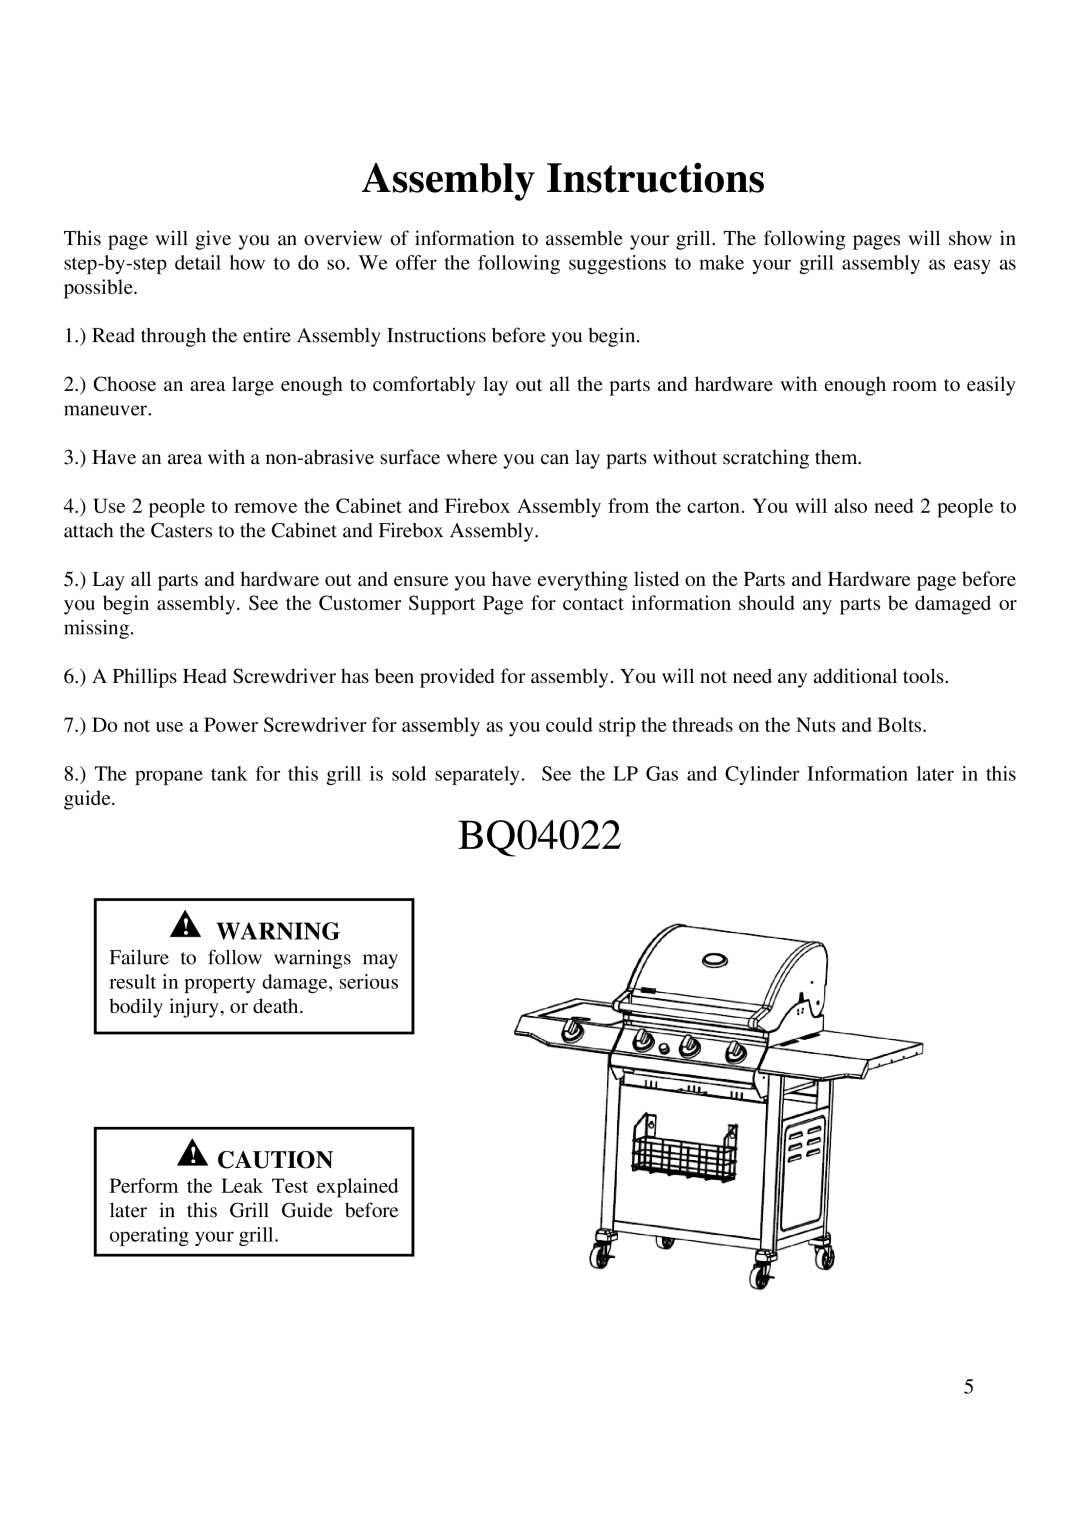
BQ04022
!WARNING
Failure to follow warnings may result in property damage, serious bodily injury, or death.
!CAUTION
Perform the Leak Test explained later in this Grill Guide before operating your grill.
5
