4 Getting started
4.1Connect the charger
1 Place the charger in a central location near the electricity socket.
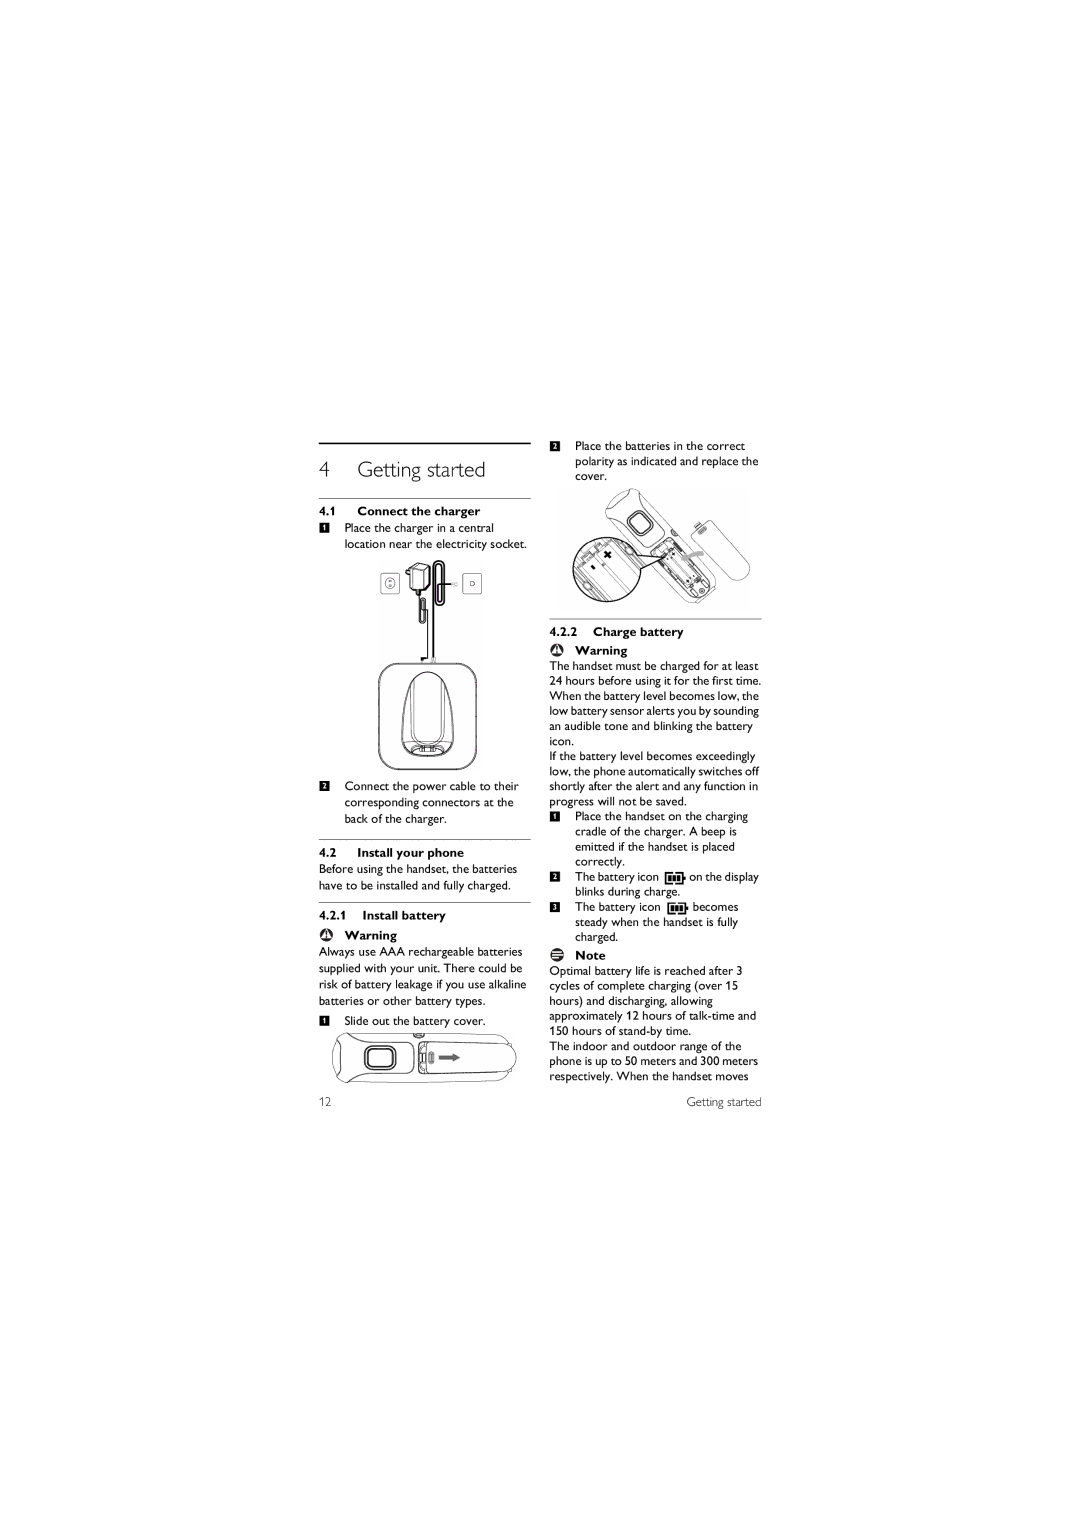
2Place the batteries in the correct polarity as indicated and replace the cover.
2Connect the power cable to their corresponding connectors at the back of the charger.
4.2Install your phone
Before using the handset, the batteries have to be installed and fully charged.
4.2.1Install battery
!Warning
Always use AAA rechargeable batteries supplied with your unit. There could be risk of battery leakage if you use alkaline batteries or other battery types.
1Slide out the battery cover.
12
4.2.2Charge battery
!Warning
The handset must be charged for at least 24 hours before using it for the first time. When the battery level becomes low, the low battery sensor alerts you by sounding an audible tone and blinking the battery icon.
If the battery level becomes exceedingly low, the phone automatically switches off shortly after the alert and any function in progress will not be saved.
1Place the handset on the charging
cradle of the charger. A beep is emitted if the handset is placed correctly.
2The battery icon ![]() on the display
on the display
blinks during charge.
3The battery icon ![]() becomes steady when the handset is fully charged.
becomes steady when the handset is fully charged.
Note
Optimal battery life is reached after 3 cycles of complete charging (over 15 hours) and discharging, allowing approximately 12 hours of
The indoor and outdoor range of the phone is up to 50 meters and 300 meters respectively. When the handset moves
Getting started