
DVDR3440H/05B specifications
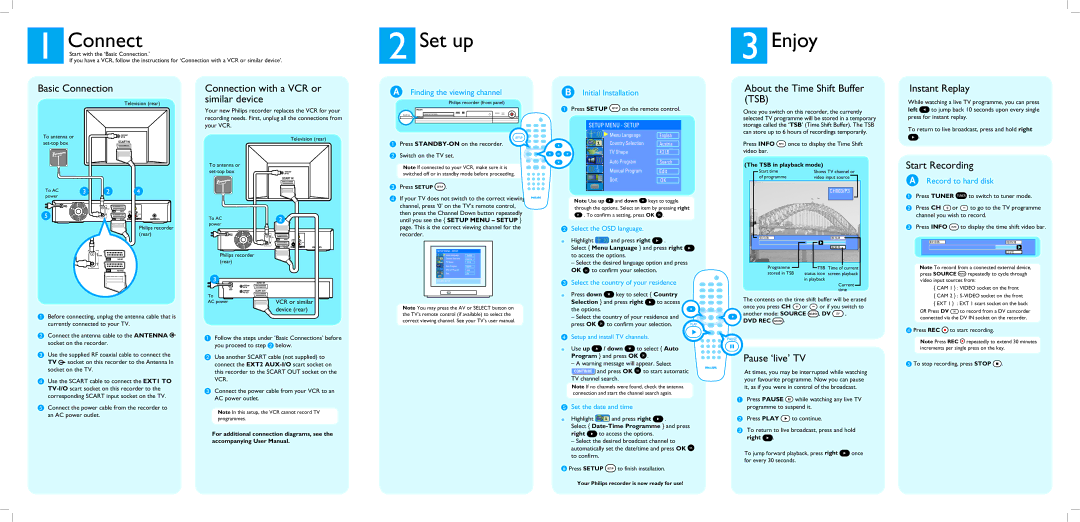
The Philips DVDR3440H/05B is an innovative digital video recorder that combines the functionality of a DVD recorder with a hard disk drive, allowing users to capture, store, and playback their favorite TV shows, movies, and personal videos with ease. This versatile device is equipped with a range of features and technologies that make it an excellent choice for any home entertainment setup.One of the standout features of the DVDR3440H/05B is its built-in hard drive with a generous capacity of 160 GB. This allows users to record up to 120 hours of standard television programming, providing ample space for storing multiple shows and movies without the need for a clutter of DVDs. The hard drive also enables features such as pause and rewind live TV, allowing viewers to never miss a moment of their favorite broadcasts.
In addition to hard drive recording, the Philips DVDR3440H/05B also supports high-quality DVD recording. Users can easily transfer their recorded content to DVD media, making it convenient to share memories with friends and family or archive important moments. The device supports various formats, including DVD-R, DVD-RW, and DVD+RW, ensuring compatibility with a wide range of disc types.
The user-friendly interface of the DVDR3440H/05B includes an intuitive setup and navigation system, making it easy for anyone to operate. The device features an electronic program guide (EPG) that simplifies scheduling recordings and helps users find out what's on TV. The timer function allows users to set recordings in advance, ensuring that no favorite shows are missed, even when away from home.
Another key technology incorporated in the DVDR3440H/05B is its advanced video enhancement capabilities. With features like progressive scan, users can enjoy improved picture quality with reduced motion blur and enhanced clarity, providing a superior viewing experience. The device also supports Dolby Digital sound for a rich audio experience that complements the high-quality video playback.
Connectivity options have not been overlooked; the Philips DVDR3440H/05B includes multiple inputs for connecting various devices, including cable and satellite boxes. The front panel also features USB ports, allowing for easy access to external storage devices and the ability to play video files directly from a flash drive or external hard drive.
Overall, the Philips DVDR3440H/05B stands out as a robust and feature-rich solution for anyone looking to enhance their home entertainment experience. With its combination of hard drive recording, DVD capabilities, and advanced video technologies, it caters to both the casual viewer and the avid collector alike, making it an invaluable addition to modern home entertainment systems.