DVD Menu Options (continued)
Progressive
In the progressive scan mode, you can enjoy the high quality picture with less flickers. It only works when you have connected the DVD player’s YPbPr jacks to your TV that supports the progressive video input. Otherwise, a distorted picture will appear on the TV. For proper progressive scan set up, see page 18.
AIn ‘Video Setup Page’, press S T to select { Progressive }, then press X.
{Off }
To disable Progressive Scan function.
{On }
To enable Progressive Scan function.
BUse S T to select a setting and press OK to confirm.
Follow the instructions shown on the TV screen to confirm the selection (if any).
If a distorted picture appears on the TV screen, wait for 15 seconds for auto recovery.
Picture Setting
This DVD player provides four predefined sets of picture color settings.
AIn ‘Video Setup Page’, press S T to select { Picture Setting }, then press X.
{Standard }
Select this for a preset standard picture setting.
{Vivid }
Select this to make the picture brighter.
{Cool }
Select this to make the picture softer.
{Personal }
Select this to personalize your picture color by adjusting the brightness, contrast, tint and color (saturation).
BUse S T to select a setting and press OK to confirm.
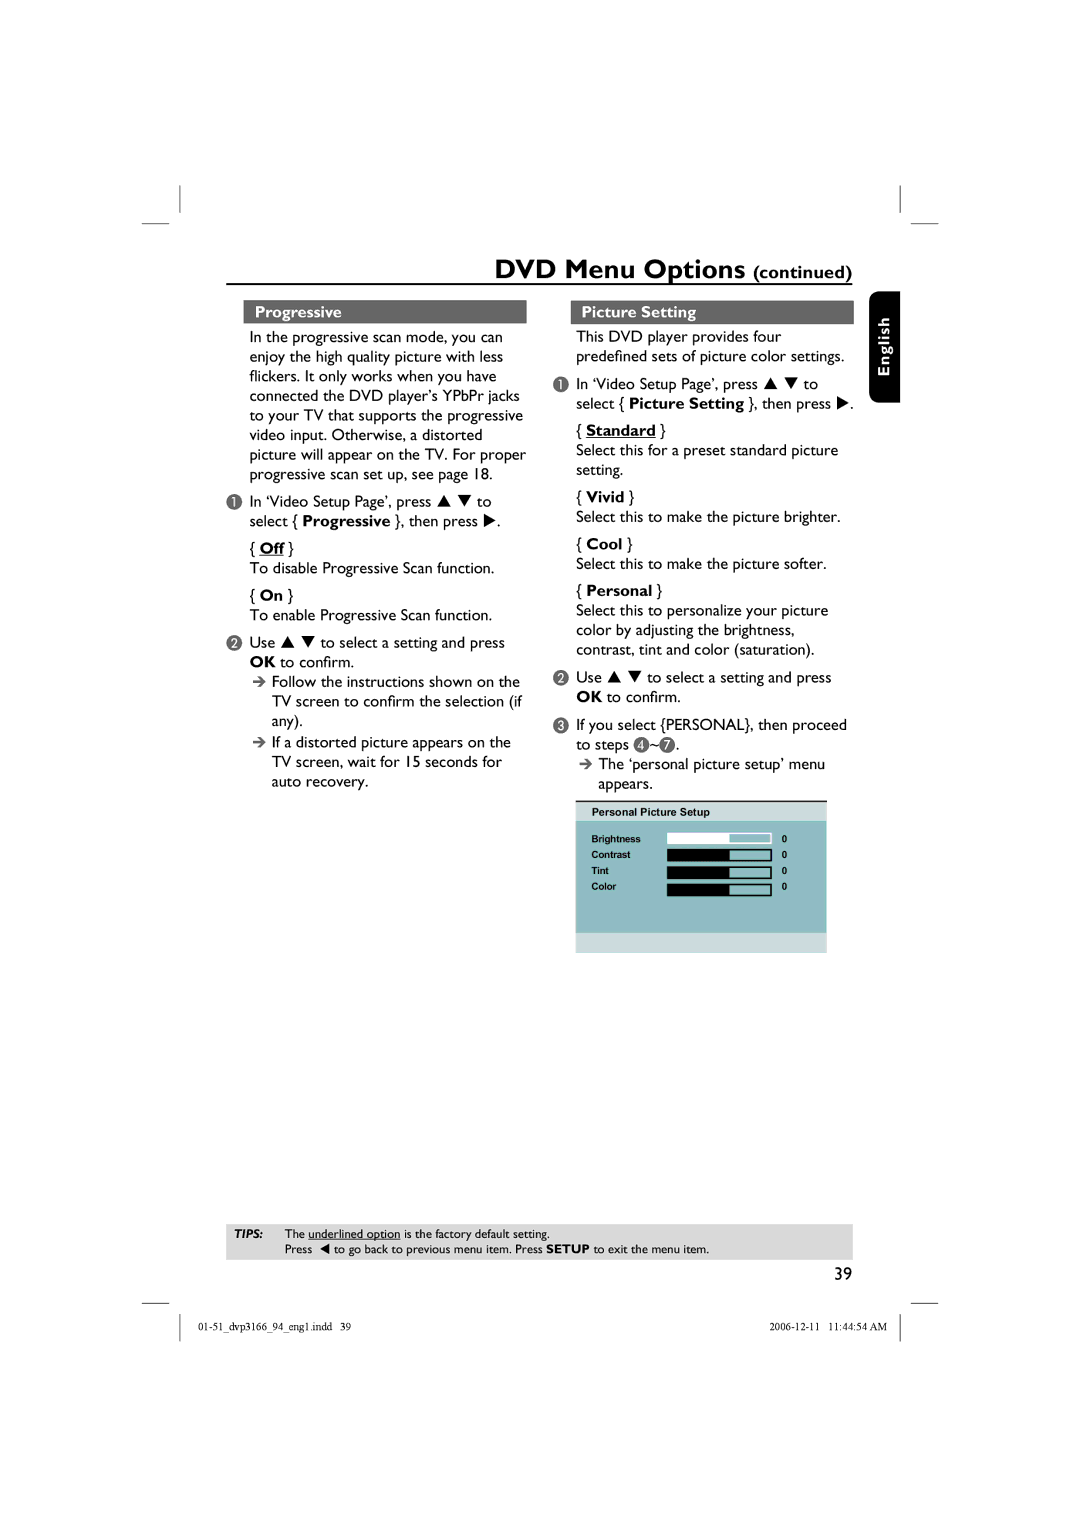
CIf you select {PERSONAL}, then proceed to steps D~G.
The ‘personal picture setup’ menu appears.
Personal Picture Setup
Brightness |
| 0 | |
| |||
Contrast |
|
| 0 |
|
| ||
Tint |
|
| 0 |
|
| ||
Color |
|
| 0 |
|
| ||
|
|
|
|
English
TIPS: The underlined option is the factory default setting.
Press W to go back to previous menu item. Press SETUP to exit the menu item.
39
