TAPE | AUX |
KARAOKE
English | During playback | |
• Press and hold àor áuntil the | ||
| ||
| desired passage is located. | |
| ™ “T1 or T2” with “11 or 22”" | |
| scrolling left or right will be | |
| displayed depending on which button | |
| is pressed. | |
| ™ During searching, the sound is | |
| reduced to a low volume. | |
| ™ When you release àor á, the | |
| tape continues playing. |
|
|
|
|
|
|
|
| |||||
|
|
|
|
|
|
|
|
|
|
| ||
| JOG |
|
|
| CD1 • 2 • 3 |
| BAND | TAPE 1 • 2 |
| CDR/VIDEO | ||
| CONTROL |
|
|
| CD |
|
| TUNER | TAPE |
| AUX | |
|
|
|
|
|
|
|
| |||||
| B |
|
|
|
|
| TUNING |
|
|
| PRESET ▲ | |
D | B | L |
|
| ▲ ▲ | ▲ ▲ |
| ▲ | ||||
|
|
| M |
|
|
|
|
|
|
| ||
|
|
| A |
|
|
|
|
|
|
|
| |
|
|
|
| I |
|
|
|
|
|
|
| |
|
|
|
| T |
|
|
|
|
|
|
| |
|
|
|
|
| P |
|
|
|
|
|
|
|
C |
|
|
|
| O |
|
|
|
|
|
|
|
|
|
|
| Z |
|
|
|
|
|
|
| |
E |
|
|
|
| Z |
| SEARCH | STOP• CLEAR | PLAY• PAUSE | PREV | NEXT | |
V |
|
|
|
| J |
| ||||||
|
|
|
|
| A |
|
|
|
|
|
|
|
|
|
|
|
| K | PROGRAM RECORD DUBBING A.REPLAY | DIM |
| INCREDIBLE | |||
|
|
|
|
| C |
| SURROUND | |||||
|
|
|
|
| O |
|
|
|
|
|
|
|
|
|
|
|
| R |
|
|
|
|
|
|
|
C |
|
|
|
| O |
|
|
|
|
|
|
|
S |
|
|
| N |
|
|
|
|
|
|
| |
D |
|
| C |
|
|
|
|
|
|
|
| |
|
| E |
|
|
|
|
|
|
|
| CLOCK•TIMER | |
| T |
|
|
|
|
|
|
|
| |||
|
|
|
|
|
|
|
|
|
|
| ||
MICROPHONE - LEVEL
Notes:
–During rewinding or fast forwarding of a tape, it is also possible to select another source (e.g. CD, TUNER, or AUX).
–Before playing a tape, check and tighten slack tape with a pencil. Slack tape may get jammed or may burst in the mechanism.
–
–Store the tapes at room temperature and do not put them too close to a magnetic field (for example, a transformer, TV, or speaker).
.
18
SOUND NAVIGATION - JOG
Selecting External Equipment
If you have connected the audio out terminals of the external equipment (TV, VCR, Laser Disc player, DVD player or CD Recorder) to the AUX IN terminals, you can hear the enhanced sound from the system.
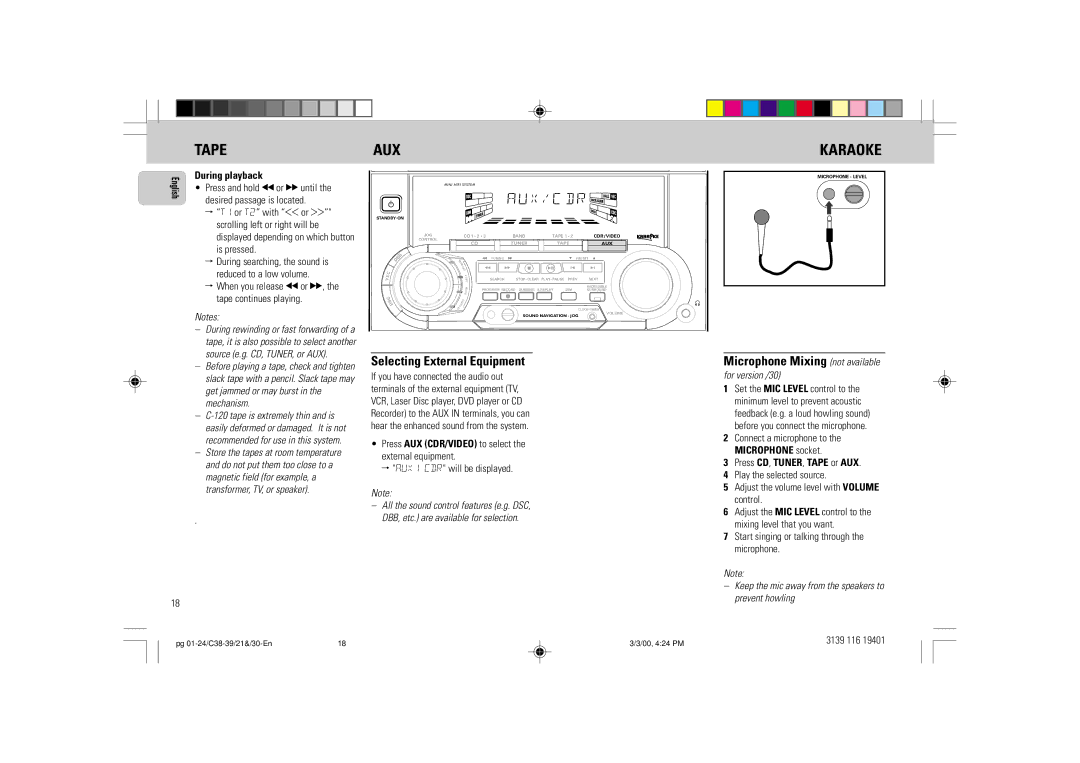
•Press AUX (CDR/VIDEO) to select the external equipment.
™ "AUX1 CDR" will be displayed.
Note:
–All the sound control features (e.g. DSC, DBB, etc.) are available for selection.
VOLUME
Microphone Mixing for version /30)
1Set the MIC LEVEL control to the minimum level to prevent acoustic feedback (e.g. a loud howling sound) before you connect the microphone.
2Connect a microphone to the MICROPHONE socket.
3Press CD, TUNER, TAPE or AUX.
4Play the selected source.
5Adjust the volume level with VOLUME control.
6Adjust the MIC LEVEL control to the mixing level that you want.
7Start singing or talking through the microphone.
Note:
–Keep the mic away from the speakers to prevent howling
pg | 18 | 3/3/00, 4:24 PM | 3139 116 19401 |
