English
BASIC FUNCTIONS
Selecting a disc on the CD changer
• Press either CD 1, CD 2 or CD 3 to select a particular disc.
Selecting a track and searching
Selecting a track during playback
•Rotate í JOG CONTROL ë (pressí or ë on the remote control) to skip to the beginning of the previous or next track on the selected disc.
yPlayback continues with the selected track.
Selecting a track when playback is stopped
1Rotate í JOG CONTROL ë (pressí or ë on the remote control) to skip to the required track number.
2PressÉ PLAY/PAUSE (Éon the remote control) to start playback.
yPlayback starts with the selected track.
Note: Instead of using í or ë on the remote control you can also directly key in the required track number by using the numerical keys. For
Searching for a passage during playback
1Keep à SEARCH or á SEARCH (à or á on the remote control) pressed to find a particular passage in backward or forward direction.
ySearching is started and playback continues at a low volume. After 3 seconds the search speeds up with volume muted.
2Release the key at the desired passage. yNormal playback continues.
Note: During SHUFFLE, while repeating a track or playing a program, searching is only possible within the current track.
SHUFFLE and REPEAT
Repeating a track, the disc or the program
1Press repeatedly REPEAT on the remote control during playback to select either:
yREPEAT TRACK: The current track is played repeatedly.
yREPEAT DISC: The entire selected disc is played repeatedly.
yREPEAT ALL: All discs in the CD changer (or the program) are (is) played repeatedly.
2Playback starts in the chosen mode.
3To return to normal playback, press REPEAT on the remote control until the display indication disappears.
Note: REPEAT DISC is not possible during SHUFFLE or while playing a program.
Playing tracks in random order
1Press SHUFFLE on the remote control during playback. ySHUFFLE is shown and either all tracks of the program or
of the loaded disc(s) in the CD changer or CD recorder are played in random order.
2To return to normal playback, press SHUFFLE again.
CD text
|
|
|
|
|
| A | |
|
|
|
|
| NEW | S/T |
|
|
|
| RDS |
|
| ||
|
|
|
|
|
| ||
|
|
|
|
| CLO | CK/T | IMER |
|
|
|
| TEXT |
| ||
| MINI HIFI | SYSTEM |
|
|
| ||
ABLE | CD |
|
|
| |||
|
|
|
|
|
| ||
|
|
|
|
|
|
| |
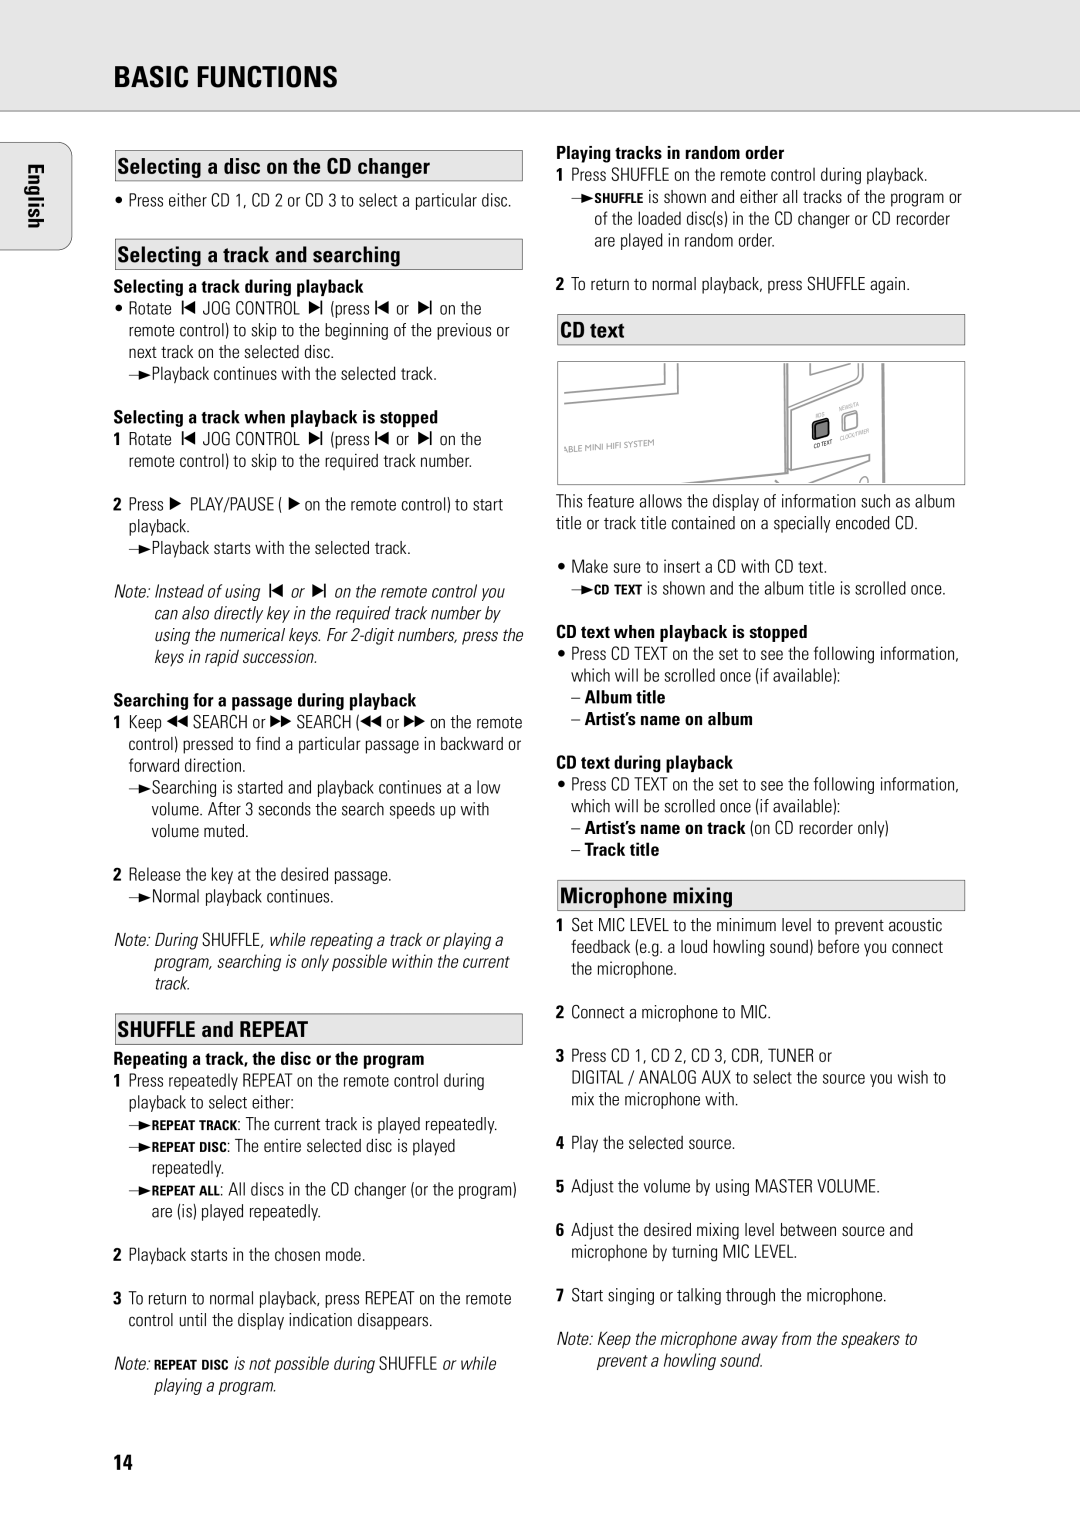
This feature allows the display of information such as album title or track title contained on a specially encoded CD.
•Make sure to insert a CD with CD text.
yCD TEXT is shown and the album title is scrolled once.
CD text when playback is stopped
•Press CD TEXT on the set to see the following information, which will be scrolled once (if available):
–Album title
–Artist’s name on album
CD text during playback
•Press CD TEXT on the set to see the following information, which will be scrolled once (if available):
–Artist’s name on track (on CD recorder only)
–Track title
Microphone mixing
1Set MIC LEVEL to the minimum level to prevent acoustic feedback (e.g. a loud howling sound) before you connect the microphone.
2Connect a microphone to MIC.
3Press CD 1, CD 2, CD 3, CDR, TUNER or
DIGITAL / ANALOG AUX to select the source you wish to mix the microphone with.
4Play the selected source.
5Adjust the volume by using MASTER VOLUME.
6Adjust the desired mixing level between source and microphone by turning MIC LEVEL.
7Start singing or talking through the microphone.
Note: Keep the microphone away from the speakers to prevent a howling sound.
14
