8Close the grill (only for contact grill and oven grill positions).
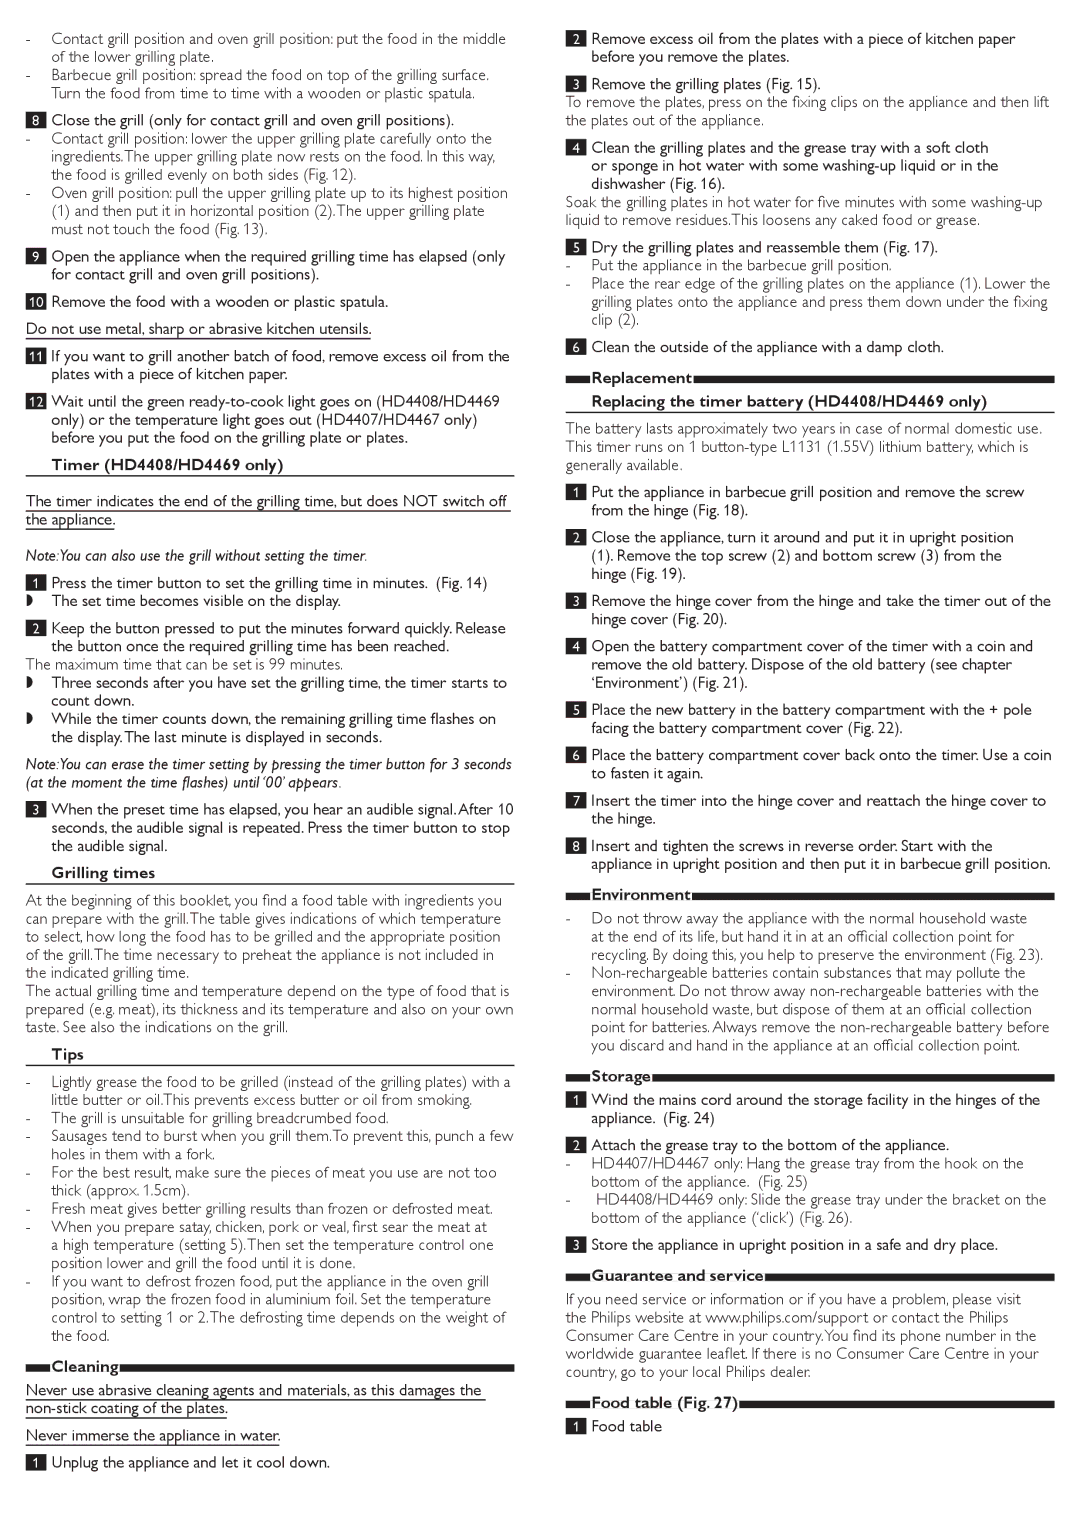
ingredients.The upper grilling plate now rests on the food. In this way,
the food is grilled evenly on both sides (Fig. 12).
(1)and then put it in horizontal position (2).The upper grilling plate must not touch the food (Fig. 13).
9Open the appliance when the required grilling time has elapsed (only for contact grill and oven grill positions).
10Remove the food with a wooden or plastic spatula. Do not use metal, sharp or abrasive kitchen utensils.
11If you want to grill another batch of food, remove excess oil from the plates with a piece of kitchen paper.
12Wait until the green
Timer (HD4408/HD4469 only)
The timer indicates the end of the grilling time, but does NOT switch off the appliance.
Note:You can also use the grill without setting the timer.
1Press the timer button to set the grilling time in minutes. (Fig. 14) ,, The set time becomes visible on the display.
2Keep the button pressed to put the minutes forward quickly. Release the button once the required grilling time has been reached.
The maximum time that can be set is 99 minutes.
,, Three seconds after you have set the grilling time, the timer starts to count down.
,, While the timer counts down, the remaining grilling time flashes on the display.The last minute is displayed in seconds.
Note:You can erase the timer setting by pressing the timer button for 3 seconds (at the moment the time flashes) until ‘00’ appears.
3When the preset time has elapsed, you hear an audible signal.After 10 seconds, the audible signal is repeated. Press the timer button to stop the audible signal.
Grilling times
At the beginning of this booklet, you find a food table with ingredients you
can prepare with the grill.The table gives indications of which temperature
to select, how long the food has to be grilled and the appropriate position
of the grill.The time necessary to preheat the appliance is not included in the indicated grilling time.
The actual grilling time and temperature depend on the type of food that is
prepared (e.g. meat), its thickness and its temperature and also on your own
taste. See also the indications on the grill.
Tips
position lower and grill the food until it is done.
control to setting 1 or 2.The defrosting time depends on the weight of the food.
Cleaning
Never use abrasive cleaning agents and materials, as this damages the
Never immerse the appliance in water.
1Unplug the appliance and let it cool down.
2Remove excess oil from the plates with a piece of kitchen paper before you remove the plates.
3Remove the grilling plates (Fig. 15).
To remove the plates, press on the fixing clips on the appliance and then lift
the plates out of the appliance.
4Clean the grilling plates and the grease tray with a soft cloth
or sponge in hot water with some
Soak the grilling plates in hot water for five minutes with some
liquid to remove residues.This loosens any caked food or grease.
5Dry the grilling plates and reassemble them (Fig. 17).
6Clean the outside of the appliance with a damp cloth.
Replacement
Replacing the timer battery (HD4408/HD4469 only)
The battery lasts approximately two years in case of normal domestic use.
This timer runs on 1
generally available.
1Put the appliance in barbecue grill position and remove the screw from the hinge (Fig. 18).
2Close the appliance, turn it around and put it in upright position
(1). Remove the top screw (2) and bottom screw (3) from the hinge (Fig. 19).
3Remove the hinge cover from the hinge and take the timer out of the hinge cover (Fig. 20).
4Open the battery compartment cover of the timer with a coin and remove the old battery. Dispose of the old battery (see chapter ‘Environment’) (Fig. 21).
5Place the new battery in the battery compartment with the + pole facing the battery compartment cover (Fig. 22).
6Place the battery compartment cover back onto the timer. Use a coin to fasten it again.
7Insert the timer into the hinge cover and reattach the hinge cover to the hinge.
8Insert and tighten the screws in reverse order. Start with the appliance in upright position and then put it in barbecue grill position.
Environment
at the end of its life, but hand it in at an official collection point for recycling. By doing this, you help to preserve the environment (Fig. 23).
normal household waste, but dispose of them at an official collection
point for batteries. Always remove the
you discard and hand in the appliance at an official collection point.
Storage
1Wind the mains cord around the storage facility in the hinges of the appliance. (Fig. 24)
2Attach the grease tray to the bottom of the appliance.
3Store the appliance in upright position in a safe and dry place.
Guarantee and service
If you need service or information or if you have a problem, please visit
the Philips website at www.philips.com/support or contact the Philips
Consumer Care Centre in your country.You find its phone number in the worldwide guarantee leaflet. If there is no Consumer Care Centre in your country, go to your local Philips dealer.
Food table (Fig. 27)
1Food table