HR1744 specifications
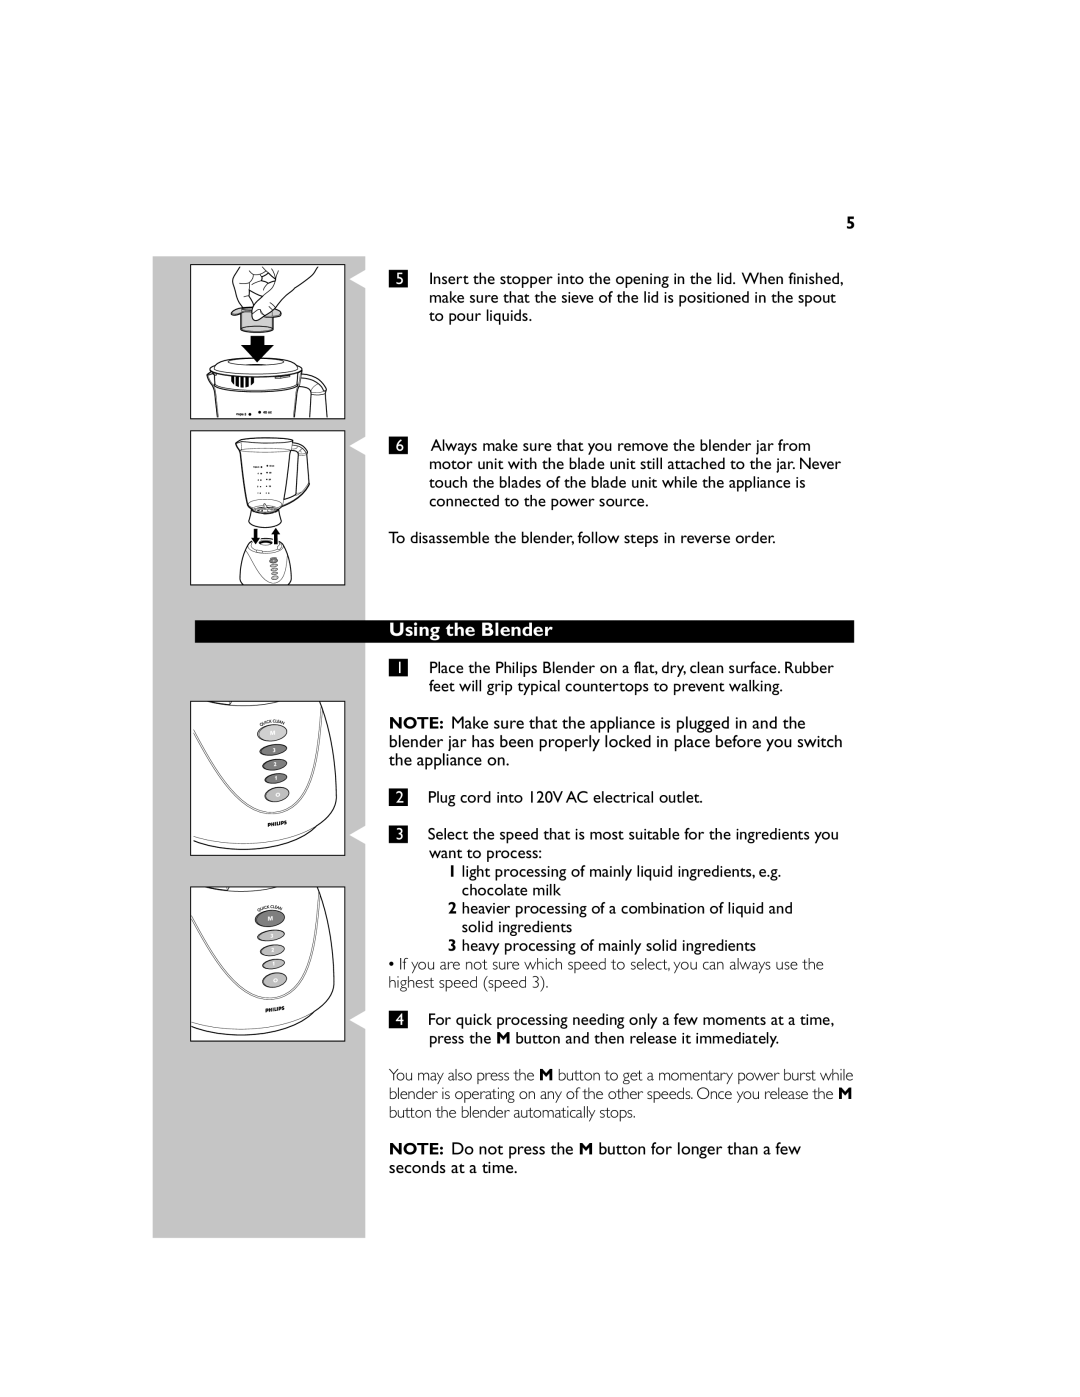
The Philips HR1744 is a compact hand blender designed to make food preparation quick and effortless, making it an ideal companion for any kitchen. With its power-efficient motor and versatile functionalities, this appliance eases the challenges of blending, mixing, and pureeing a wide variety of ingredients.One of the standout features of the HR1744 is its robust motor, providing a powerful performance while remaining energy-efficient. The motor's output is optimized to handle even the toughest ingredients, ensuring consistent results every time. This blender also comes with multiple speed settings, allowing users to adjust the blending speed based on the recipe requirements. Whether you need a gentle stir or a high-speed blend, the HR1744 caters to your needs with ease.
Ergonomically designed, the Philips HR1744 ensures comfortable handling during operation. Its lightweight structure combined with an easy-to-grip handle allows for extended use without fatigue. The stylish design of the blender also enhances its appeal, making it a perfect match for modern kitchens.
The HR1744 features a detachable blending arm, which simplifies the process of cleaning. The detachable components are dishwasher-safe, making maintenance hassle-free. This feature not only enhances hygiene but also allows for easy storage, as the blender can be disassembled into smaller parts.
In addition to blending, the HR1744 comes with a variety of attachments including a whisk and a chopper. This versatility enables users to whip cream, whisk eggs, and chop ingredients, making it a multi-functional tool in the kitchen. The chopper attachment is especially handy for preparing vegetables, herbs, and nuts with precision and ease.
Safety is a key aspect of the HR1744's design. It includes a safety lock feature, preventing accidental activation during use. Users can blend with confidence, knowing that they are protected from mishaps.
Overall, the Philips HR1744 is a powerful and versatile hand blender that simplifies meal preparation while offering ease of use and maintenance. Its combination of ergonomic design, multiple speeds, and attachments make it an essential tool for both novice cooks and seasoned chefs alike. Whether you are creating soups, sauces, or smoothies, the HR1744 stands out as a reliable kitchen appliance that delivers excellent results every time.

