HTS3300 specifications
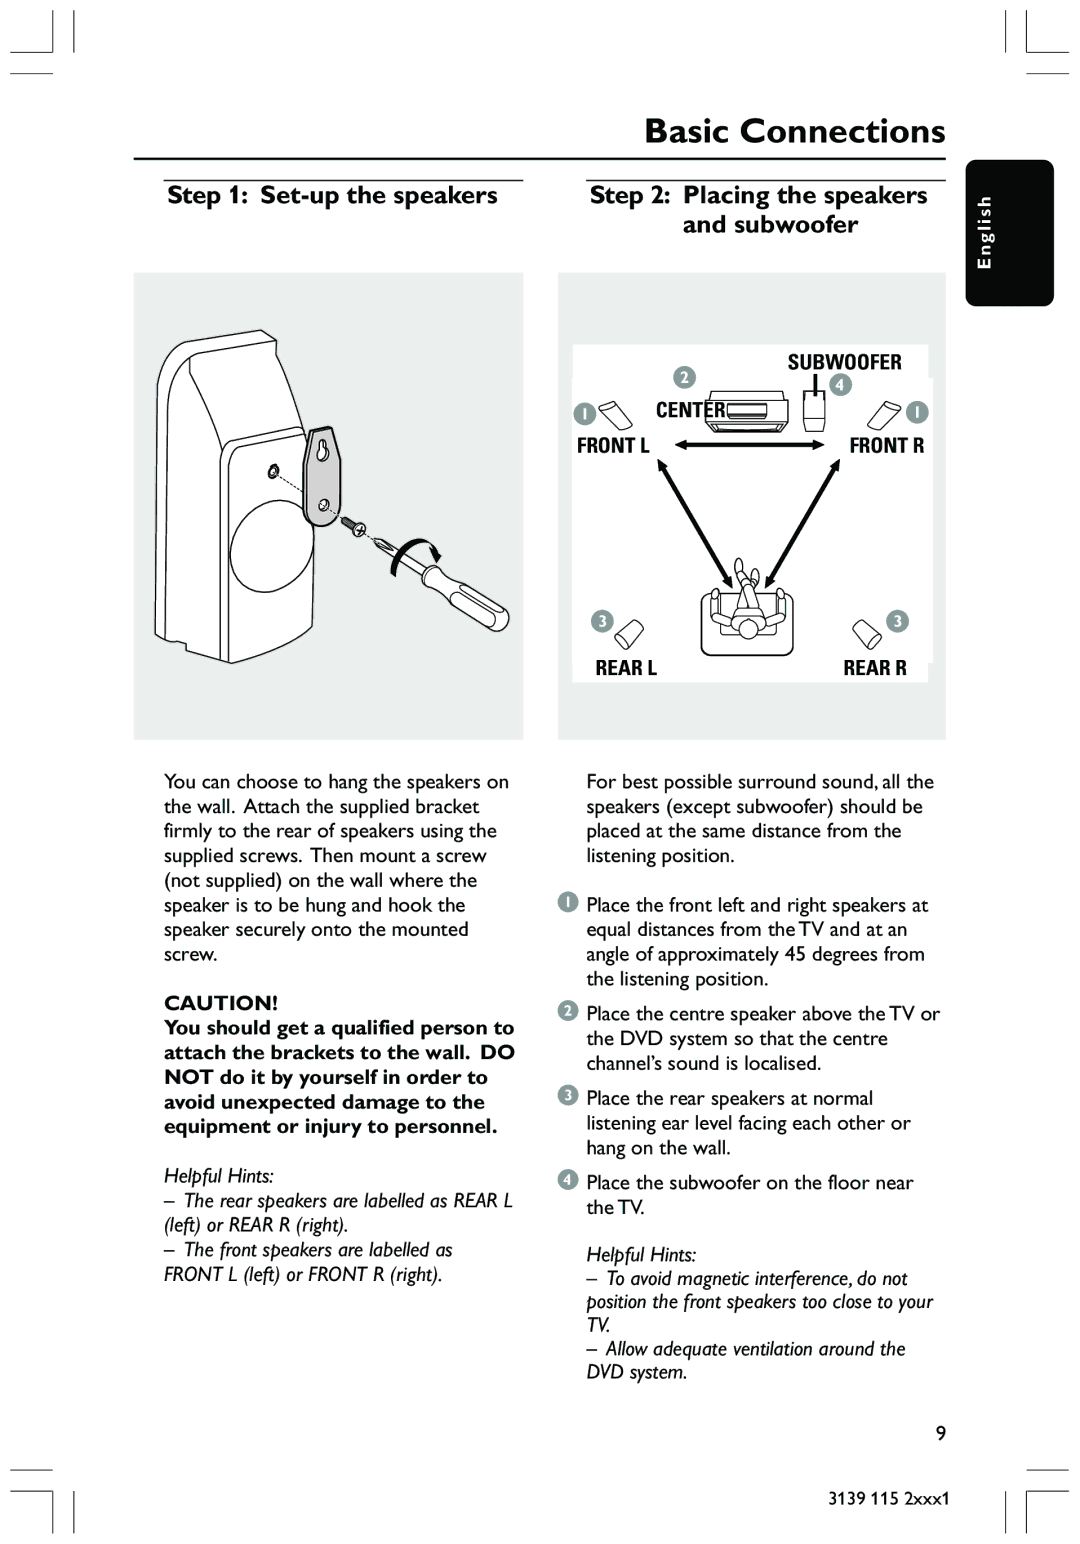
The Philips HTS3300 is a home theater system that delivers an immersive audio-visual experience, making it a popular choice among consumers looking to enhance their home entertainment. This all-in-one solution combines a DVD player with a powerful speaker system, providing users with an impressive cinematic experience right in their living rooms.One of the standout features of the HTS3300 is its unique design, which blends functionality with aesthetic appeal. The sleek, compact form allows it to fit seamlessly into various living spaces without overwhelming the decor. The system includes a combination of 2.1 channel speakers, which create a rich soundstage that enhances both music and movie playback. This setup includes two satellite speakers that are designed to deliver clear dialogue and dynamic audio, complemented by a dedicated subwoofer that adds depth and powerful bass.
The HTS3300 is equipped with several advanced technologies that contribute to its performance. One of the key technologies is Dolby Digital, which provides a surround sound experience that transports users into their media. This audio enhancement makes films and music come alive, offering a more engaging experience. Additionally, the system supports MP3 and WMA playback, allowing users to play their favorite digital music files directly from CDs or USB devices.
Connectivity is another strong point of the HTS3300. The system includes multiple inputs, making it easy to connect various external devices such as gaming consoles, televisions, or additional audio sources. The integrated DVD player supports a wide range of disc formats, ensuring compatibility with users' existing collections. Furthermore, it is equipped with HDMI output, which simplifies the connection to high-definition televisions and supports superior picture quality.
The user-friendly interface of the Philips HTS3300 adds to its appeal. It features an intuitive remote control that allows for easy navigation and access to various functions. From adjusting volume levels to browsing through playlists, users have complete command over their entertainment experience.
In conclusion, the Philips HTS3300 is a versatile home theater system that combines stylish design with powerful audio technology. With its rich sound quality, diverse playback options, and user-friendly design, it is an excellent choice for anyone looking to elevate their home entertainment setup. Whether watching movies, playing games, or enjoying music, the HTS3300 provides an enriching experience that is hard to beat.

