Manufactured Housing Vinyl Window specifications
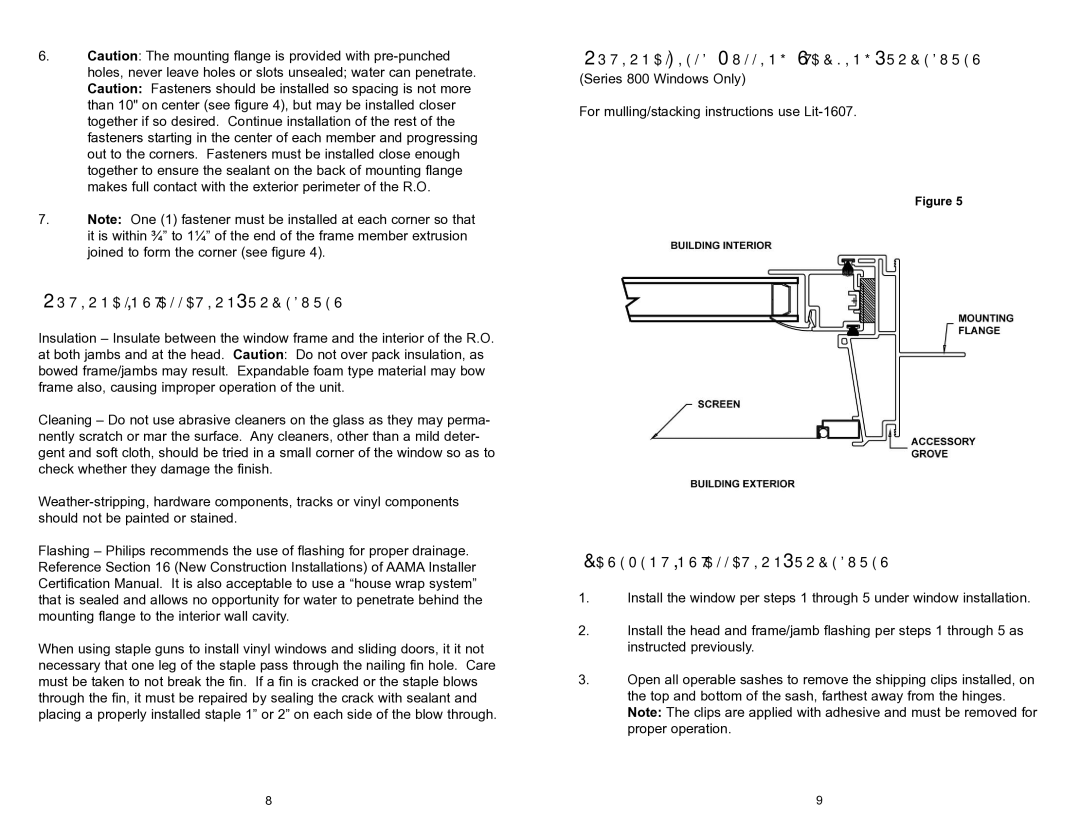
Philips Manufactured Housing Vinyl Windows represent a remarkable advancement in window technology, designed specifically for the unique requirements of manufactured homes. These windows are renowned for their durability, energy efficiency, and modern aesthetics, making them an excellent choice for homeowners seeking quality and functionality.One of the standout features of Philips Vinyl Windows is their exceptional insulation properties. They are constructed with multi-chambered frames, which provide a significant thermal barrier. This design helps to reduce heat transfer, maintaining a comfortable indoor temperature while minimizing energy costs. The low-E glass used in these windows further enhances energy efficiency by reflecting radiant heat, keeping homes warm in the winter and cool in the summer.
Durability is another defining characteristic of Philips Vinyl Windows. Made with high-grade vinyl materials, these windows are resistant to fading, peeling, and cracking. This resilience ensures that they will withstand harsh weather conditions, including extreme temperatures, heavy rain, and high winds. Additionally, the windows require minimal maintenance; a simple cleaning is usually enough to keep them looking new for years.
Philips emphasizes aesthetic appeal with a variety of design options. Homeowners can choose from a range of styles, colors, and sizes to complement their manufactured homes. Whether opting for classic double-hung windows or sleek casement designs, Philips Windows provide an attractive look that enhances both the exterior and interior of any home.
Security is another essential aspect of Philips Vinyl Windows. Equipped with advanced locking mechanisms and reinforced frames, these windows offer peace of mind to homeowners. The windows are designed to be tamper-resistant, giving an added level of security against unwanted intruders.
Installation of Philips Manufactured Housing Vinyl Windows is straightforward, thanks to their customizable sizing and lightweight design. This ease of installation can lead to quicker project completion and lower labor costs, significantly benefiting homeowners and contractors alike.
In summary, Philips Manufactured Housing Vinyl Windows combine energy efficiency, exceptional durability, aesthetic versatility, and enhanced security features. These windows provide a practical and stylish upgrade for any manufactured home, ensuring long-term performance and satisfaction for homeowners. Whether you are looking to improve your home's energy efficiency or simply update its look, Philips Vinyl Windows offer an ideal solution that meets the diverse needs of today's homeowners.

