
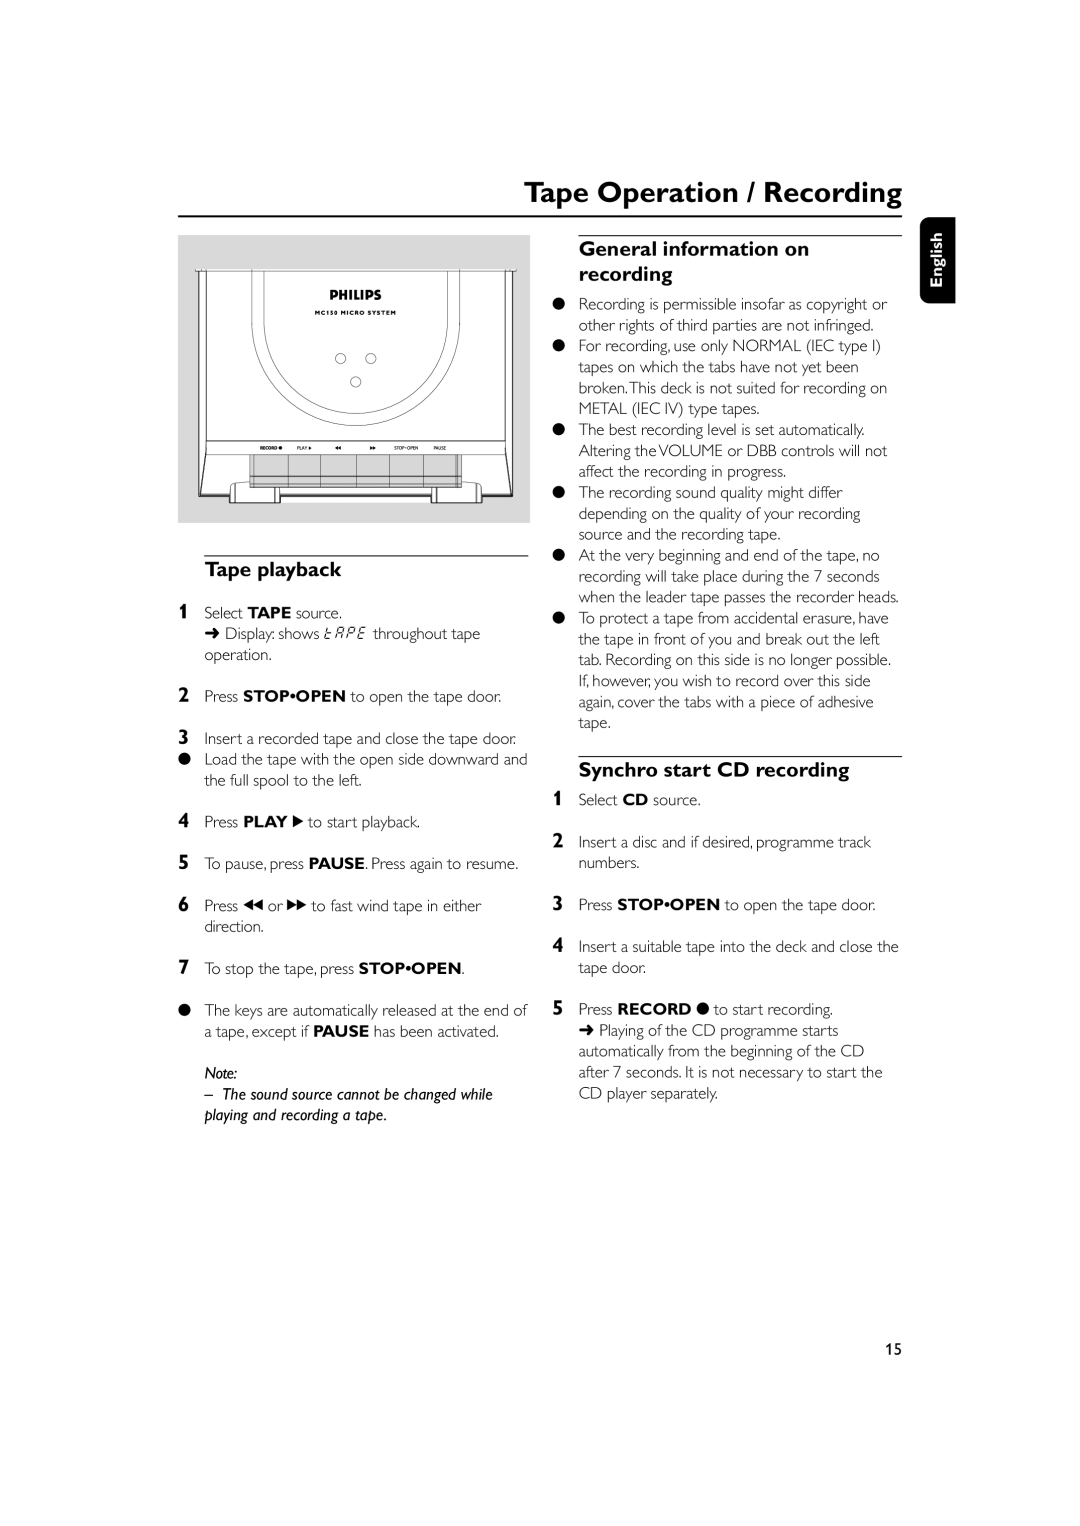
MC150 specifications
The Philips MC150 is a compact yet powerful audio system that offers an impressive blend of performance and versatility, making it a fitting choice for those who appreciate high-quality sound and modern features in a stylish package. With its sleek design, the MC150 seamlessly fits into any home or office environment, adding a contemporary touch while delivering rich audio experiences.One of the standout features of the Philips MC150 is its robust sound system, equipped with powerful speakers that produce clear and dynamic sound, elevating your listening experience whether you are enjoying music, movies, or podcasts. The system supports a wide range of audio formats, ensuring compatibility with all your favorite media. The innovative sound technology employed by Philips enhances the audio output, providing a well-balanced sound profile that captivates listeners.
The MC150 is designed to offer impressive connectivity options, making it easy to integrate with various devices. It includes multiple input options such as USB, auxiliary, and Bluetooth connectivity, allowing users to stream music directly from their smartphones, tablets, or laptops without the hassle of wires. This wireless capability enables users to enjoy music from their personal playlists or popular streaming services seamlessly, promoting a more interactive listening experience.
Another notable characteristic of the Philips MC150 is its user-friendly interface. The intuitive controls make it easy to navigate through input sources and settings, ensuring that users can quickly adjust volume and other preferences without frustration. The system is also equipped with a remote control, providing added convenience when accessing your music from a distance.
With an emphasis on durability and longevity, the MC150’s construction quality is impressive. The materials used are not only aesthetically pleasing but also designed to withstand the rigors of daily use. This ensures that the system will continue to perform optimally over time.
In summary, the Philips MC150 is a compact audio system that combines modern technology and stylish design with impressive sound quality. Its versatility, connectivity options, and user-friendly features make it a great addition to any home audio setup. Whether you are throwing a party, enjoying a quiet night in, or simply want to elevate your audio experience, the MC150 is well-suited for a variety of occasions.