
MCD 289/55 specifications
The Philips MCD 289/55 is a compact and versatile audio system designed to deliver excellent sound quality while fitting seamlessly into your living space. With its sleek design and modern aesthetics, this system not only enhances your audio experience but also complements your décor.One of the standout features of the Philips MCD 289/55 is its ability to play CDs, MP3 files, and even radio stations. The built-in CD player supports various formats, allowing users to enjoy their favorite albums without compromise. Additionally, the system is equipped with a USB port, making it easy to connect and play music directly from USB flash drives. This versatility caters to the diverse music preferences of users, providing a plethora of listening options.
The product boasts a built-in FM tuner with preset station functionality, providing access to a wide range of radio stations for those who enjoy live broadcasts. The digital tuning feature ensures clarity and ease of use when searching for desired stations.
Equipped with 20 watts of total output power, the MCD 289/55 delivers a satisfying sound experience, characterized by clear vocals and deep bass. The system utilizes advanced sound technologies to enhance audio performance. The dynamic bass enhancement feature allows for a richer bass experience, adding depth to your favorite tracks while ensuring that the sound remains balanced.
In addition to audio playback, the Philips MCD 289/55 incorporates Bluetooth technology. This feature enables wireless streaming from your smartphone, tablet, or other compatible devices, eliminating the hassle of tangled wires. The Bluetooth connection provides an excellent range and reliable performance, making it simple to play music from any source without being tethered to the unit.
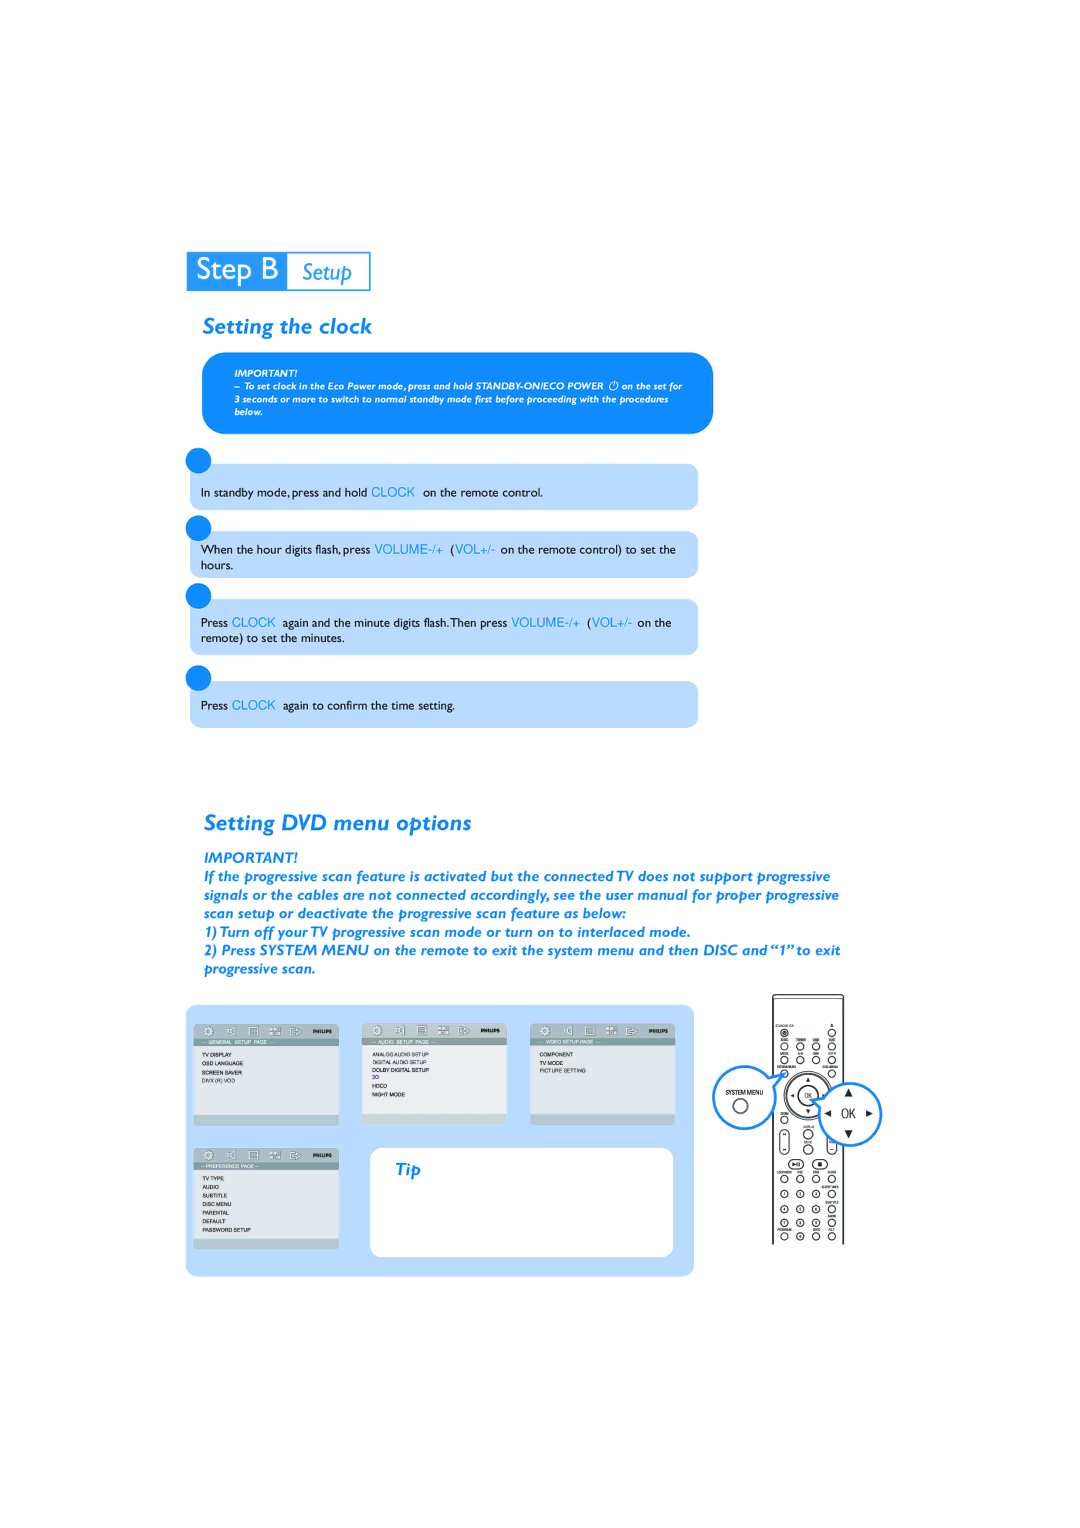
In terms of design, the Philips MCD 289/55 offers a user-friendly interface with a remote control for added convenience. Its compact form factor makes it suitable for various spaces, from small apartments to larger living rooms, without taking up much room.
Overall, the Philips MCD 289/55 is an adaptable audio system that combines functionality with style. With its rich feature set, including CD playback, Bluetooth connectivity, and FM radio, this compact audio system is a fantastic choice for anyone looking to enhance their audio experience at home. Whether you're hosting a gathering or enjoying quiet time with your favorite tunes, the MCD 289/55 delivers on all fronts.