MX3910D/37, MX3910D specifications
The Philips MX3910D, also known as MX3910D/37, is an innovative home audio system that combines modern technology with sleek design, delivering a powerful audio experience for music lovers. One of the standout features of this system is its outstanding sound quality, which is enhanced by the incorporation of Dynamic Bass Boost technology. This feature emphasizes low frequencies, ensuring that bass-heavy tracks come through clearly and powerfully, creating an immersive listening experience.Another noteworthy characteristic of the MX3910D is its versatile playback options. It supports various formats, including MP3 and CD, allowing users to enjoy their favorite tunes from different sources. Furthermore, the built-in USB port enables easy access to digital music stored on USB devices, granting additional flexibility for users who prefer not to rely solely on CDs.
The system also boasts a convenient FM tuner with 40 preset stations, allowing users to quickly access their favorite radio programs. The digital display provides clear visibility of track information and settings, making navigation simple and user-friendly.
In terms of connectivity, the MX3910D features stereo line-in options, which enable users to connect additional audio devices, such as smartphones or tablets, ensuring that the system can serve as a central hub for all audio needs. Additionally, the system is designed with a compact footprint, making it easy to integrate into any room without sacrificing space.
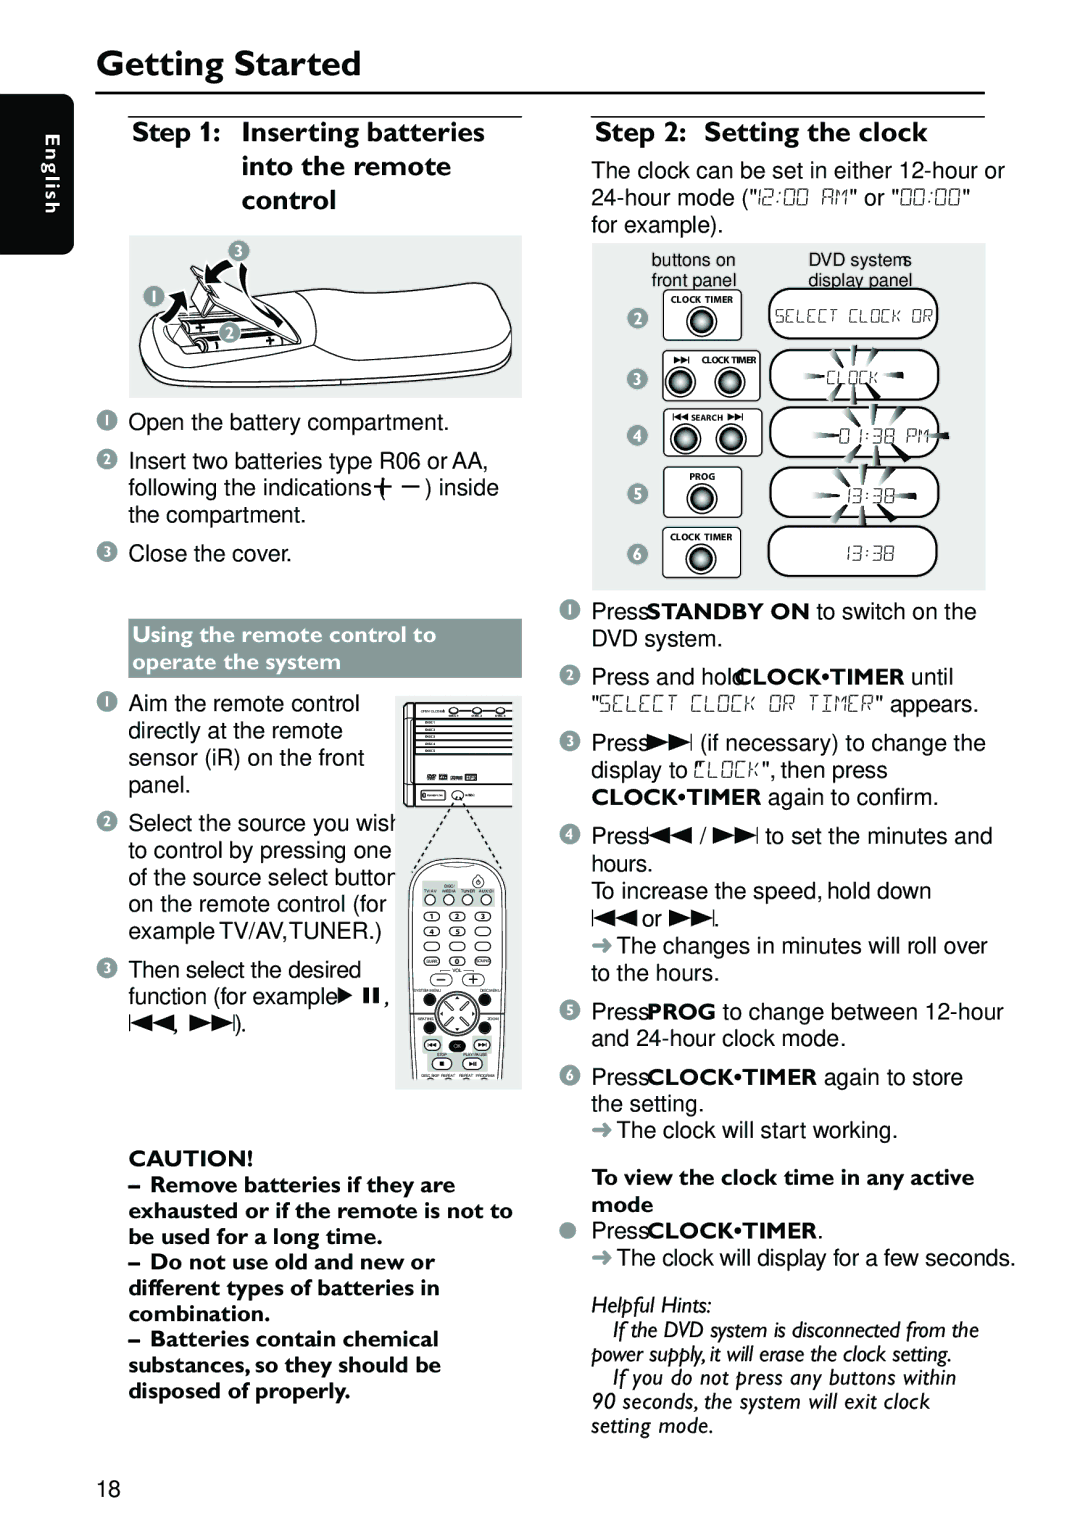
Philips has also focused on ease of use, offering a remote control that allows users to adjust volume, change tracks, and switch between modes with ease. The user interface is intuitive, making it accessible for people of all ages.
Moreover, the MX3910D showcases an attractive design that complements various home decors, featuring a minimalist aesthetic that combines functionality with elegance. Built with quality materials, the system is not only durable but also enriching to the overall ambience of any space it occupies.
In conclusion, the Philips MX3910D, MX3910D/37 is an all-encompassing home audio solution that merges high-quality sound, versatile playback options, and modern connectivity, making it an excellent choice for audiophiles and casual listeners alike. With its robust features and stylish design, it serves as a reliable companion for all types of musical preferences, enhancing any audio listening experience at home.

