10.ENGLISH
Trimming Without Guide Comb
Attachment
Remove Guide Comb Attachment if you are:
◗Defining hair lines
◗Trimming nape of neck
◗Removing single, unwanted hairs
1Be certain Trimmer is in the OFF position.
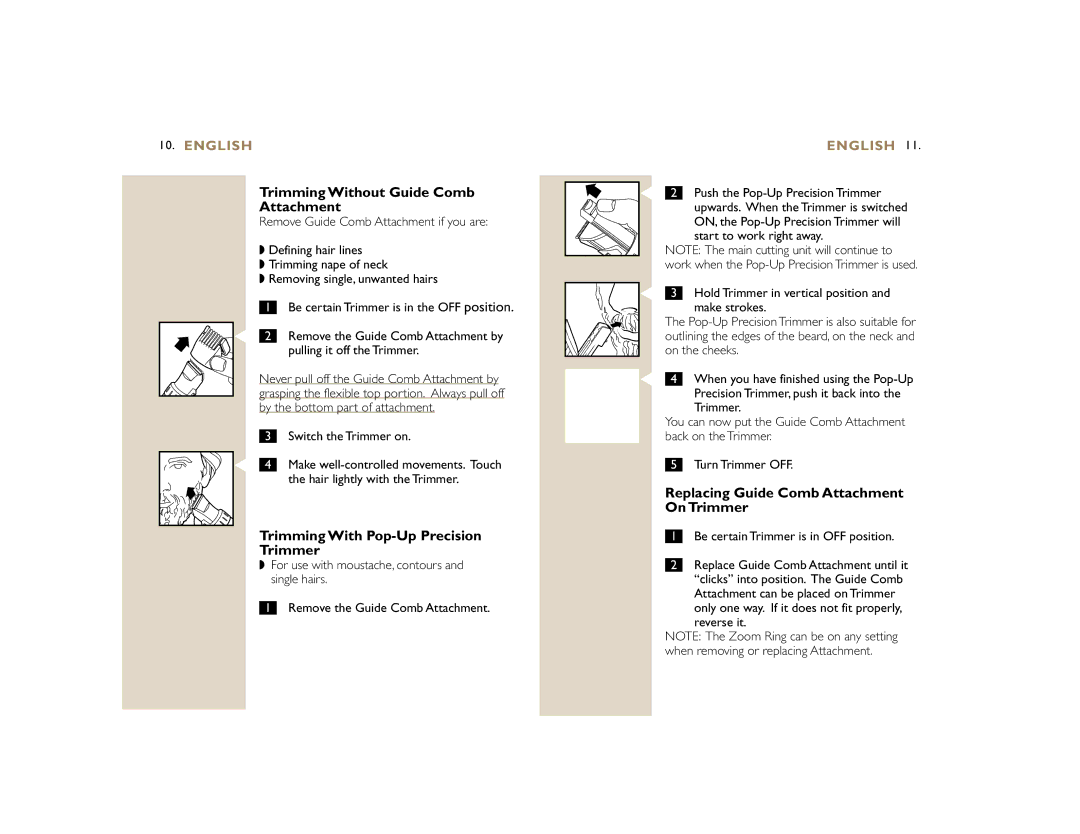
C 2 | Remove the Guide Comb Attachment by |
| pulling it off the Trimmer. |
Never pull off the Guide Comb Attachment by | |
grasping the flexible top portion. Always pull off | |
by the bottom part of attachment. | |
3 | Switch the Trimmer on. |
C 4 | Make |
| the hair lightly with the Trimmer. |
Trimming With Pop-Up Precision
Trimmer
◗For use with moustache, contours and single hairs.
1 Remove the Guide Comb Attachment.
| ENGLISH 11. |
C 2 | Push the |
| upwards. When the Trimmer is switched |
| ON, the |
| start to work right away. |
NOTE: The main cutting unit will continue to | |
work when the | |
C 3 | Hold Trimmer in vertical position and |
| make strokes. |
The | |
outlining the edges of the beard, on the neck and | |
on the cheeks. | |
C 4 | When you have finished using the |
| Precision Trimmer, push it back into the |
| Trimmer. |
You can now put the Guide Comb Attachment | |
back on the Trimmer. | |
5Turn Trimmer OFF.
Replacing Guide Comb Attachment
On Trimmer
1Be certain Trimmer is in OFF position.
2Replace Guide Comb Attachment until it “clicks” into position. The Guide Comb Attachment can be placed on Trimmer only one way. If it does not fit properly, reverse it.
NOTE: The Zoom Ring can be on any setting when removing or replacing Attachment.
