A9 specifications
The Pioneer A9 represents a significant leap in the realm of high-fidelity audio, showcasing Pioneer’s dedication to delivering exceptional sound quality and innovative features. Designed for audiophiles and casual listeners alike, the A9 combines advanced technology with an elegant aesthetic.At the heart of the A9 is its high-quality digital signal processing capabilities. Equipped with a powerful DAC (Digital-to-Analog Converter), it ensures that audio files—whether they are high-resolution FLACs or compressed MP3s—are rendered with stunning clarity. The A9 supports a wide range of audio formats, offering versatility that caters to diverse listening preferences.
One of the standout features of the A9 is its Class D amplification technology. This allows the amplifier to provide a high output power with minimal distortion, producing a clean, detailed sound. The integration of a low-frequency enhancer further amplifies the bass response, delivering a full-bodied experience that enhances genres such as electronic, rock, and hip-hop.
Connectivity options on the Pioneer A9 are robust and user-friendly. It is equipped with Bluetooth for seamless wireless streaming, making it easy to connect with mobile devices. Additionally, it has multiple inputs, including USB and optical ports, ensuring compatibility with various digital sources, from computers to televisions.
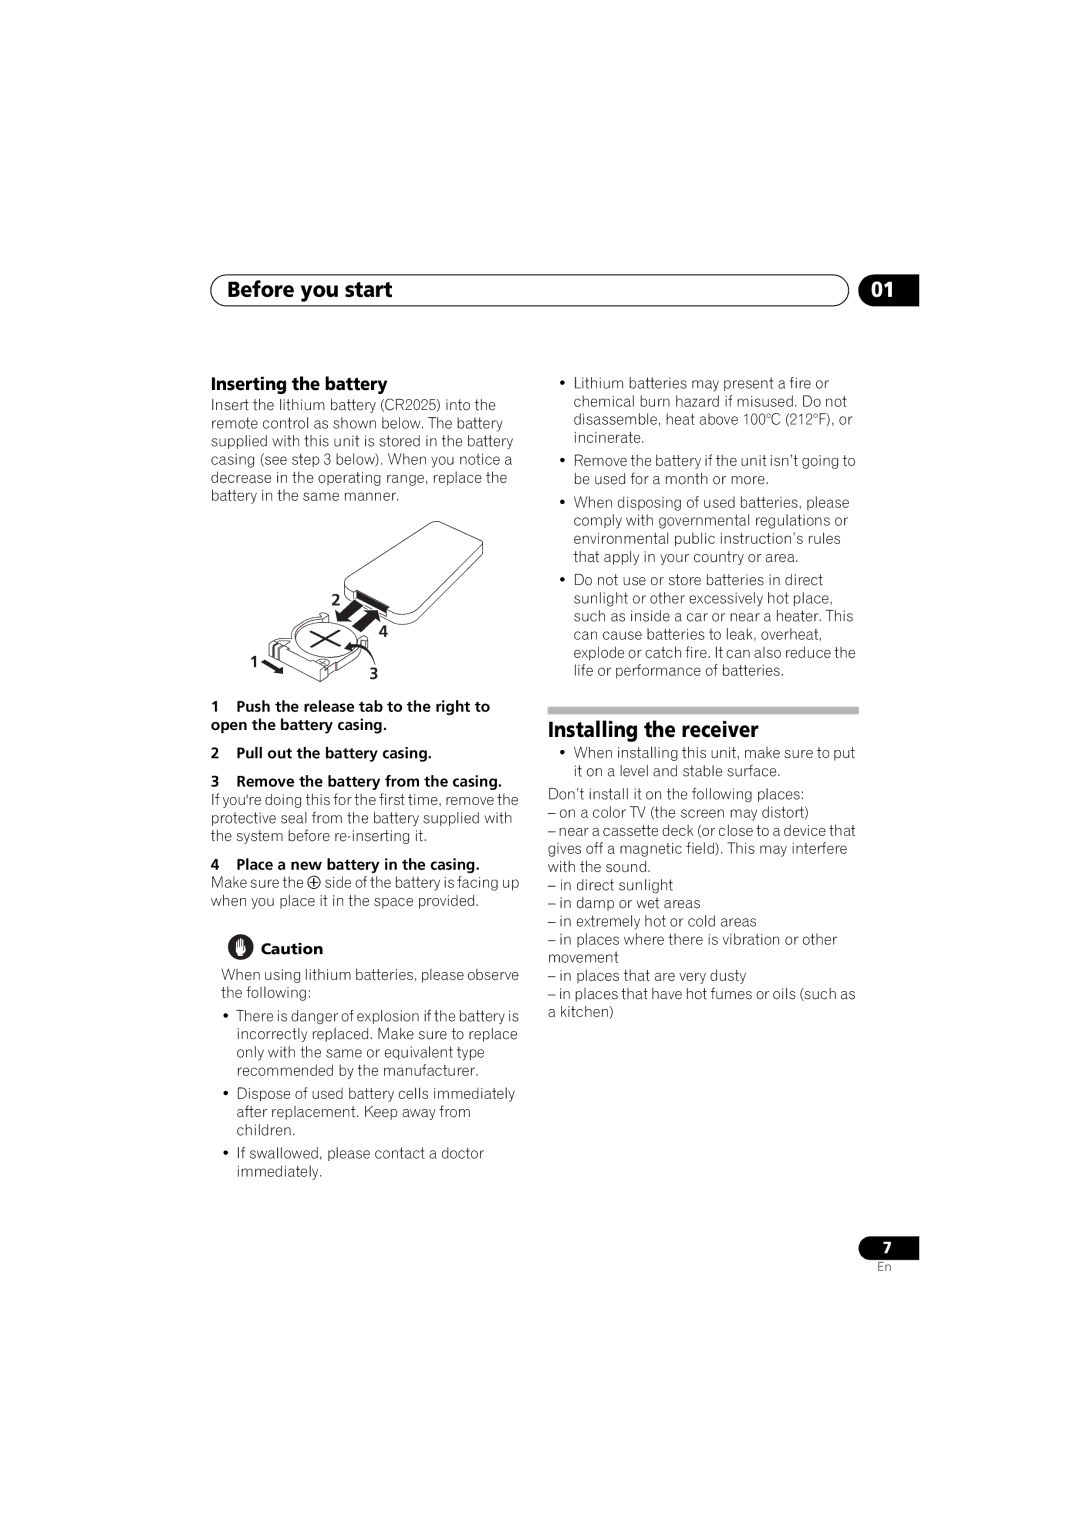
The A9 also boasts an intuitive user interface, featuring a clear LCD display and well-structured controls. The remote control allows users to navigate through settings effortlessly, adjusting volume, switching inputs, or toggling sound modes without hassle.
Another remarkable characteristic is the room calibration feature, which utilizes advanced algorithms to analyze and adapt the sound output based on the acoustics of the room. This ensures that every listener gets the best possible sound regardless of their positioning in the space.
Aesthetically, the Pioneer A9 showcases a sleek, modern design, harmonizing with various home decor styles. Its build quality is evident, with premium materials that enhance durability and provide a sophisticated look.
In summary, the Pioneer A9 is a versatile audio amplifier that combines powerful amplification, extensive connectivity, and user-friendly features to deliver an exceptional listening experience. Its integration of advanced technologies positions it as an attractive choice for anyone looking to elevate their audio setup.

