
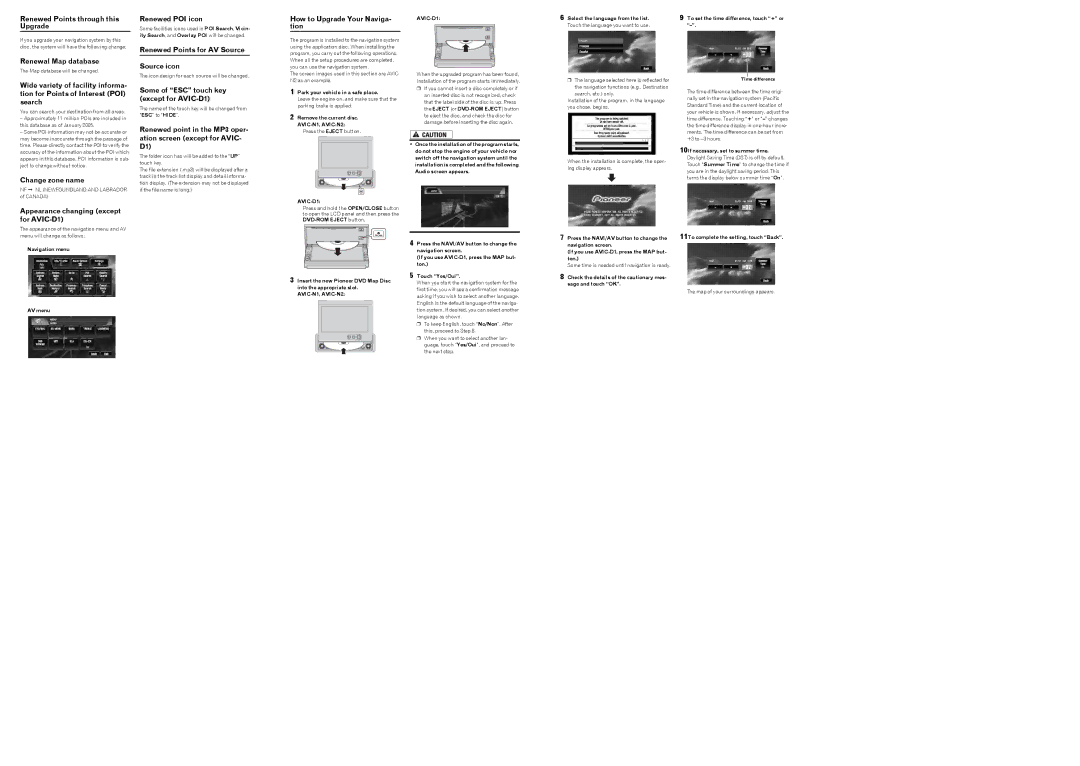
AVIC-D1, AVIC-N1, AVIC-N2 specifications
The Pioneer AVIC-D1 is a highly regarded navigation receiver that was designed to elevate the in-car entertainment experience while providing advanced navigational capabilities. Released in the mid-2000s, this device marked a turning point in automotive technology, combining a high-performance GPS navigation system with multimedia and audio features.At its core, the AVIC-D1 boasts a 6.5-inch touchscreen display, which enhances user interaction through its intuitive interface. The display's vibrant graphics and easy-to-read maps ensure that drivers can navigate effortlessly while focusing on the road ahead. This model incorporates an extensive map database of North America, offering detailed road and points of interest information, which greatly assists users in real-time navigation.
One of the standout features of the AVIC-D1 is its integrated DVD player, which allows passengers to enjoy movies and music during travel. It is equipped with capabilities to play a wide variety of formats, including MP3, AAC, and WMA, ensuring versatile media playback options. Additionally, the unit supports CD playback, making it compatible with older music formats.
The Pioneer AVIC-D1 also integrates Bluetooth technology, allowing users to make hands-free calls and stream audio from their mobile devices. This feature not only enhances convenience but also promotes safer driving by minimizing distractions from incoming calls or messages.
Advanced routing algorithms ensure optimized travel routes, taking into account real-time traffic data to avoid delays. The device comes with a built-in GPS receiver that locks onto satellites quickly and provides accurate location services, supporting navigation to both urban and rural areas.
Moreover, the AVIC-D1 offers customization options, enabling users to personalize their navigation experience with various map views and settings. The ability to store custom points of interest adds another layer of personalization for frequent destinations.
Designed for seamless integration, the AVIC-D1 is compatible with a wide range of vehicles and can be connected to external amplifiers and speakers, enhancing sound quality for an immersive audio experience.
In summary, the Pioneer AVIC-D1 stands out for its combination of navigation and entertainment features. With a user-friendly touchscreen, robust multimedia support, Bluetooth connectivity, and advanced navigation capabilities, it remains an appealing choice for those seeking a comprehensive in-car system that enhances both travel and entertainment. Its legacy continues to influence modern in-car technology, making it a revered model among automotive enthusiasts.