Installation
![]() Notes
Notes
•Before finally installing the unit, connect the wiring temporarily, making sure it is all con- nected up properly, and the unit and the sys- tem work properly.
•Use only the parts included with the unit to ensure proper installation. The use of unau- thorized parts can cause malfunctions.
•Consult with your nearest dealer if installation requires the drilling of holes or other modifi- cations of the vehicle.
•Install the unit where it does not get in the driver’s way and cannot injure the passenger if there is a sudden stop, like an emergency stop.
•The semiconductor laser will be damaged if it overheats, so don’t install the unit anywhere hot — for instance, near a heater outlet.
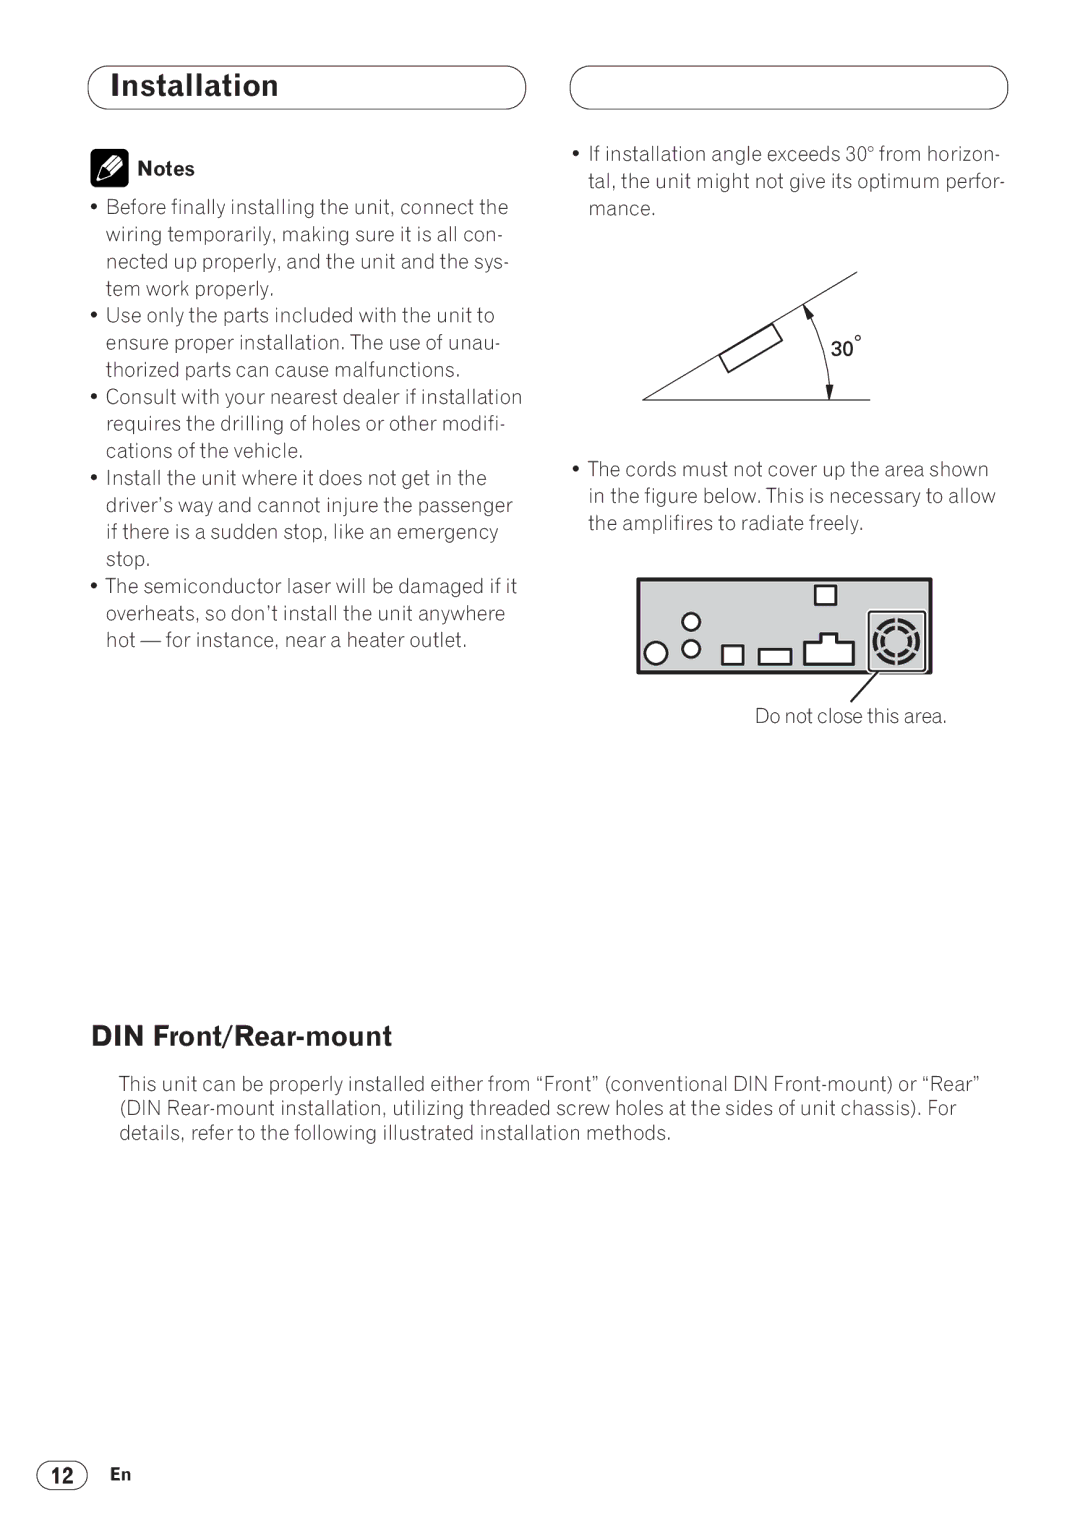
•If installation angle exceeds 30° from horizon- tal, the unit might not give its optimum perfor- mance.
•The cords must not cover up the area shown in the figure below. This is necessary to allow the amplifires to radiate freely.
Do not close this area.
DIN Front/Rear-mount
This unit can be properly installed either from “Front” (conventional DIN
12En