
GM-X962, GM-X862 specifications
The Pioneer GM-X862 and GM-X962 are powerful amplifiers designed for car audio enthusiasts seeking high-quality sound performance and versatility. Both models are part of Pioneer's acclaimed lineup, known for their reliability and innovative technologies.Starting with the GM-X862, this amplifier boasts a maximum power output of 680 watts, making it suitable for driving subwoofers and full-range speakers with ease. It features a compact design, which allows for convenient installation in various vehicles without sacrificing performance. The GM-X862 offers a 2-channel configuration, providing a flexible setup for users who prefer to build their audio system gradually.
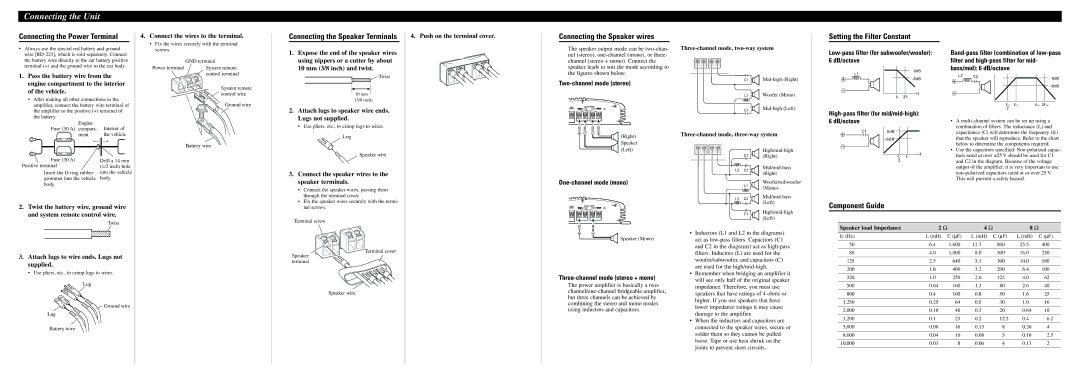
One of the standout features of the GM-X862 is its MOSFET power supply, which allows for efficient performance and reduces distortion. The amplifier also includes a low-pass filter, enabling users to optimize the sound for their specific preferences. This filter can be adjusted to focus on deep bass, providing an enhanced listening experience. The variable bass boost feature allows users to amplify low frequencies further, catering to those who enjoy heavy bass response.
On the other hand, the GM-X962 takes things a step further with a total power output of 1000 watts. It is designed with a more robust architecture, allowing for a wider range of applications. This amplifier supports both 2-channel and 4-channel configurations, giving users the flexibility to drive multiple speakers or create a dedicated subwoofer setup. The GM-X962 is also equipped with a variable high-pass filter, which allows users to tailor the sound to avoid distortion at higher frequencies.
Both models feature protection circuitry that safeguards against overheating, circuit overloads, and speaker short circuits, ensuring longevity and reliability. The built-in thermal protection is particularly notable, as it automatically adjusts power output to prevent damage to the internal components during extreme conditions.
In summary, the Pioneer GM-X862 and GM-X962 are exemplary car amplifiers that cater to a range of audio needs. With their robust power outputs, innovative technologies like MOSFET power supplies, adjustable filters, and protective features, these amplifiers are well-suited for anyone looking to enhance their in-car audio experience. Whether you are a casual listener or a dedicated audiophile, the GM-X862 and GM-X962 deliver high-quality sound and impressive performance, making them worthy investments for your car audio system.